Table of Contents
Advertisement
Quick Links
Advertisement
Table of Contents

Related Manuals for Mount-It! MI-2291


Summary of Contents for Mount-It! MI-2291
- Page 1 LCD/LED/Plasma Wall Mount Manual...
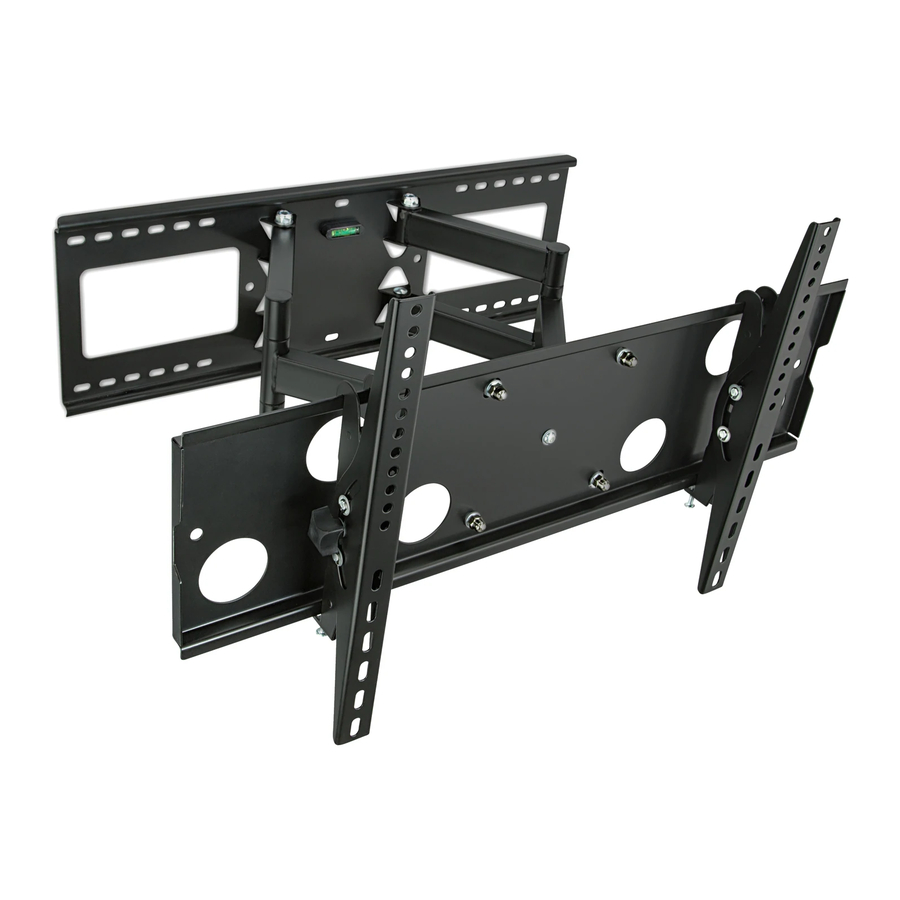
- Page 2 Product Overview: The articulating arm mount features a at prole of 3.4" from the wall to the back of your display and a full extension of 19.1" from the wall as well as +/-15 degrees of tilt. The mount is constructed with 23.3LBS of 100% High Grade Steel providing a sturdy and reliable mount.
- Page 3 I J K L Description Quantity Part 8x50mm Lag Bolts S10x50mm Concrete Anchors 8mm Washer 8x15mm Plastic Spacer M8 Plastic Spacers 6x13 Plastic Spacer M5/M6/M8mm Lock Washer 4/4/4 M5/M6/M8 Washer 4/4/4 M4 12mm Screw M4 25mm Screw M5 12mm Screw M5 25mm Screw M6 12mm Screw M6 25mm Screw...
- Page 4 *Hole Pattern Coverage/Supported VESA Patterns: Up To 26.9" Horizontal by 15.75" Vertical or VESA 600x400mm Unit Weight: Net: 23.3LBS Gross: 25.7LBS Shipping Dimensions: 29.9"X9.1"X3.7" Unit Materials: Arms, Wall Plate and TV Plate: 100% High Grade Steel ±15° Tilt Range: 130° Total Rotation: Fully Extended: 19.1"...
- Page 5 Installa on instruc on: Note: Please read all installation instructions carefully before installation. For standard wood stud installation please start at Section 1: Wood Stud Installation. For Concrete/Mortar installations please refer to Section 2: Concrete/Masonry Installation. Sec on 1: Wood Stud Installa on: 1.
- Page 6 3. Attaching The Mount to Your Wall: Once the four holes are pre-drilled, afx the wall plate to the wall with all four lag bolts and Part C washers into the wall. The included plastic anchors DO NOT need to be used for wood Part A stud installation.
- Page 7 7. Adjusting Your Tilt: To adjust the tilt position on your display you will need to loosen the knob on the side of each one of the arm brackets, set the desired tilt and then tighten the arms back up. You can loosen the screws slightly so that it will still hold while you adjust your tilt, once you have set the desired angle of tilt you can then fully tighten the knobs.
Need help?
Do you have a question about the MI-2291 and is the answer not in the manual?
Questions and answers