Table of Contents
Advertisement
Quick Links
Download this manual
See also:
User Manual
Advertisement
Table of Contents

Subscribe to Our Youtube Channel
Related Manuals for Showven Circle Flamer X-F1800


Summary of Contents for Showven Circle Flamer X-F1800
-
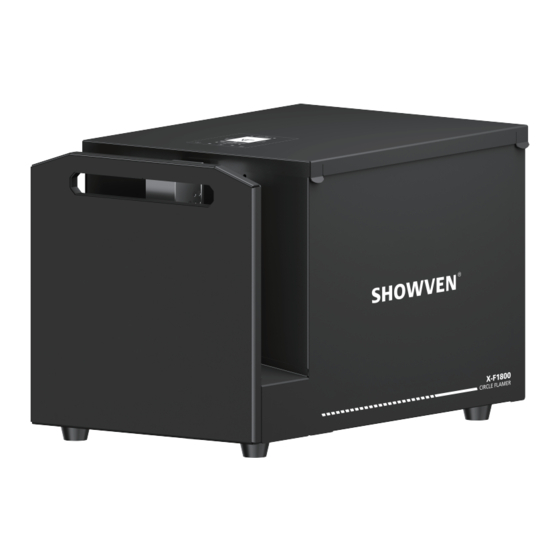
Page 1: User Manual
USER MANUAL Circle Flamer X-F1800 V1.1 ▲WARNING ▲Foreword ▲Functional Characteristics ▲Technical Specifications ▲Overview of Control Panel ▲Circle Flamer Firing Angles ▲DMX Channels ▲Structure of Circle Flamer ▲Maintenance Manufacturer: Showven Technologies Co.,Ltd. - Page 2 Strictly follow the instruction in the manual when operate Circle flamer X-F1800. If you have any doubts, please contact SHOWVEN technologies Co., Ltd by info@showven.com.
-
Page 3: Functional Characteristics
》Fitted with fireworks igniter signal port, can be triggered by fireworks igniter 》Flame effects up to 10m, with 210° swiveling angles. 70 preset flame sequences available. 》It is easier and stable to running the CIRCLE FLAMER when controlled by SHOWVEN original host controller ZK6200/6300. -
Page 4: Overview Of Control Panel
▲Overview of Control Panel LCD area Safety Lock Indicator Light DC 5V output 3-pin DMX socket 5-pin DMX socket Power socket Fuse ON/OFF switch Battery socket Input DC 12V-24V(fireworks igniter signal port) Note: When safety lock is locked. There will alarm message on LCD screen, the device enter test- ing status, engineer can test nozzle rotate, ignition etc. - Page 5 •Operation Panel: a)LED display area: RX: radio receiving (reserved) DMX: flash means DMX signal available, otherwise no DMX signal ERR: turn on when there is an error PUMP: turn on when pump is working b)Button function: “MENU" : switch interface to setup parameter “+”: parameter up “-”: parameter down “ENTER”: Confirm and save parameters (screen will flash when parameters saved)
- Page 6 b) Interface Setup: Press “MENU” to enter setup interface, press “MENU” to switch parameters until back to main interface. Items Scope Explanation Set DMX address 1~512 DMX address setup Restrict nozzle angles OFF/ON Restrict nozzle angles manually c) Advanced Interface: Press “MENU”...
- Page 7 •Drive time for Effects Time for the motor drive to related angles. Angle Drive time needed -105° 170ms -90° 150ms -75° 130ms -60° 110ms -45° 90ms -30° 70ms -15° 50ms 0° 15° 50ms 30° 70ms 45° 90ms 60° 110ms 75° 130ms 90°...
- Page 8 •Control of Circle Flamer Sequence list Circle Flamer X-F1800 has 70 default sequences, you can use related channel and box number to access certain sequence. Below, you can find sequence list and single ignitions. Important Notice: The time period are guaranteed only when the device supplied with AC power.
- Page 9 Step Sequences: Nozzle Firing Time Sequence Ignition sequence Description Movement (For reference) VALUE Step from 1-15 Single Ignition SHORT flame L->R 2.4s Step from 15-1 Single Ignition SHORT flame 2.4s R->L Step 5>8>11 Single Ignition SHORT flame 0.58s L->R Step 11>8>5 Single Ignition SHORT flame R->L 0.58s...
-
Page 10: Dmx Channels
Additional Sequences: Sequence Ignition Nozzle Firing Time Description sequence Movement (For reference) VALUE Step 2>14 Step Sequence SHORT flame L->R 0.48s Step 14>2 0.48s Step Sequence SHORT flame R->L Step 2>14 Step sequence LONG flame L->R 1.23s Step 14>2 Step sequence LONG flame R->L 1.23s Step 8>1... - Page 11 Channel 1: angle set up Channel Angle DMX value DMX(%) -105° -90° -75° -60° -45° -30° -15° 0° 15° 30° 45° 60° 75° 90° 100% 105° The Second Channel defines the rotate speed. It can be set anywhere from DMX value 0 to 255. (from static to Maxi.
- Page 12 The Fourth Channel is Firing time setup. The firing time can be selected in steps of 10ms to 2540ms (2.54s) using the DMX values from 0 to 254. DMX value of 255 allows a permanent firing. Firing OFF when DMX value drops below 254 at latest after 2.5s.
- Page 13 Firing through Manual Setting 1. Set all channel’s DMX value to 0. Turn Channel 6 to DMX value 50 to 200. 2. Set DMX value of Channel 1 to adjust the firing angle. 3. Set Channel 5 DMX value to 0. 4.
- Page 14 Setup of Host controller: 1. Press F3, enter host controller configuration menu, switch device to CIRCLE FLAMER. 2. Set up the Start No. and End No. of CIRCLE FLAMER. Press F1 return to Host controller main interface. Press “PRE-HEAT” button on host controller panel to compress the circle flamer. When the com- pression is ready, the LED light of related circle flamer will turn green.
-
Page 15: Maintenance
Adjustable power input design, just switch below red button to change between 110V and 220V power input. ▲ Maintenance 1. To maintain the system in good running status, it is recommended to running the device at least once per month. 2. - Page 16 Showven Technologies Co., Ltd Add: Building B1, Changsha E-center No.18, Xiangtai Road, Economic & Technology Development Zone, Hunan, China Tel: 400-838-0731 Web: www.showven.cn E-mail: info@showven.cn...
Need help?
Do you have a question about the Circle Flamer X-F1800 and is the answer not in the manual?
Questions and answers