Advertisement
Quick Links
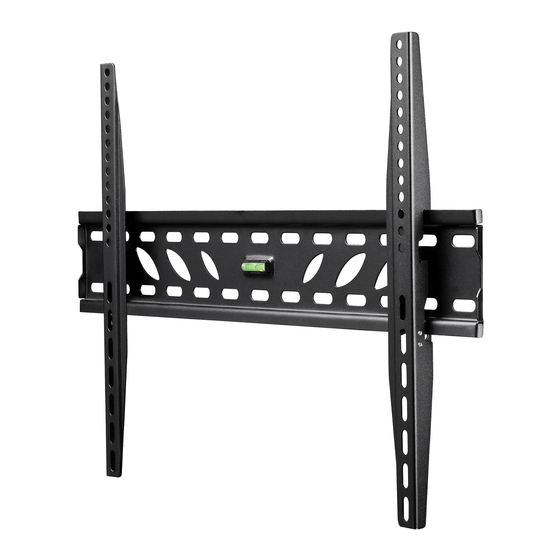
Component Checklist
Wall Plate
Left Mounting
Bracket
Tools Required:
•
Power Drill
•
5mm (
0.2
") drill bit
•
Phillips Head screwdriver
•
10mm (
0.39
") masonry drill bit
•
10mm (
") Socket Wrench or Shifter
0.39
IMPORTANT INFORMATION
!
IMPORTANT - Install 3060 Wall Mount as per Installation Instructions.
!
This product supports a maximum load of 50kg (110lbs).
!
This product only supports displays with mounting hole configurations from 100mm wide x 100mm
high up to 600mm wide x 400mm high.
!
The manufacturer does not accept responsibility for incorrect installation.
!
Before installing this product, please check the display ventilation requirements with your
LED/LCD manufacturer.
Step 1. Check Components
Check you have received all parts against the Component Checklist and Hardware above.
Step 2. Mounting the Wall Plate
Masonry Wall
Nylon Anchor
Wall Plate
Coach Screw
M6 Washer
Tip: Use the built-in spirit level to ensure wall plate is horizontal
TH-3060-UF
Hardware
Coach Screw (x4)
Right Mounting
Bracket
M6 Washer (x4)
M8 Spacer (x4)
10mm (
0.39
") hole
depth: 55mm
(2.2")
OR
Installation Instructions
Flat screen wall mount | Fixed
M5/M6 Spacer (x4)
Multi-washer (x4)
Nylon Anchor (x4)
Timber Stud
Note: Use a stud finder to accurately locate the centre of
the stud. Ensure that all screws fix securely into the stud.
Wall Plate
Coach Screw
M4x16/25/30mm (x4 each)
M5x14mm (x4 each)
M6x14/30mm (x4 each)
M8x 20/30mm (x4 each)
Display Mounting
Screws
Timber Stud
5mm (
") hole
0.2
depth: 55mm
(2.2")
M6 Washer
Advertisement

Related Manuals for Atdec TH-3060-UF


Summary of Contents for Atdec TH-3060-UF
-
Page 1: Installation Instructions
Installation Instructions Flat screen wall mount | Fixed TH-3060-UF Component Checklist Hardware M4x16/25/30mm (x4 each) Coach Screw (x4) M5/M6 Spacer (x4) M5x14mm (x4 each) Wall Plate Left Mounting Right Mounting M6x14/30mm (x4 each) Bracket Bracket M6 Washer (x4) Multi-washer (x4) Tools Required: •... - Page 2 Installation Complete No portion of this document or any artwork contained herein should be reproduced in anyway without the express written consent Atdec Pty Ltd. Due to continuing product development, the manufacturer reserves the right to alter specifications without notice. Published 18/09/2015 ©...
Need help?
Do you have a question about the TH-3060-UF and is the answer not in the manual?
Questions and answers