Table of Contents
Advertisement
Quick Links
www.leeandplumpton.co.uk
RANGE
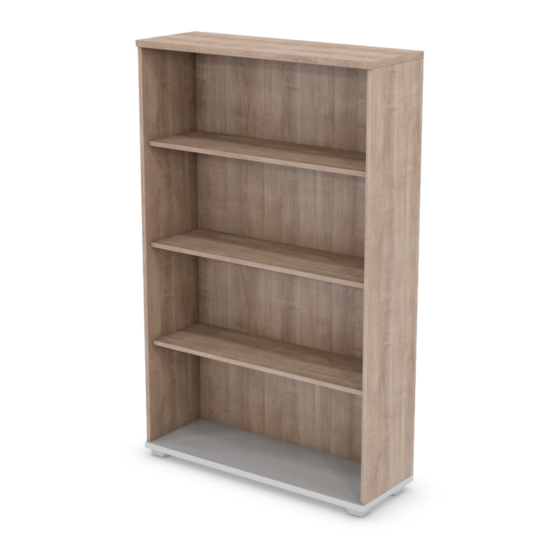
Signature Storage, Bookcases.
REF:
740mm High, 1000mm High, 1200mm High,
1600mm High, 1800mm High and 2000mm High
800mm and 1000mm Wide
Read this leaflet before
assembly
COMPONENT PARTS
Item 1
STO1_658
Back Panel
Qty 1
Item 8
Item 9
F.0629
F.0630
Rapid Dowel (Blue)
Rastex Cam
Qty, (See Table 1)
Qty, (See Table 1)
Item 15
Item 16
F.0475
F.0492
3/4"x10g Pan Pozi BZP
16mm Euro Screw
Qty 8
Qty, (See Table 1)
2 People
Required
Item 2
Item 3
STO1_726
STO1_727
LH Side Panel
RH Side Panel
Qty 1
Qty 1
Item 10
Item 11
F.0431
F.0436, F.0446, F.0545
Wood Dowel
F.0575, F.0576, F.0577
Qty 6
Cam Cover
Qty, (See Table 1)
Item 12
Item 13
A.1805
A.1804
J Insert Nut
Leveller Screw
Qty 2
Qty 2
A/1876 Revision A 06/12/2017
Item 4
STO1_710
Top Panel
Qty 1
Item 5
STO1_709
Bottom Panel
Qty 1
Item 6
STO1_737
Shelf
Qty, (See Table 01)
Item 14
F.0564
Shelf Support
Qty, (See Table 1)
1
Advertisement
Table of Contents

Related Manuals for Lee & Plumpton Signature Storage Bookcase


Summary of Contents for Lee & Plumpton Signature Storage Bookcase
- Page 1 www.leeandplumpton.co.uk ASSEMBLY INSTRUCTIONS RANGE Signature Storage, Bookcases. REF: 740mm High, 1000mm High, 1200mm High, 1600mm High, 1800mm High and 2000mm High 800mm and 1000mm Wide 2 People Read this leaflet before Required assembly COMPONENT PARTS Item 4 STO1_710 Top Panel Qty 1 Item 5 STO1_709...
-
Page 2: Tools Required
COMPONENT PART QUANTITIES FOR UNIT SIZE VARIATIONS (TABLE 1) ITEM W 800 x H 740 mm W 1000 x H 740 mm W 800 x H 1000mm W 1000 x H 1000 mm W 800 x H 1200 mm W 1000 x H 1200 mm ITEM W 800 x H 1600 mm W 1000 x H 1600 mm... -
Page 3: Care And Maintenance
ASSEMBLY INSTRUCTIONS STEP 2 In the Top (4) and Base (5) push in the appropriate number of Spreading Dowels. Attach the Top and Base to the Back/Sides. Lock the Cams with a half-turn. STEP 3 Decide where the Shelves are to be fitted and identify the holes in the Sides (and Back if the unit is 1000mm wide).
Need help?
Do you have a question about the Signature Storage Bookcase and is the answer not in the manual?
Questions and answers