Table of Contents
Advertisement
Quick Links
www.leeandplumpton.co.uk
ASSEMBLY INSTRUCTIONS
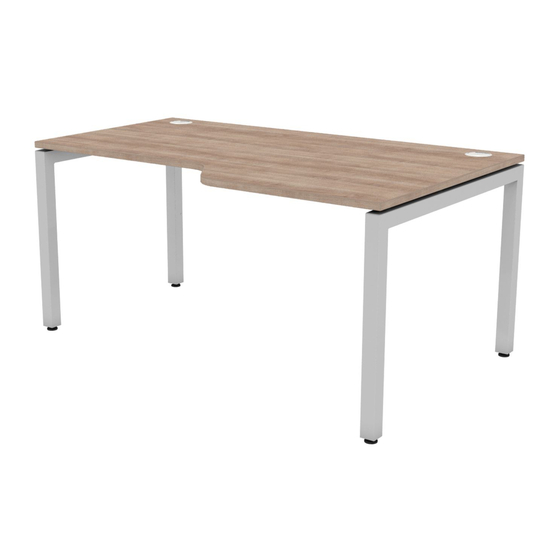
RANGE
Duty, Rectangular and Wave, with and without Modesty.
REF:
1400mm, 1600mm, 1800mm – Left and Right Hand.
Read this leaflet before
assembly
COMPONENT PARTS
Item 1
Item 2 *
Top Panel
Modesty Panel
Qty 1
Qty 1
NP4/990
NP4/939
Item 6 & 7
Item 8
Cable Port
Adjustable Foot
Qty 4
Qty 4
A/0525 & A 0527
M/0655
Item 14 *
Item 15 *
Minifix Cam
Cam Cover
Qty 8
Qty 8
F/0434
F/0436, F/0446, F/0545,
F/0575, F/0576, F/0577
* Desk with Modesty Panel only.
TOOLS REQUIRED
• Pozi head screwdriver
• 4mm Allen Key
2 People
Required
Wave with Modesty shown.
Item 3
GoalPost Frame
Qty 1
NP4/937
Item 9
Item 10 *
Expander Plate
Modesty Spacer
Qty 4
Qty 8
A/1164
R/0071
Item 16
Item 17
M6x70mm Flat Hd
Rail Screw
Skt Bzp
Qty 8
Qty 1
F/0587
F/0471
BEFORE YOU BEGIN...
• Check you have all the tools and components required
• Keep children and animals away from small parts
• Ensure you have adequate space
• Assemble product on a flat, clean surface
• Apply manual handling guidelines when building this item
Item 4
Item 5
GoalPost Frame
Rail
Qty 1
Qty 2
NP4/975
R.0098
Item 11
Item 12 *
Top Panel Spacer
Minifix Bolt Chipfast
Qty 1
(Long)
R/0072
Qty 4
F/0508
Item 18
Item 19
Grub Screws M8
5mm Hole Plugs
Qty 8
Qty 4
F/0637
A/0518, A/0763,
F/0546
No. 113 A/1882 Revision A 10/10/2018
Item 13 *
Minifix Bolt M6
Qty 4
F/0433
1
Advertisement
Table of Contents

Related Manuals for Lee & Plumpton Duty


Summary of Contents for Lee & Plumpton Duty
- Page 1 ASSEMBLY INSTRUCTIONS RANGE Duty, Rectangular and Wave, with and without Modesty. REF: 1400mm, 1600mm, 1800mm – Left and Right Hand. Read this leaflet before 2 People assembly Required Wave with Modesty shown. COMPONENT PARTS Item 3 Item 4 Item 5...
- Page 2 ASSEMBLY INSTRUCTIONS STEP 1 Lay the Top (1) upside down on a flat, soft surface. Ensure all holes are free of debris. Note the position of the Screw the Rails (5) onto the Top notch in the end of the with Screws (17).
- Page 3 ASSEMBLY INSTRUCTIONS STEP 4 Slide the brackets on the Legs into the open notched ends of the Rails screwed to the Top. If a Modesty Panel is attached, ensure that the Bolts in the Leg are aligned with the appropriate holes in the Modesty Panel.
- Page 4 ASSEMBLY INSTRUCTIONS STEP 6 Carefully turn the Desk upright. Fit the Cable Ports (6) and Covers (7). Adjust the Feet to level the Desk. CARE AND MAINTENANCE Clean using a damp cloth and mild detergent – do not use abrasive cleaners or bleach. No.
Need help?
Do you have a question about the Duty and is the answer not in the manual?
Questions and answers