
Related Manuals for Clarke CWBP300


Summary of Contents for Clarke CWBP300
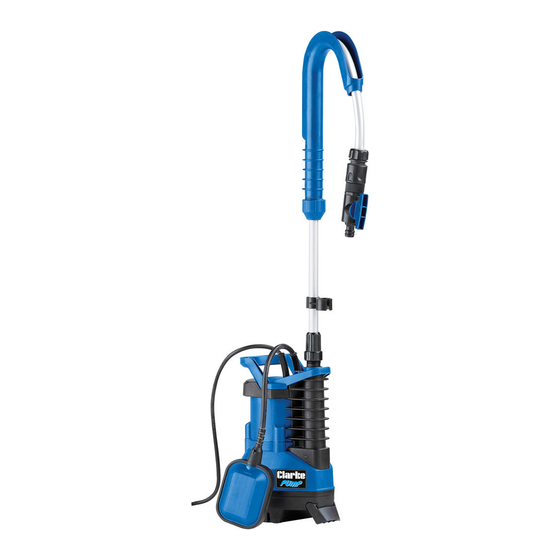
- Page 1 SUBMERSIBLE WATER BUTT PUMP MODEL NO: CWBP300 PART NO: 7230400 OPERATION & MAINTENANCE INSTRUCTIONS ORIGINAL INSTRUCTIONS GC0618 ISS 1...
-
Page 2: Specifications
INTRODUCTION Thank you for purchasing this CLARKE Water-Butt Pump. This pump is designed for pumping clean water only, including chlorinated water from swimming pools but is not to be used for drinking water or for the delivery of foodstuffs. It is NOT designed for pumping slurry, sludge, mud or heavily polluted water, or any water containing chemicals or other acidic contaminants including salt water. -
Page 3: Safety Instructions
SAFETY INSTRUCTIONS GENERAL PUMP SPECIFIC 1. Read all instructions before use 1. Do not pump explosive / and save these instructions for flammable liquids or chemicals. future use. 2. Never allow the pump to run dry 2. An approved residual current or operate out of the water. -
Page 4: Electrical Connections
ELECTRICAL CONNECTIONS WARNING: READ THESE ELECTRICAL SAFETY INSTRUCTIONS THOROUGHLY BEFORE CONNECTING THE PRODUCT TO THE MAINS SUPPLY. Connect the mains lead to a standard, 230 Volt (50Hz) electrical supply through an approved 13 amp BS 1363 plug, or a suitably fused isolator switch. If the plug has to be changed because it is not suitable for your socket, or because of damage, it must be removed and a replacement fitted, following the wiring instructions shown below. -
Page 5: Positioning The Pump
2. Connect a suitable garden hose (not supplied) to the hose connector. • Suitable hoses are available from your local Clarke dealer. POSITIONING THE PUMP 1. Lower the pump into the water butt with the outlet elbow over the side of the water butt. -
Page 6: Using The Pump
NOTE: Do not attempt to repair the pump yourself as you may damage the waterproof seal and invalidate your guarantee. Therefore we recommend you contact your CLARKE dealer or the CLARKE Service Department. Parts & Service: 020 8988 7400 / E-mail: Parts@clarkeinternational.com or Service@clarkeinternational.com... -
Page 7: Fault Finding
4. Float switch may be jammed against side wall, or prevented from moving. 5. If the pump still fails to start, consult your CLARKE dealer for advice. PUMP WILL 1. Check that the inlet is not blocked. -
Page 8: Component Parts Diagram
COMPONENT PARTS DIAGRAM Parts & Service: 020 8988 7400 / E-mail: Parts@clarkeinternational.com or Service@clarkeinternational.com... -
Page 9: Component Parts List
COMPONENT PARTS LIST Power Cable Motor stator Float Switch Lining ring Handle Washer Self tapping screw Skeleton sealing ring Self tapping screw Aluminium lining ring Cover plate O-ring Self tapping screw Cover Rear pump cover 26.1 Mechanical seal Self tapping screw 26.2 Bead flange Washer... -
Page 10: Component Parts (Discharge Tube Assembly)
COMPONENT PARTS (DISCHARGE TUBE ASSEMBLY) Hose connector Elbow Sealing washer Lining ring Valve ball Connector Valve body Compression fitting Valve knob Straight tube Valve end piece Threaded connector O-ring Clip Connector G3/4” Connector G3/4” Quick change connector assy Sealing washer Flexible hose GUARANTEE This product is guaranteed against faulty manufacture for a period of 12... -
Page 11: Declaration Of Conformity
DECLARATION OF CONFORMITY Parts & Service: 020 8988 7400 / E-mail: Parts@clarkeinternational.com or Service@clarkeinternational.com...
Need help?
Do you have a question about the CWBP300 and is the answer not in the manual?
Questions and answers