Advertisement
Table of Contents
- 1 Parts List
- 2 Step 1: Remove the Seat.
- 3 Step 2: Lift up the Front of the Fuel Tank.
- 4 Step 3: Disconnect the Wiring Harness from the Injector.
- 5 Step 4: Repeat Step 3 for the Right-Hand Side.
- 6 Step 5: Locate the Throttle Position Sensor.
- 7 Step 6: Attach the Ground Wire from the PCIII.
- 8 Step 7: Install the PCIII in the Rear Trunk Area.
- Download this manual
Parts List
1
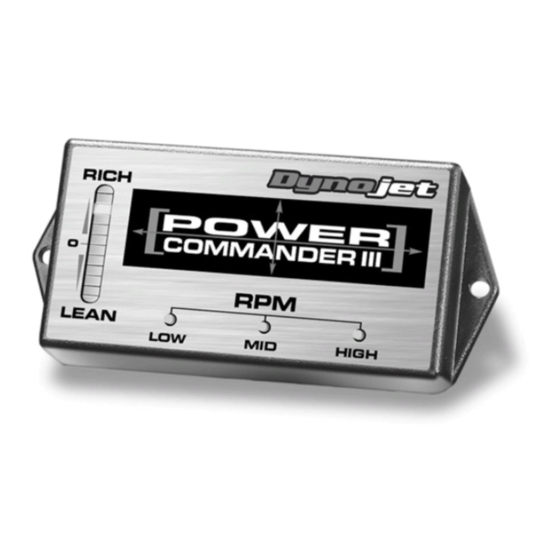
Power Commander
1
CD-ROM
1
Installation Guide
1
Wire Tap
1
Power Adapter
2
Power Commander Decals
2
Dynojet Decals
1
Velcro
Strip
®
1
Alcohol Swab
The ignition MUST be turned OFF before installation!
You can also download the Power Commander software
PLEASE READ ALL DIRECTIONS BEFORE STARTING INSTALLATION
Dynojet Research 2191 Mendenhall Drive North Las Vegas, NV 89031 (800) 992-4993 www.powercommander.com
i905-211
2001-2004 Aprilia Falco
Installation Instructions
and latest maps from our web site at:
www.powercommander.com
2001-2004 Aprilia Falco - PCIII - 1
Advertisement
Table of Contents

Related Manuals for Dynojet Power commander III


Summary of Contents for Dynojet Power commander III
- Page 1 You can also download the Power Commander software and latest maps from our web site at: www.powercommander.com PLEASE READ ALL DIRECTIONS BEFORE STARTING INSTALLATION Dynojet Research 2191 Mendenhall Drive North Las Vegas, NV 89031 (800) 992-4993 www.powercommander.com i905-211 2001-2004 Aprilia Falco - PCIII - 1...
- Page 2 Remove the seat. PCIII connectors Lift up the front of the fuel tank. Disconnect the wiring harness from the injector on the left hand side of the bike by pushing up (squeeze) on the spring clips from the injector connector (Fig. A).
- Page 3 Attach the ground wire from the Ground wire PCIII to the negative side of the battery (Fig. D). Install the PCIII in the rear trunk area of the bike (Fig. E) using the supplied velcro. Make sure to clean both surfaces with alco- hol first.
Need help?
Do you have a question about the Power commander III and is the answer not in the manual?
Questions and answers