Avery Dennison Monarch 9419 Administrator's Manual
Offline mode
system
Hide thumbs
Also See for Monarch 9419:
- Reference manual (150 pages) ,
- Manual (42 pages) ,
- Administrator's manual (40 pages)

Subscribe to Our Youtube Channel
Related Manuals for Avery Dennison Monarch 9419


Summary of Contents for Avery Dennison Monarch 9419
-
Page 1: Offline Mode
OFFLINE MODE SYSTEM ADMINISTRATOR’S GUIDE Avery Dennison ® Monarch ® 9419 Printer TC9419OFSA Rev. AB 4/17 © 2016 Avery Dennison Corp. All rights reserved. - Page 2 Each product and program carries a respective written warranty, the only warranty on which the customer can rely. Avery Dennison Corp. reserves the right to make changes in the product, the programs, and their availability at any time and without notice. Although Avery Dennison Corp.
- Page 3 T A B L E O F C O N T E N T S GETTING STARTED ........................1-1 Audience ........................... 1-1 Using the Control Panel ......................1-1 CONFIGURING THE PRINTER ......................2-1 Setting the Speed ........................2-2 Setting the Print Contrast ......................2-2 Setting the Image Rotation ......................
- Page 4 USING ADVANCED SETUP ......................6-1 Setting the Power-up Mode ......................6-2 Setting the Display Brightness ....................6-2 Setting the Date and Time ......................6-2 Setting the Language ......................... 6-3 Setting MLI Interpreter Options ....................6-4 USING DIAGNOSTICS ........................7-1 Printing a Test Label ........................7-1 Printing the Current Configuration ....................
-
Page 5: Getting Started
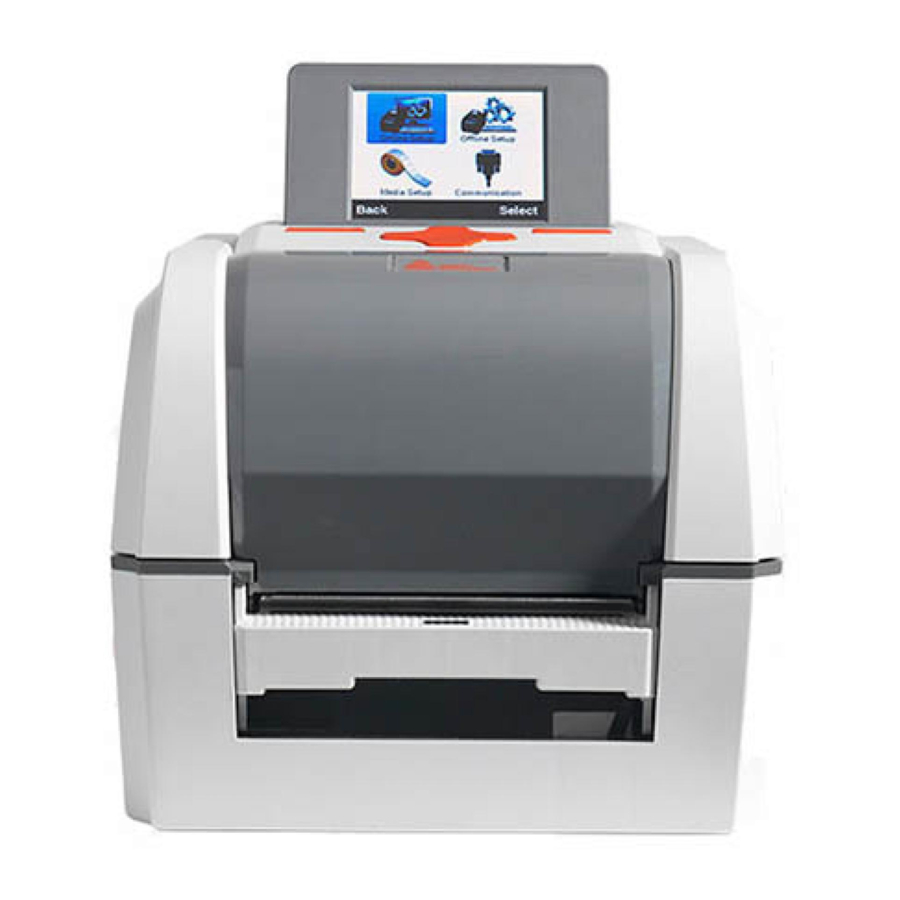
G E T T I N G S T A R T E D The Avery Dennison® Monarch® 9419 Printer prints on thermal transfer (ribbon) and thermal direct labels or tags. The printer prints labels continuously (in one strip) or on- demand (one label at a time). -
Page 6: Using Diagnostics
Menu Item Description Online Setup Configuring the printer for use while connected to a host. Refer to the Online Mode System Administrator’s Guide. Offline Setup Configuring the printer for use in offline mode (stand-alone mode) when the printer receives data from a keyboard or scanner. See Chapter 2 “Configuring the Printer”... -
Page 7: Configuring The Printer
C O N F I G U R I N G T H E P R I N T E R This chapter explains how to select the speed, contrast, rotate image, feed mode, cut position, supply position, print position, margin position, code page, and country. The offline setup options are listed in the table below. -
Page 8: Setting The Speed
S e t t i n g t h e S p e e d Select the print speed in IPS (inches per second). If print quality is important, reduce the print speed - a lower print speed increases the print quality of labels. Use premium supplies when printing at high speeds. -
Page 9: Setting The Feed Mode
S e t t i n g t h e F e e d M o d e Set the feed mode based on your application and supply type. The default is batch mode. Select None Tear off each label after printing. Batch Mode Tear off the print job after printing (tear off in strips). -
Page 10: Setting The Print Position
S e t t i n g t h e P r i n t P o s i t i o n This function adjusts the image’s position on the supply in the feed direction. Adjust the print position if the print is too close to the top or bottom of the supply, or overtypes the pre-printed area. -
Page 11: Setting The Code Page
S e t t i n g t h e C o d e P a g e Selects the printer’s international character set. 7-bit, 8-bit, Microsoft® Windows®, or ISO code pages are available. Refer to the internet for a listing of characters in each set. 7-bit code page 8-bit code page W indows®... -
Page 12: Setting The Country
S e t t i n g t h e C o u n t r y Selects the appropriate monetary symbol to print in price fields. This is set with the print job when the print job is created and sent online to the printer. Note: For the standard formats, select 001 to print a $ (dollar);... -
Page 13: Configuring The Media
C O N F I G U R I N G T H E M E D I A This chapter explains how to select the supply type and manually calibrate the sensors. The media setup options are listed in the table below. Option Choices Default... -
Page 14: Setting The Supply Type
S e t t i n g t h e S u p p l y T y p e Set the printer’s supply type to match the loaded supplies. Note: The printer automatically calibrates the sensor based on the selected supply type. -
Page 15: Calibrating The Sensor (Manual Setup)
C a l i b r a t i n g t h e S e n s o r ( M a n u a l S e t u p ) When using pre-printed or tinted supply, manually calibrate the sensor. Select Calibrate die cut supply: Follow instructions on screen to place backing paper over the die cut... -
Page 16: Setting The Threshold Detection
S e t t i n g t h e T h r e s h o l d D e t e c t i o n Set the sensor’s threshold detection. Select Auto Use for plain white supply. Fixed Use for pre-printed or tinted supply. -
Page 17: Setting Communications
S E T T I N G C O M M U N I C A T I O N S This chapter tells you how to set the serial and Ethernet communication values. These values provide the link for normal online printing. The communication settings at the printer must match the host’s communication values. -
Page 18: Setting The Parity
Setting the Parity Parity checks the validity of data entering the printer. The parity bit immediately follows the last data bit for a character. The parity bit is adjusted according to the parity so the data bits in the character, with the parity bit, form an odd or even number when summed. Select None Set the parity to none (no parity check). -
Page 19: Using Ethernet Communications
U s i n g E t h e r n e t C o m m u n i c a t i o n s The printer communicates on a 10baseT or 100baseTX wired Ethernet connection. The Ethernet options are listed in the table below. Option Choices Default... -
Page 20: Entering A Static Ip Address, Subnet Mask, And Default Gateway
Entering a Static IP Address, Subnet Mask, and Default Gatew ay The IP (Internet Protocol) address is a unique identifier for a device on a network. It consists of four 3-digit numeric fields, separated by periods. IP networks are divided using subnet masks. The subnet mask address determines where the IP address belongs in the network. -
Page 21: Using Data Entry
U S I N G D A T A E N T R Y This chapter shows samples of the nine standard formats and how to enter data for them. “Installing a Database/Lookup Table” in Appendix A to install and use a database/lookup table on the printer. -
Page 22: Format 2
F o r m a t 2 Prints 1.2” wide x 1.0” long (30mm x 25mm) labels. Enter the following information for each field: Field Description Description 1 Enter up to 12 characters. Description 2 Enter up to 12 characters. Description 3 Enter up to 12 characters. -
Page 23: Format 3
F o r m a t 3 Prints 4.0” wide x 6.0” long (101mm x 152mm) labels. This format prints Code 128 barcodes. Enter the following information for each field: Field Description From Name Enter up to 20 alphanumeric characters for the Sender’s name. - Page 24 Format 3 (Continued) Field Description Store address Enter up to 15 alphanumeric characters for the store’s address. Store city Enter up to 15 alphanumeric characters for the store’s city. Store State Zip Enter up to 15 alphanumeric characters for the state and zip code. SSCC number Enter up to 18 alphanumeric characters.
-
Page 25: Format 4
F o r m a t 4 Prints 4.0” wide x 6.0” long (101mm x 152mm) labels. This format prints Code 128 barcodes. Enter the following information for each field: Field Description From Name Enter up to 20 alphanumeric characters for the Sender’s address. -
Page 26: Format 5
F o r m a t 5 Prints 1.5” wide x 2.75” long (38mm x 69mm) labels. Enter the following information for each field: Field Description Store Code Enter up to 10 alphanumeric characters Description 1 Enter up to 15 alphanumeric characters. Description 2 Enter up to 15 alphanumeric characters. -
Page 27: Format 6
F o r m a t 6 Prints 1.5” wide x 1.0” long (38mm x 25mm) labels. Enter the following information for each field: Field Description Description Enter up to 20 alphanumeric characters. Price Enter up to 8 alphanumeric characters. The monetary symbol prints automatically (it does not have to be entered). -
Page 28: Format 7
F o r m a t 7 Prints 3.0” wide x 1.0” long (76 x 25mm) labels. Enter the following information for each field: Field Description Description Enter up to 30 alphanumeric characters. 11 digit Barcode Enter 11 alphanumeric characters for the UPCA barcode. Price Enter up to 7 alphanumeric characters. -
Page 29: Format 8
F o r m a t 8 Prints 1.2” wide x 1.0” long (30mm x 25mm) labels. Enter the following information for each field: Field Description Price Enter up to 7 alphanumeric characters. The monetary symbol prints automatically (it does not have to be entered). If you enter 98, the price prints as $98, not $0.98. -
Page 30: Format 9
F o r m a t 9 Prints 1.2” wide x 1.0” long (30mm x 25mm) labels. Enter the following information for each field: Field Description Was Price Enter up to 7 alphanumeric characters. The monetary symbol prints automatically (it does not have to be entered). If you enter 98, the price prints as $98, not $0.98. -
Page 31: Transferring Files From A Usb Thumb Drive
T r a n s f e r r i n g F i l e s F r o m a U S B T h u m b D r i v e You can transfer files from a USB thumb drive to the printer. Save the files to transfer on the root of a USB thumb drive. - Page 32 10. Press F2 on the keyboard. You see the Custom Formats screen. Select the .bas file you transferred, for example Custom_3.bas. 11. Press Enter on the keyboard. 12. Follow the prompts as necessary. Your labels print. 13. Press ESC on the keyboard to return to the printer’s Main Menu. 5-12 Offline Mode System Administrator’s Guide...
-
Page 33: Using Advanced Setup
U S I N G A D V A N C E D S E T U P This chapter explains how to select the power-up mode, display brightness, date, time, language, and MLI interpreter options. The advanced setup options are listed in the table below. Option Choices Default... -
Page 34: Setting The Power-Up Mode
S e t t i n g t h e P o w e r - u p M o d e Power-up mode lets you decide how your printer starts each time you turn it on. The default is online. ♦... -
Page 35: Setting The Language
S e t t i n g t h e L a n g u a g e The printer can display prompts in different languages: Language Language Čeština (Czech) English Slovenčina 繁體中文 (Traditional Chinese) Slovak) 简体中文 Magyar (Hungarian) (Simplified Chinese) 日本語... -
Page 36: Setting Mli Interpreter Options
S e t t i n g M L I I n t e r p r e t e r O p t i o n s Avery Dennison’s MONARCH LANGUAGE INTERPRETER™ (MLI™) and the Avery Dennison 9419 printer are set up for use with ZIH Corp.’s ZPL II®. If you have any questions about using the 9419 printer with these data streams, please contact your Avery Dennison representative. - Page 37 Option Choices/Description Default Head Close Feed/Calibration/Length/ No Motion No Motion Sets media action when printhead is closed Label Top -120 to 120 0 dot adjusts print position vertically Left Position -9999 to 9999 adjusts print position horizontally Reprint Mode Enable/Disable Disable Reprint last label by pressing ...
- Page 38 6-6 Offline Mode System Administrator’s Guide...
- Page 39 U S I N G D I A G N O S T I C S This chapter explains how to print a test label and the printer’s configuration and view the printer’s information. The Diagnostic options are listed in the table below. Option Choices Test Label...
-
Page 40: Network Configuration
Network Configuration Contains the printer’s network/Ethernet configuration. P r i n t i n g t h e C u r r e n t C o n f i g u r a t i o n The printed labels represent printer’s OFFLINE mode settings and configuration. -------------------------------- SYSTEM INFORMATION --------------------------------... - Page 41 -------------------------------- ETHERNET SETTING -------------------------------- NAME: PRINTER1 MAC ADDR: 001B82-8001AB DHCP: IP ADDR: 192.0.192.0 SUBNET: 255.255.0.0 GATEWAY: 192.0.0.0 PORT: 9100 -------------------------------- -------------------------------- WLAN SETTING -------------------------------- MAC ADDR: 00-00-00-00-00-00-00 WIFI REGION: MODE: INFRASTRUCTURE SSID: DHCP: IP ADDR: 0.0.0.0 SUBNET: 0.0.0.0 GATEWAY: 0.0.0.0 PORT: -------------------------------- --------------------------------...
- Page 42 7-4 Offline Mode System Administrator’s Guide...
-
Page 43: Using The Printer Management Utility
U S I N G T H E P R I N T E R M A N A G E M E N T U T I L I T Y Download the Printer Management Utility from our Web site. Use the Printer Management Utility to ♦... - Page 44 Select a printer to configure. Click Printer Configuration. Click Ethernet then press Feed on the printer. Select Static or DHCP. For Static, enter the IP, Subnet Mask, and Default Gateway. Press Set IP when finished. The printer reboots and establishes a connection. A-2 Offline Mode System Administrator’s Guide...
-
Page 45: Configuring Wifi Settings
C o n f i g u r i n g W i F i S e t t i n g s A web browser is also available to configure WiFi. Enter the printer’s IP address into a Web browser. The website appears for the Wifi card’s manufacturer. Enter the network specific information for SSID, Encryption, etc. -
Page 46: Configuring The Printer
C o n f i g u r i n g t h e P r i n t e r From the main Printer Management Utility screen, click Printer Configuration. Make any changes required and click Set. A-4 Offline Mode System Administrator’s Guide... -
Page 47: Transferring Files
T r a n s f e r r i n g F i l e s To transfer graphics/fonts/firmware files to the printer: Connect the printer to your computer and turn on the printer. Double click on the Printer Management Utility icon to open it. Select the printer. -
Page 48: Sending Commands
S e n d i n g C o m m a n d s To send command to the printer: Connect the printer to your computer and turn on the printer. Double click on the Printer Management Utility icon to open it. Select the printer. -
Page 49: Installing A Database/Lookup Table
I n s t a l l i n g a D a t a b a s e / L o o k u p T a b l e Use the Printer Management Utility to send the database/lookup table and a format that uses the database to look up and print a price. -
Page 50: Using A Database/Lookup Table
U s i n g a D a t a b a s e / L o o k u p T a b l e The database/lookup table installs with the Standard Formats. Connect a keyboard or scanner to the printer. From the main menu, select Data Entry, then select Standard Formats. -
Page 51: Sample Database/Lookup Table
INSTALL "9419DB.CSV",2105, UPC-A,Category,Product,Color,Size,Price… Example This example installs the file 9419DB.CSV into the printer’s flash memory. The byte size of the file (without the header information) is 2105. The entire file’s contents are not shown. S a m p l e D a t a b a s e / L o o k u p T a b l e The example text below shows a small database file. -
Page 52: Sample Format Using A Database/Lookup Table
S a m p l e F o r m a t U s i n g a D a t a b a s e / L o o k u p T a b l e The example text below shows a sample format that references the sample database/lookup table. The field highlighted below references the installed database/lookup table. -
Page 53: Menu Structure
M E N U S T R U C T U R E Use the navigation button then press Select when you see the option you need. Menu Structure B-1... - Page 54 B-2 Offline Mode System Administrator’s Guide...
- Page 56 AMERICAS 170 Monarch Lane Miamisburg, OH 45342 937 865 2123 (direct) Tel +800 543 6650 (8:00 a.m. – 6:30 p.m., EDT) Fax +937 865 6663 ASIA No. 7 Chun Ying Street Tseung Kwan O Industrial Estate New Territories, Hong Kong Tel +852 2372 3169 Fax +852 2995 0014 WESTERN EUROPE...
Need help?
Do you have a question about the Monarch 9419 and is the answer not in the manual?
Questions and answers