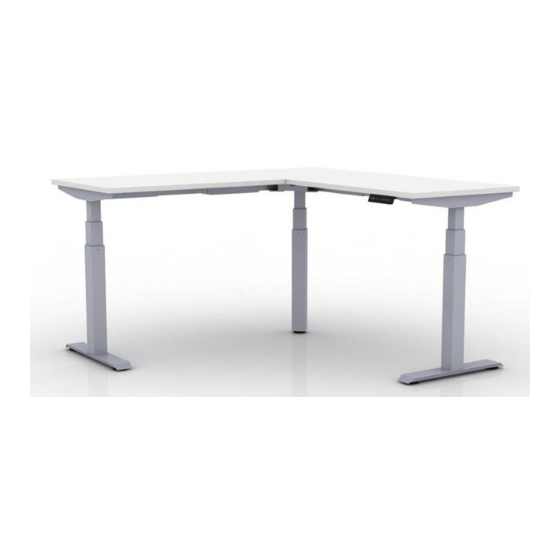
AMQ ACTIV-Pro3 Installation Manual
Sit-stand electric table desk
Hide thumbs
Also See for ACTIV-Pro3:
- Installation manual (10 pages) ,
- Assembly manual (25 pages) ,
- User & troubleshooting manual (12 pages)

Related Manuals for AMQ ACTIV-Pro3


Summary of Contents for AMQ ACTIV-Pro3
- Page 1 ACTIV-Pro3 height adjustable base...
- Page 2 Components ACTIV-Pro3 Installation Guide Getting Started Hard ware cable clips x 12 screw caps x 8 allen keys wood handset M6 x 12 M6 (special) x 8 M10 x 8 screw x 23 screw x 2 center leg x 1...
-
Page 3: Leg Attachment
Phase 1 Leg Attachment ACTIV-Pro3 Installation Guide Identify center leg Assemble center leg to center bracket with M6 screws Identify center leg. Assemble center leg to center bracket with M6 screws. Front Right, Back Right, Front Left and Back Left are indicated... - Page 4 Phase 2 Attaching Stretcher Bar ACTIV-Pro3 Installation Guide Match up frames to center bracket, line up holes to the degree that you are setting, and screw in M6 screws Assemble stretcher bars into the frames Complete connecting the stretcher bars and stretcher bar ends...
- Page 5 Phase 3 Attaching Cantilevers and Feet ACTIV-Pro3 Installation Guide Plug in cantilevers in the stretcher bar ends, line up holes and add screws M6(special) Tighten using #4 allen key or a long extension angle-tipped allen key to expedite the process Plug cantilevers into the stretcher bar ends, lining up holes.
- Page 6 Adjust stretcher bars to desired length Phase 4 Adjusting Stretcher Bars ACTIV-Pro3 Installation Guide Tighten 4 factory inset screws to hold the desired length in place Adjust stretcher bar to desired length. Tighten 4 factory inset screws to hold desired length in place.
- Page 7 Phase 5 Connecting Worksurface & Power ACTIV-Pro3 Installation Guide Attach the base assembly to the worksurface Ensure that the base is properly positioned to the worksurface Attach the base to the worksurface using wood screws Attach the handset to desired location using handset screws (count x 2)
- Page 8 Phase 6 Program Height Memory Presets ACTIV-Pro3 Installation Guide To Program Up to 4 Presets: Use the up/down arrows to find desired height, then press “M” followed by the number 1, 2, 3 or 4. To Test Programmed Height: Use the up/down arrows to adjust the table to a height other than the preset height.
- Page 9 5 Day Open Plan we provide exceptional experiences with reliable, easy interactions and successfully fulfilled orders in only 5 days 915 Walsh Avenue / Santa Clara, CA 95050 (877) 801-0370 amqsolutions.com...
Need help?
Do you have a question about the ACTIV-Pro3 and is the answer not in the manual?
Questions and answers