AMQ ACTIV-Pro Installation Manual
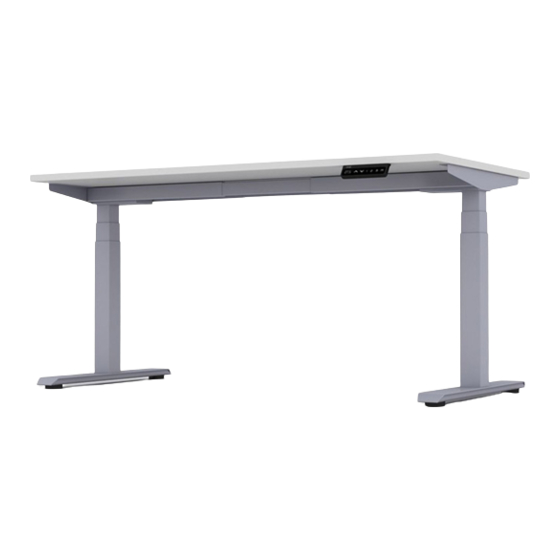
Height adjustable base
Hide thumbs
Also See for ACTIV-Pro:
- Installation manual (38 pages) ,
- User manual (8 pages) ,
- Assembly manual (16 pages)
Table of Contents
Advertisement
Advertisement
Table of Contents

Related Manuals for AMQ ACTIV-Pro


Summary of Contents for AMQ ACTIV-Pro
- Page 1 ACTIV-Pro height adjustable base...
- Page 2 Components ACTIV-Pro Installation Guide Getting Started 1. Activ Pro Components Layout Hardware M6 x 8 M10 x 8 M5-20mm M5-16mm socket screws x 18 allen keys screw caps x 8 Leg-1&2 x 2 pcs Glides x 4 Cable straps cantilevers x 2 pcs...
- Page 3 2. Stretcher bar unit Phase 1 Preparing for Assembly ACTIV-Pro Installation Guide Place stretcher bar unit upside down Place Stretcher Bar unit upside down on work area. Turn Stretcher Bar upside down The label will face up when Stretcher Bar is upside down and ready to begin assembly.
- Page 4 3. Stretcher bars and cantilever assembly -1 Phase 2 Attaching Legs ACTIV-Pro Installation Guide Attach leg columns with M6 screws Slide leg columns into place and attach with M6 screws. Match inside holes first and lightly tighten at this point.
- Page 5 Phase 3 Attaching Cantilevers 4. Stretcher bars and cantilever assembly -2 ACTIV-Pro Installation Guide Insert cantillevers to each ends Insert Cantilevers on each end, lifting the leg a bit, if needed, to ease into a flush fit. Tab into place (fit is snug).
- Page 6 Phase 4 Feet Assembly ACTIV-Pro Installation Guide 5. Feet assembly Attach both feet using M10 socket screws Attach feet using M10 socket screws. Match all 4 holes first to confirm fit before tightening completely. M10 screws use 8mm allen key Please contact cc@amqsolutions.com...
- Page 7 Phase 5 Adjusting Base Width ACTIV-Pro Installation Guide 6. Stretcher bars length adjustment Adjust the length of the base to the desireable width Tighten all inset screws for stability Adjust to desired width. Use #4 allen key to loosen the factory-inserted screws if not already loose.
- Page 8 Phase 6 Worksurface Mounting ACTIV-Pro Installation Guide 7. Work-surface mounting To attach the worksurface, place the worksurface with the top facing down To attach the worksurface, start by laying the worksurface Lay the base assembly upside down on the top of the worksurface down on the floor with the top down.
- Page 9 8. Connecting control and power Phase 7 Connecting Handset and Power ACTIV-Pro Installation Guide Make sure that the Left motor plug into M1 port and the Right motor plug into M2 port Connect power plug after the motors and the handset are connected properly Make sure that the Left motor plugs into the M1 port, and the Right motor plugs into the M2 port.
- Page 10 Phase 8 Program Height Memory Presets ACTIV-Pro Installation Guide To Program Up to 4 Presets: Use the up/down arrows to find desired height, then press “M” followed by the number 1, 2, 3 or 4. To Test Programmed Height: Use the up/down arrows to adjust the table to a height other than the preset height.
- Page 11 5 Day Open Plan we provide exceptional experiences with reliable, easy interactions and successfully fulfilled orders in only 5 days 764 Walsh Avenue / Santa Clara, CA 95050 (877) 801-0370 amqsolutions.com...
Need help?
Do you have a question about the ACTIV-Pro and is the answer not in the manual?
Questions and answers