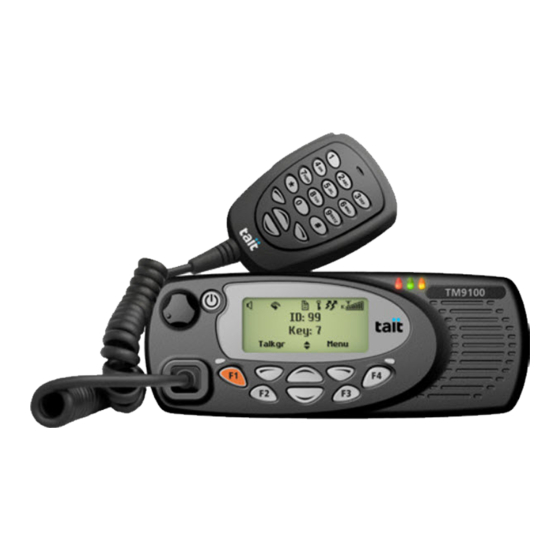
Tait TM9100 Installation Manual
40 w/50 w
Hide thumbs
Also See for TM9100:
- Service manual (485 pages) ,
- User manual (104 pages) ,
- Tune up and inspection (39 pages)
Table of Contents
Advertisement
Quick Links
Advertisement
Table of Contents

Related Manuals for Tait TM9100


Summary of Contents for Tait TM9100
- Page 1 TM9100 mobiles (40W/50 W) Installation Guide Draft 0.03 October 2004...
-
Page 2: Contact Information
Tait Radio Communications http://www.taitworld.com Corporate Head Office Tait North Asia New Zealand Regional Head Office - Hong Kong Tait Electronics Ltd Tait Mobile Radio (Hong Kong) Ltd P.O. Box 1645 E-mail: hongkong@taitworld.com Christchurch Beijing New Zealand Tait Mobile Radio (Hong Kong) Ltd E-mail: info@taitworld.com... - Page 3 By using any of the Software or Firmware items prior- ACCORDANCE WITH THE PROVISIONS OF THIS AGREEMENT installed in the related Tait product, included on this CD THE LICENSEE MAY TERMINATE THIS LICENCE AT ANY TIME or downloaded from the Tait website, (hereinafter BY DESTROYING ALL COPIES OF THE SOFTWARE OR referred to as “the Software or Firmware”) you agree to...
- Page 4 AGREES THAT SUBJECT ONLY TO ANY EXPRESS WRITTEN TERMS OF AGREEMENT TO THE CONTRARY BETWEEN TAIT AND THE LICENSEE THIS IS THE COMPLETE AND EXCLUSIVE STATEMENT OF THE AGREEMENT BETWEEN IT AND TAIT IN RELATION TO THE SOFTWARE OR FIRMWARE WHICH SUPERSEDES ANY PROPOSAL OR PRIOR AGREEMENT...
-
Page 5: Table Of Contents
2.9 Checking the Installation ..........24 TM9100 (40W/50W) Installation Guide © Tait Electronics Ltd October 2004... -
Page 6: Preface
Copyright All information contained in this manual is the property of Tait Electronics Ltd. All rights are reserved. This manual may not, in whole or in part, be copied, photocopied, reproduced, translated, stored, or reduced to any electronic medium or machine-readable form, without prior written permission from Tait Electronics Limited. -
Page 7: Document Conventions
This alert is used to warn about the risk of equipment damage or malfunction. Note This alert is used to highlight information that is required to ensure procedures are performed correctly. TM9100 (40W/50W) Installation Guide © Tait Electronics Ltd October 2004... -
Page 8: Safety Warnings
If the vehicle contains such equipment, consult the vehicle manufacturer or dealer in order to determine whether these electronic circuits will perform normally when the radio is transmitting. TM9100 (40W/50W) Installation Guide © Tait Electronics Ltd October 2004... - Page 9 To achieve this, there must be a gap of more than 3/8 inch (10 mm) between the underside of the radio body and the mounting. 3/8 inch (10 mm) TM9100 (40W/50W) Installation Guide © Tait Electronics Ltd October 2004...
- Page 10 TM9100 (40W/50W) Installation Guide © Tait Electronics Ltd October 2004...
-
Page 11: Preparing The Installation
Regulations Tait Electronics recommend that mobile radios be installed in accordance MPT 1362 Code of Practice with the MPT 1362 Code of Practice. Follow your vehicle manufacturer’s instructions on the installation of mobile Vehicle Manufacturer’s Installation... -
Page 12: Choosing An Installation Configuration
“Connecting to the Auxiliary Connector” on page Note The AUX_GPI3 line must be programmed to ‘Power Sense (Ignition)’ and active to ‘High’. For more information, refer to the online help of the application software. TM9100 (40W/50W) Installation Guide © Tait Electronics Ltd October 2004... -
Page 13: Installing The Radio
Plug the control-head loom onto the control-head connector. Insert the bottom edge of the control head onto the two clips in the front of the radio body, then snap into place. TM9100 (40W/50W) Installation Guide © Tait Electronics Ltd October 2004... - Page 14 Use the screwdriver to lift the control head off the clip, then repeat in the other position. The control head can now be removed. TM9100 (40W/50W) Installation Guide © Tait Electronics Ltd October 2004...
-
Page 15: Selecting The Mounting Position
(fitting an auxiliary connector or external options connector will not restore the IP54 protection class) the microphone grommet is not installed TM9100 (40W/50W) Installation Guide © Tait Electronics Ltd October 2004... -
Page 16: Mounting The Radio
(not included). Caution Although an industrial-strength recloseable fastening system can be used to support the installation, Tait does not recommend this as a mounting option for safety reasons. Important When mounting the radio on a surface, check whether the... -
Page 17: Installing The Microphone
Install the microphone clip in the most convenient location using the screws provided. The microphone must be within reach of the user but in such a position, that the PTT (press-to-talk) key cannot be inadvertently activated or jammed. TM9100 (40W/50W) Installation Guide © Tait Electronics Ltd October 2004... -
Page 18: Installing The Antenna
Run the free end of the coaxial cable to the radio’s mounting position and cut it to length, allowing approximately 8 inches (20 cm) excess at the radio end. Terminate the free end of the cable with the mini-UHF plug supplied. TM9100 (40W/50W) Installation Guide © Tait Electronics Ltd October 2004... -
Page 19: Connecting The Power Cable
<1 mA. To reduce the standby current from 20 mA to approximately 1 mA without using the ignition signal, connect pin 4 of the auxiliary connector to ground. TM9100 (40W/50W) Installation Guide © Tait Electronics Ltd October 2004... - Page 20 Connect the negative wire to the battery ground. Repeat step 4 for the positive wire and connect it to the positive terminal of the power source. TM9100 (40W/50W) Installation Guide © Tait Electronics Ltd October 2004...
-
Page 21: Connecting A Remote Speaker
Connecting a Remote Speaker If a high-power remote speaker is required, the Tait TMAA10-03 speaker is recommended. Connect the speaker to pins 2 (SPK–) and 3 (SPK+) of the power connector described on page 19. For more information refer to the fitting instructions provided with the speaker, or to the accessories manual. - Page 22 Auxiliary cable and connector shielding metal D-range shroud in contact with backshell metal backshell signal earth wire cable insulation aluminum foil metal cable clamp earth braid wire analog ground pin TM9100 (40W/50W) Installation Guide © Tait Electronics Ltd October 2004...
- Page 23 Connect the external alert device to the pin of the output line (pin 10 for AUX_GPIO4) and pin 8 (13V8_SW) of the auxiliary connector (or a different positive battery connection). TM9100 (40W/50W) Installation Guide © Tait Electronics Ltd October 2004...
-
Page 24: Checking The Installation
0.2 inches (2 to 5 mm); measure the power levels at each step. Once the reflected power levels are within tolerance, make a call to another party on the radio. TM9100 (40W/50W) Installation Guide © Tait Electronics Ltd October 2004...
Need help?
Do you have a question about the TM9100 and is the answer not in the manual?
Questions and answers