Table of Contents
Advertisement
Quick Links
DIGITAL KEYBOARD
Owner's Manual
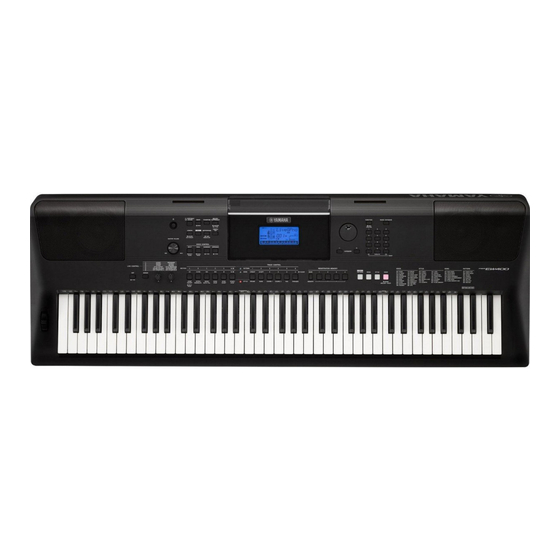
Thank you for purchasing this Yamaha Digital Keyboard!
We recommend that you read this manual carefully so that you can fully take advantage of the
advanced and convenient functions of the instrument. We also recommend that you keep this manual
in a safe and handy place for future reference.
Before using the instrument, be sure to read "PRECAUTIONS" on pages 5–7.
EN
Advertisement
Table of Contents


Need help?
Do you have a question about the PSR-EW400 and is the answer not in the manual?
Questions and answers
Can i connect a tablet to play songs to yamaha psrw 400
Yes, you can connect a tablet to the Yamaha PSR-EW400 to play songs. The keyboard has a USB TO HOST terminal that supports connection to smart devices like tablets, and it also has an AUX IN port for audio playback from devices such as a tablet or phone.
This answer is automatically generated