Ingenico iWL200 Series Quick Start Manual
Hide thumbs
Also See for iWL200 Series:
- Quick start manual (2 pages) ,
- User manual (42 pages) ,
- User manual (100 pages)
Table of Contents
Advertisement
Quick Links
Download this manual
See also:
User Manual
Quick Start Guide
DOCUMENT D'EXECUTION
INGENICO_TD.ai
INFORMATIONS GENERALES
COULEURS UTILISEES
APPROBATION
Client: INGENICO
iWL200 Series
Date : 10 DEC 2013
7540 C
1795 C
Utilisation: Impression en tons
directs.
Ne pas utiliser pour application
écran.
GETTING STARTED
Base
Cover
Release
Clips
Telephone
Socket
(Modem)
PLEASE NOTE: In order to complete the installation you will require your Merchant ID. This will
be included in your welcome letter from your terminal provider.
Connecting the Base Unit
Ethernet
1. Remove the base unit cover by pushing the
Socket
release clips as shown.
2. Connect telephone cable to socket marked 'IN'.
3. Connect Ethernet Cable into Ethernet Socket at
back of base.
Power
Socket
4. Connect the other end of the telephone cable to a
telephone wall socket or telephone extension cable.
5. Connect the other end of the Ethernet cable to a
router or wall mounted Ethernet socket.
PLEASE NOTE: GPRS (Mobile) terminals do NOT
have any cables. There is only a Power Supply and
a charging base.
6. Finally, connect the Power Supply Unit jack plug
into the power socket on the base unit and then
insert the mains plug into a suitable mains power
socket and switch on the power.
7. Place the Handset onto the base.
Advertisement
Table of Contents

Related Manuals for Ingenico iWL200 Series


Summary of Contents for Ingenico iWL200 Series
-
Page 1: Getting Started
Quick Start Guide DOCUMENT D’EXECUTION INGENICO_TD.ai INFORMATIONS GENERALES COULEURS UTILISEES APPROBATION Client: INGENICO iWL200 Series Date : 10 DEC 2013 7540 C 1795 C Utilisation: Impression en tons directs. Ne pas utiliser pour application écran. GETTING STARTED Base Connecting the Base Unit... -
Page 2: Function Keys
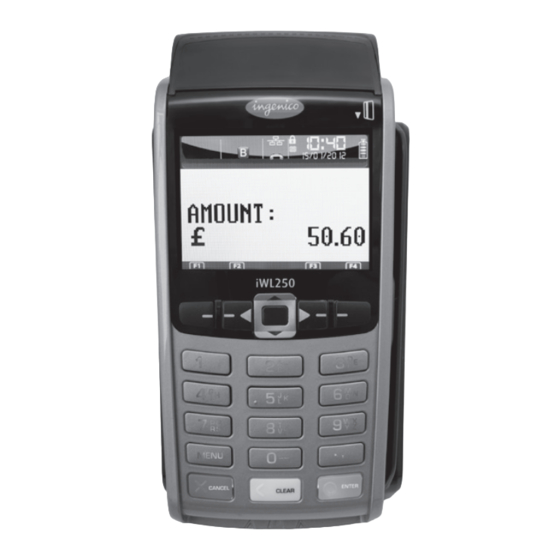
Please refer to the brochure enclosed with your terminal for important safety information regarding the equipment and its use, and to the terminal User Guide which you can find online at www.ingenico.co.uk for other relevant compliance information THE CHIP CARD READER Customer cards must be inserted with the chip upwards. - Page 3 REFUND TRANSACTIONS From the READY prompt press the MENU button, then (F2) until REFUND is highlighted and press ENTER. Key in the refund amount and press ENTER. Enter the Supervisor Password and then press ENTER or swipe the Supervisor Card. Insert or swipe the customer’s card. The terminal will dial out to the acquirer for authoristation, if the refund is authorised then REFUND ACCEPTED will be shown.
-
Page 4: Replacing The Paper Roll
ONLY OPEN THE PRINTER COVER AS SHOWN, DO NOT FORCE THE PRINTER COVER ONLINE RESOURCES To download a detailed User Guide for the iWL200 Series visit www.ingenico.co.uk/userguides Frequently Asked Questions, including advice on installation, are available at www.ingenico.co.uk/faqs DIV434729C COPYRIGHT ©...
Need help?
Do you have a question about the iWL200 Series and is the answer not in the manual?
Questions and answers