
Related Manuals for Caple C900I


Summary of Contents for Caple C900I
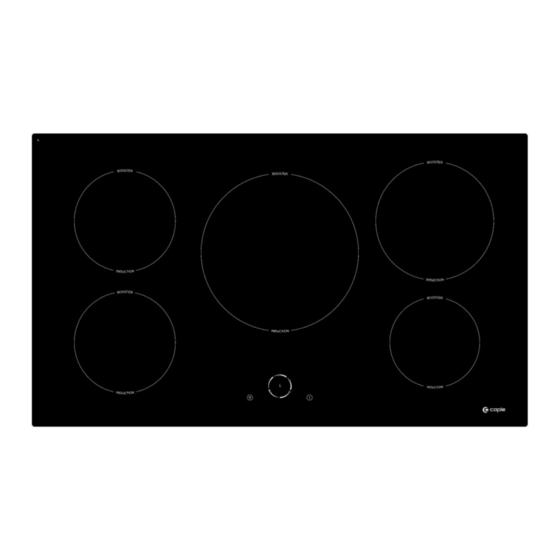
- Page 1 Instruction manual for induction hob Model code: C900I Contact Caple on 0117 938 7420 or for spare parts www.caple.co.uk...
-
Page 4: Table Of Contents
Dear customer, Congratulations on your purchase of a Caple induction hob. In order to make the best use of your appliance, please carefully read the following instruction manual and keep it for future reference. Contents Safety................................ 5 Precautions before use ............................6 Using the appliance .............................. - Page 5 Keep warm function .............................. 20 Control panel Locking............................20 Cooking advice ............................ 21 Pan quality ................................. 21 Pan dimension................................22 Examples of cooking power setting ....................... 22 Maintenance and cleaning........................ 22 What to do in case of a problem ....................23 Environment preservation ........................
-
Page 6: Safety
Safety Precautions before use Unpack all the materials. The installation and connection of the appliance must be done by approved and qualified specialists. The manufacturer cannot be responsible for damage caused by installation or connection errors. When used, the appliance must be correctly installed in a kitchen unit and an adapted and approved work surface. -
Page 7: Using The Appliance
Using the appliance Switch the heating zones off after use. Keep an eye on the hob when cooking with grease or oils as they may quickly ignite. Be careful not to burn yourself during or after using the appliance. -
Page 8: Precautions To Prevent Damage To The Appliance
Cleaning and user maintenance shall not be made by children without supervision. This appliance is not intended to be operated by means of an external timer or separate remote-control system. Precautions not to damage the appliance Rough pan bottoms or damaged saucepans (not enamelled cast iron pots) may damage ceramic glass. -
Page 9: Precautions In Case Of Appliance Failure
If a defect is noticed, switch off the appliance and turn off the electrical supply. If the ceramic glass is cracked or damaged, you must unplug the appliance and contact Caple Service. Servicing must be done by specialists. Do not disassemble or attempt to repair the appliance by yourself. - Page 10 NEVER try to extinguish a fire with water, but switch off the appliance and then cover flame e.g. with a lid or a fire blanket. THE USE OF EITHER POOR QUALITY POTS OR ANY INDUCTION ADAPTOR PLATE FOR NON-MAGNETIC COOKWARE RESULTS IN A WARRANTY BREACH.
-
Page 11: Description Of The Appliance
Description of the appliance Technical information Type C900I Total power 7400 W Energy consumption for the hob EChob** 175.7 Wh/kg Front left heating zone Ø 180 mm Minimum detection Ø 90 mm Nominal power* 1100 W Booster power* 1400 W... -
Page 12: Control Panel
Control panel Timer display Control light timer Zone selection Power display Timer key Control light on/off Power selection zone “SLIDER” On/off key Stop & Go and timer setting zone Pause key... -
Page 13: Use Of The Appliance
Use of the appliance Touch controls Your induction hob is equipped with electronic controls with sensitive touch keys. When your finger presses the key, the corresponding command is activated. This activation is validated by a control light, a letter or a number in the display and/or a “beep” sound. In the case of a general use press only one key at a time. -
Page 14: Starting-Up And Appliance Management
Starting-up and appliance management Before the first use Clean your hob with a damp cloth and dry the surface thoroughly. Do not use detergent which risks causing a blue-tinted colour on the glass surface. Induction principle An induction coil is located under each heating zone. When it is engaged, it produces a variable electromagnetic field which produces inductive currents in the ferromagnetic bottom plate of the pan. -
Page 15: Power Selection Zone "Slider" And Timer Setting Zone
Power selection zone “SLIDER” and timer setting zone First select a cooking zone by touching a “Zone selection” button (see p.6). The corresponding display will be highlighted as long as the zone is activated. While the zone is activated (for a few seconds), you can adjust the power, either by sliding your finger on the slider, or by direct access. -
Page 16: Pan Detection
Pan detection The pan detection ensures perfect safety. The induction doesn‟t work: If there is no pan on the heating zone or if this pan is not suitable for induction cooking. In this case it is impossible to increase the power and the display shows [ U ]. This symbol disappears when a pan is put on the heating zone. -
Page 17: Timer
Power management: The whole cooking hob is activated with a maximum limit of power. When the booster function is activated, and in order to exceed the maximum power, the electronic system reduces the power level of other heating zones. The display will blink on [ 9 ] for a few seconds and then shows the maximum of power allowed: Heating zone selected The other heating zone: (example: power level 9) -
Page 18: Automatic Cooking
Egg timer function : Example for 29 minutes : Action Control panel Display Activate the hob Press display [ Zone control lights are Select« Timer » Press display [ CL ] [ 00 ] Set the units Slide on the “SLIDER“ to [ 9 ] [ 0 fixed ] [ 9 blinking ] Confirm the units Press display [ 09 ]... -
Page 19: Stop&Go „Pause" Function
Switching off the automatic cooking : Action Control panel Display Zone selection Press [ 7 ] from the zone [ 7 ] blinking with [ A ] Power level selection Slide on the “SLIDER“ [ 1 ] to [ 9 ] Stop&Go „Pause„... -
Page 20: Keep Warm Function
Keep warm Function This function allows the hob to automatically reach and maintain a temperature of approximately 70°C. This will avoid liquids overflowing and fast burning on the bottom of the pan. To engage, to start the keep warm function : Action Control panel Display... -
Page 21: Cooking Advice
Cooking advice Pan quality Suitable materials : steel, enamelled steel, cast iron, ferromagnetic stainless-steel, aluminium with ferromagnetic bottom. Not suitable materials : aluminium and stainless-steel without ferromagnetic bottom, copper, brass, glass, ceramic, porcelain. The manufacturers specify if their products are compatible induction. To check if pans are compatible : ... -
Page 22: Pan Dimension
Pan dimension The cooking zones are, up to a certain limit, automatically adapted to the diameter of the pan. However the bottom of this pan must have a minimum of diameter according to the corresponding cooking zone. To obtain the best efficiency of your hob, please place the pan in the centre of the cooking zone. -
Page 23: What To Do In Case Of A Problem
Ensure that the pan is dry and clean before use. Ensure that there are no grains of dust on your ceramic hob or on the pan. Sliding rough saucepans will scratch the surface. Spillages of sugar, jam, jelly, etc. must be removed immediately. This will prevent the surface being damaged. - Page 24 Please use the same pot for the whole procedure. Never put several pots together on the zones during the setup-process. If [ E 4 ] displaying remains, please call Caple Service. Troubleshooting: The hob or the cooking zone does not start-up: ...
- Page 25 The air inlet of the ventilator is obstructed, release it. The control panel displays [ E C ] : Configuration error. Set the table again, referring to the chapter "The [E 4] appears." If one of the symbols above persists, call the Caple Service.
-
Page 26: Environment Preservation
Environment preservation The materials of packing are ecological and recyclable. The electronic appliances are composed of recyclable, and sometimes harmful materials for the environment, but necessary to the good running and the safety of the appliance. Don't throw your appliance out with the household refuses ... -
Page 27: Installation Instructions
The cut out sizes are: Product code Cut-out size C900I 810 x 490 mm Ensure that there is a distance of 50 mm between the hob and the wall or sides. The hobs are classified as “Y” class for heat protection. Ideally the hob should be installed with plenty of space on either side. - Page 28 If a drawer is placed under the unit, do not put flammable objects (for example: sprays) or not heat-resistant objects inside. To protect the cut out edge, apply a coat of varnish or special sealant. Particular care must be given to applying the adhesive joint supplied with the hob to prevent any leakage into the supporting furniture.
-
Page 29: Electrical Connection
Electrical connection The installation of this appliance and the connection to the electrical network should be entrusted only to an electrician following the required regulations. Protection against the parts under tension must be ensured after the installation. The information on the connections are on the stickers. Place them on the hob casing near the connection box. - Page 30 Monophase 230V~1P+N Put a bridge between terminal 1 and 2. Attach the earth to the terminate “earth”, the neutral N to terminal 4, the Phase L to one of the terminals 1 or 2. Biphase 400V~2P+N Attach the earth to the terminate “earth”, the neutral N to terminal 4, the Phase L1 to the terminals 1 and the Phase L2 to the terminal 2.
- Page 32 CE Declarations of Conformity This appliance has been manufactured to the strictest standards and complies with all applicable legislation, Low Voltage Directive (LVD) and Electromagnetic Compatibility Directive (EMC). Caple Fourth Way Avonmouth Bristol BS11 8DW www.caple.co.uk 17842/2...
Need help?
Do you have a question about the C900I and is the answer not in the manual?
Questions and answers