Sign In
Upload
Download
Table of Contents
Contents
Add to my manuals
Delete from my manuals
Share
URL of this page:
HTML Link:
Bookmark this page
Add
Manual will be automatically added to "My Manuals"
Print this page
×
Bookmark added
×
Added to my manuals
Manuals
Brands
Caple Manuals
Hob
C981G
Instruction manual
Caple C981G Instruction Manual
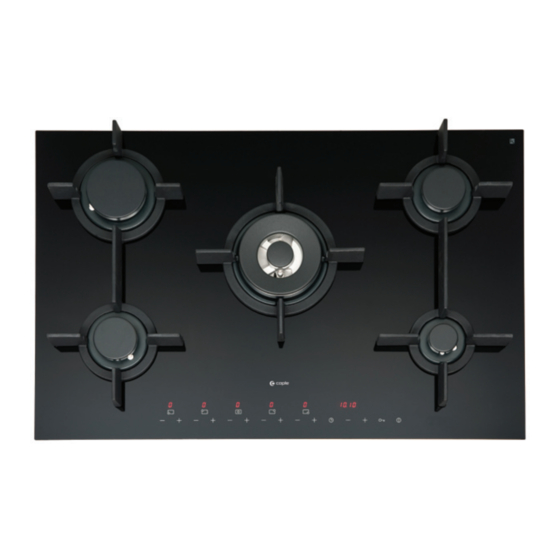
Gas on glass hob
Hide thumbs
Also See for C981G
:
Instruction manual
(20 pages)
1
Table Of Contents
2
3
4
5
6
7
8
9
10
11
12
13
14
15
16
17
18
19
20
21
22
23
24
25
26
27
28
29
30
31
32
33
34
35
36
37
38
39
40
page
of
40
Go
/
40
Contents
Table of Contents
Troubleshooting
Bookmarks
Table of Contents
Table of Contents
Introduction
Warnings
Environmental Protection
Warranty
Parts of the Appliance
Using the Burners
Using Your Gas Hob
Cleaning and Maintenance
Troubleshooting
Installation
Electrical Connection
Technical Specification
Caple Contact Details
Advertisement
Quick Links
1
Troubleshooting
Download this manual
G a s o n G l a s s H o b
I n s t r u c t i o n M a n u a l
C 9 8 1 G & C1 08 1 G
Contact Caple on 0117 938 7420 for spare parts or www.caple.co.uk
Table of
Contents
Previous
Page
Next
Page
1
2
3
4
5
Advertisement
Table of Contents
Need help?
Do you have a question about the C981G and is the answer not in the manual?
Ask a question
Questions and answers
Related Manuals for Caple C981G
Hob Caple C981G Instruction Manual
Gas hobs (20 pages)
Hob Caple C993G Instruction Manual
Gas hobs (8 pages)
Hob Caple C994i Instruction Manual
(30 pages)
Hob Caple C950I Instruction Manual
(32 pages)
Hob Caple C950I Instruction Manual
(20 pages)
Hob Caple C950i Instruction Manual
(12 pages)
Hob Caple C950I Manual
Multizone induction hob (10 pages)
Hob Caple C900I Instruction Manual
(32 pages)
Hob Caple C900I Technical Information
Caple 90cm induction hob ple 90cm induction hob (18 pages)
Hob Caple C786G Instruction Manual
Gas on glass hob (24 pages)
Hob Caple C901I Instruction Manual
(24 pages)
Hob Caple C901I Service Manual
Sense 90cm touch control induction hob (12 pages)
Hob Caple C970i Instruction Manual
(36 pages)
Hob Caple C990i Instruction Manual
(36 pages)
Hob Caple C901H Instruction Manual
Halogen 2+2 hob white (12 pages)
Hob Caple C971G Instruction Manual
(12 pages)
This manual is also suitable for:
C1081g
Table of Contents
Print
Rename the bookmark
Delete bookmark?
Delete from my manuals?
Login
Sign In
OR
Sign in with Facebook
Sign in with Google
Upload manual
Upload from disk
Upload from URL


Need help?
Do you have a question about the C981G and is the answer not in the manual?
Questions and answers