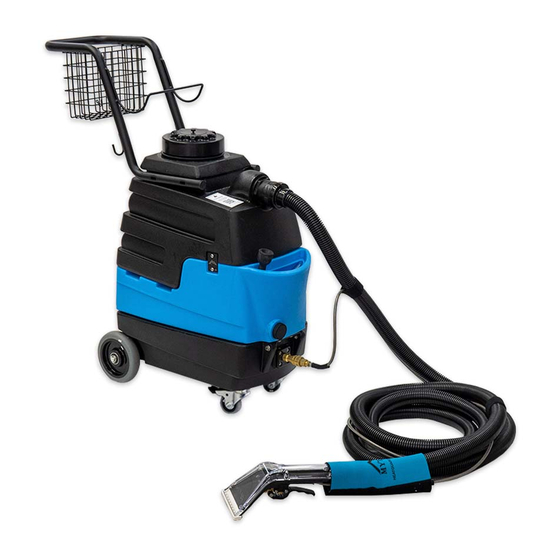
Mytee 8070 Lite Instructions Manual
Hide thumbs
Also See for 8070 Lite:
- User manual (20 pages) ,
- Instructions manual (12 pages) ,
- User manual (16 pages)
Table of Contents
Advertisement
Quick Links
Download this manual
See also:
User Manual
Instructions for
Mytee Lite
8070
Please read before use.
Please read before use.
Register your product
at http://www.mytee.com/
support/register
General Information p. 2
Features p. 5
Operation p. 6
Parts & Pricing p. 9
Wiring Diagram p. 11
DRAWN
™
mytee
NAME
DATE
13655 Stowe Dr., Poway, CA 92064
1/2014
M.LaBarbera
PRODUCTS, INC.
858-679-1191
1
D
C
B
Model #
Serial #
Form # ADP-8070
06-16
Advertisement
Table of Contents

Summary of Contents for Mytee 8070 Lite
- Page 1 Instructions for Mytee Lite 8070 ™ Please read before use. Please read before use. Register your product at http://www.mytee.com/ support/register General Information p. 2 Features p. 5 Model # Operation p. 6 Parts & Pricing p. 9 Serial # Wiring Diagram p. 11...
-
Page 2: General Information
If damage is evident, save the shipping carton so that it can we at Mytee Products Inc. strive to keep you on the cutting edge with superior be inspected by the carrier that delivered it. Contact the carrier immediately to file a freight damage claim. -
Page 3: Operation
4. Filters clogged, remove filters and rinse clean with water. 8. Wait 5–7 minutes for unit to pre-heat. 5. Heater is blocked; flush out with Mytee’s system maintainer. 9. Pull trigger on tool until hot water begins flowing. 6. If brass check valve is stuck replace valve. - Page 4 Q: Does Mytee recommend a tool for the machine? A: A variety of tools can be used with the unit, including our 8390 wand, 8700 crevice tool, 8400 upholstery tool, and 8400DX Mytee Dry™ upholstery tool. Q: Where do I plug the machine in? A: The 8070 requires a 20A grounded circuit.
- Page 5 SIZE DWG. NO. CHECKED DRAWING IS THE SOLE PROPERTY OF Female Reducer 8070 (2014) Mytee Lite™, make sure you use a hand tool (screwdriver) Drain hose w/plug, MYTEE PRODUCTS, INC. ANY COMMENTS: REPRODUCTION IN PART OR AS A WHOLE FINISH...
- Page 6 Attach female end of a solution hose to a wand or tool the tank’s opening located at the front of the unit. You can and the male end to the Mytee Lite’s™ QD. Then connect also use the easy faucet fill also located at the front of the a vacuum hose to a wand and the male Cuff-Lynx™...
- Page 7 RECOVERY TANK DRAIN Turn on vacuum motor and begin cleaning. For best Located at the rear of the Mytee Lite™ is a bucket high results make two dry passes for every wet pass. drain valve. Before extracting, screw on the included A110 drain hose.
- Page 8 Twist counter clockwise for release. chemical build-up, improving pump life, performance and To close unit, place latch, twist clockwise and press latch pressure. to secure. DEFOAMER Add defoamer in the recovery tank to reduce foam, prolonging the life of the Mytee Lite™ vacuum motor.
- Page 9 8070 MYTEE LITE™ PARTS & PRICING Part prices are subject to change.
- Page 10 8070 MYTEE LITE™ PARTS & PRICING...
- Page 11 8070 MYTEE LITE™ WIRING DIAGRAM...
- Page 12 NOTES Mytee Products Inc. 13655 Stowe Dr. Poway, CA 92064 www.mytee.com © 2016 Mytee Products Inc. Printed in the U.S.A.


Need help?
Do you have a question about the 8070 Lite and is the answer not in the manual?
Questions and answers