Table of Contents
Advertisement
Quick Links
Thank you for purchasing this Panasonic product.
■ This manual is intended for products manufactured from May 2016 and beyond.
■ This manual is common to all the models regardless of suffixes of the Model No.
z for Taiwan
T: The standard zoom lens supplied
z for India
D: The standard zoom lens supplied
z for Asia (except for Taiwan, India, Korea)
A: The standard zoom lens supplied
z for other countries or regions
Without L: The standard zoom lens supplied
■ Before operating this product, please read the instructions carefully and save this manual
for future use.
■ Before using this product, be sure to read "Read this first!" ( x pages 4 to 13).
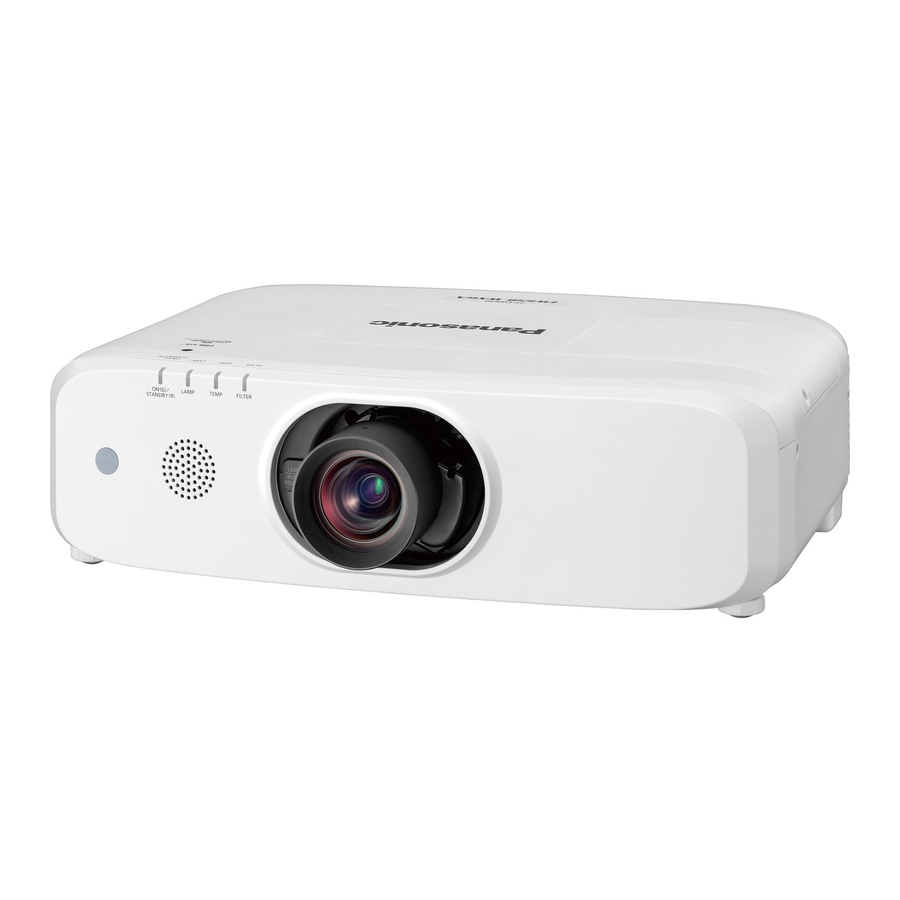
Operating Instructions
LCD Projector
Model No.
LA: The lens sold separately
With L: The lens sold separately
Functional Manual
Commercial Use
PT-EZ59 0
PT-EW65 0
PT-EW55 0
PT-EX62 0
PT-EX52 0
ENGLISH
TQBJ0950-1
Advertisement
Table of Contents


Need help?
Do you have a question about the PT-EZ590 and is the answer not in the manual?
Questions and answers
My projector is switching off after 9 minutes, how do i prevent it from switching off.
To prevent the Panasonic PT-EZ590 projector from switching off after 9 minutes, check if the [TIMER] setting is enabled. The timer can be set between 5 and 120 minutes in 5-minute increments. To adjust or disable it:
1. Select [TIMER] in the menu.
2. Press the appropriate buttons to change or turn off the timer setting.
Ensure it is not set to 9 minutes if you want continuous operation.
This answer is automatically generated