Sign In
Upload
Manuals
Brands
2N Manuals
Intercom System
Helios IP Force
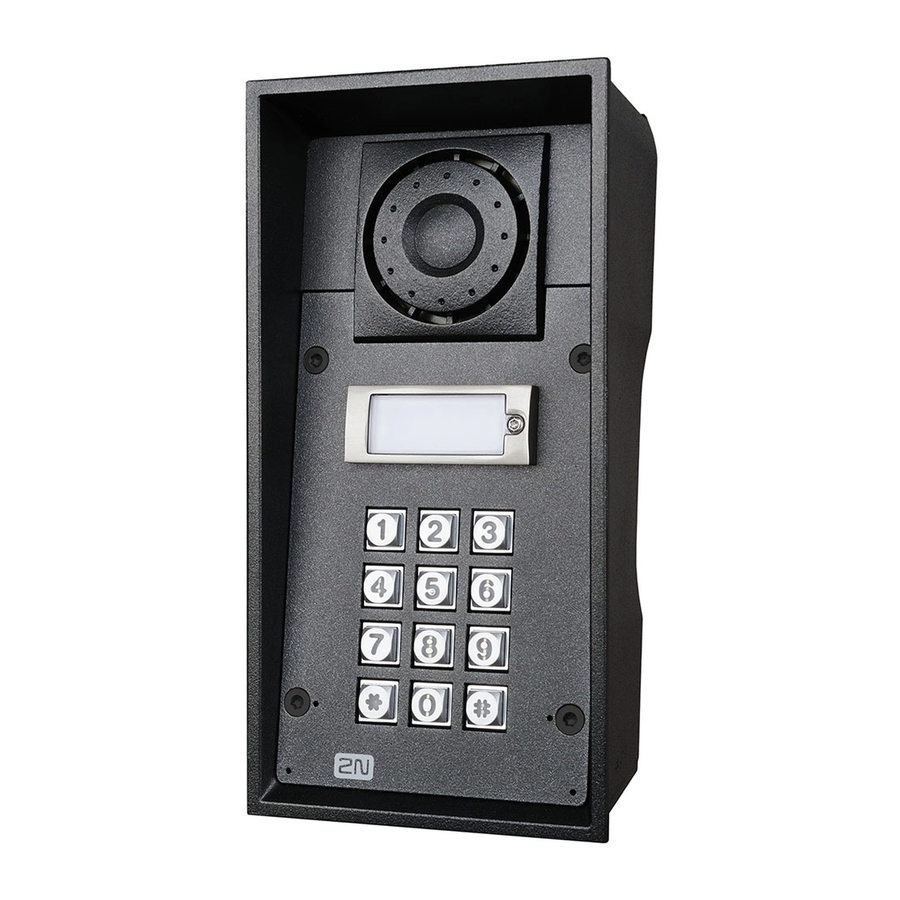
2N Helios IP Force Manuals
Manuals and User Guides for 2N Helios IP Force. We have
4
2N Helios IP Force manuals available for free PDF download: Installation Manual, Manual
2N Helios IP Force Installation Manual (110 pages)
Security IP Intercom
Brand:
2N
| Category:
Intercom System
| Size: 10 MB
Table of Contents
Product Overview
5
Basic Units
9
Flush Mounting Box
21
Voip Telephones
23
Power Supply
26
Additional Modules
27
Terms and Symbols
35
Mechanical Installation
38
Common Mounting Principles
38
Wall Mounting
46
Use of Cable Bushings
48
Electric Installation
51
External Power Supply
55
Electric Lock Connection
55
Mounting Completion
57
Extending Module Connection
60
Button Tags
87
Tag Printing
87
Speed Dial Buttons
95
Calling to Telephone Directory Positions
95
Calling to Telephone Number
95
Answering and Rejecting Incoming Calls
96
Technical Parameters
100
Supplementary Information
104
Troubleshooting
105
Industry Canada
106
General Instructions and Cautions
108
Electric Waste and Used Battery Pack Handling
109
Advertisement
2N Helios IP Force Installation Manual (65 pages)
Security IP Intercom
Brand:
2N
| Category:
Intercom System
| Size: 4 MB
Table of Contents
Table of Contents
3
1 Product Overview
4
Basic Features
4
Advantages of Use
5
Basic Units
6
Components and Associated Products
6
Voip Telephones
8
Additional Modules
9
Power Supply
9
Terms and Symbols
11
2 Description and Installation
12
Before You Start
13
Mechanical Installation
14
Common Mounting Principles
15
Wall Mounting
18
Electric Installation
20
External Power Supply
23
Electric Lock Connection
23
Mounting Completion
24
Extending Module Connection
25
Specifications
30
Button Tags
47
3 Function and Use
48
Configuration
49
Control
53
Speed Dial Buttons
53
Calling to Telephone Directory Positions
53
Calling to Telephone Number
53
Answering and Rejecting Incoming Calls
54
Maintenance
55
4 Technical Parameters
56
Rfid Card Reader
58
5 Supplementary Information
59
Troubleshooting
60
Directives, Laws and Regulations
61
Industry Canada
61
General Instructions and Cautions
63
Electric Waste and Used Battery Pack Handling
64
2N Helios IP Force Installation Manual (46 pages)
Door Access Intercom
Brand:
2N
| Category:
Intercom System
| Size: 1 MB
Table of Contents
Table of Contents
3
1 Product Overview
5
Product Description
7
Basic Features
7
Advantages of Use
8
Upgrade
9
Helios IP Force Components and Associated Products
10
Basic Units
10
Flush Mounting Box
11
GSM / UMTS Connection Accessories
11
Voip Connection Accessories
12
Electric Locks
12
Other Accesories
12
Terms and Symbols
13
Symbols
13
2 Description and Installation
14
Before You Start
15
Product Completeness Check
15
Mechanical Installation
16
Mounting Type Overview
16
Common Mounting Principles
18
Flush Mounting - Classic Bricks
19
Flush Mounting - Thermally Insulated Wall
20
Flush Mounting - Hollow Bricks
21
Flush Mounting - Plasterboard
21
Wall Mounting
22
Use of Cable Bushings
23
Electric Installation
24
PCB Connectors
24
Electric Lock Connection
26
Configuration Jumpers
26
Mounting Completion
27
Button Tags - Insertion and Replacement
28
Tag Printing
28
Tag Inserting / Replacing Instructions
28
3 Function and Use
29
Helios IP Force Configuration
31
Helios IP Force Control
33
Speed Dial Buttons
33
Calling to Telephone Directory Positions
33
Calling to Telephone Number
33
Answering and Rejecting Incoming Calls
33
Door Opening (Switch Activation) by Code
34
User / Profile Activation and Deactivation
34
Maintenance
35
Cleaning
35
Future Tag Replacement, Programming Changes
35
4 Technical Parameters
37
Technical Parameters
39
5 Supplementary Information
41
Directives, Laws and Regulations
42
Troubleshooting
43
General Instructions and Cautions
44
Electric Waste and Used Battery Pack Handling
45
Advertisement
2N Helios IP Force Manual (4 pages)
How to install tamper switch to protect against unauthorized entry
Brand:
2N
| Category:
Intercom System
| Size: 0 MB
Table of Contents
Step 1: Uncover Front Panel
1
Step 2: Remove Key Panel
1
Step 3: Replace Screw Stick
2
Step 4: Place RFID Card Reader
2
Step 5: Replace Key Panel
3
Step 6: Place Tamper Switch
3
Step 7: Cover Front Plate and Circuit Closure
4
Advertisement
Related Products
2N Helios IP
2N Helios IP Uni
2N Helios IP Vario
2N Helios IP Verso
2N Helios IP Safety
2N Helios IP Automation
2N Helios
2N Helios Uni
2N Helios Force
2N Helios Safety
2N Categories
Intercom System
Gateway
Cell Phone
Control Unit
IP Access Controllers
More 2N Manuals
Login
Sign In
OR
Sign in with Facebook
Sign in with Google
Upload manual
Upload from disk
Upload from URL