Table of Contents
Advertisement
Quick Links
Advertisement
Table of Contents

Subscribe to Our Youtube Channel
Related Manuals for Vista ViP2 VK2-1080VFD3V9F


Summary of Contents for Vista ViP2 VK2-1080VFD3V9F
- Page 1 VK2-1080VFD3V9F Quick Guide...
-
Page 3: Installation Steps
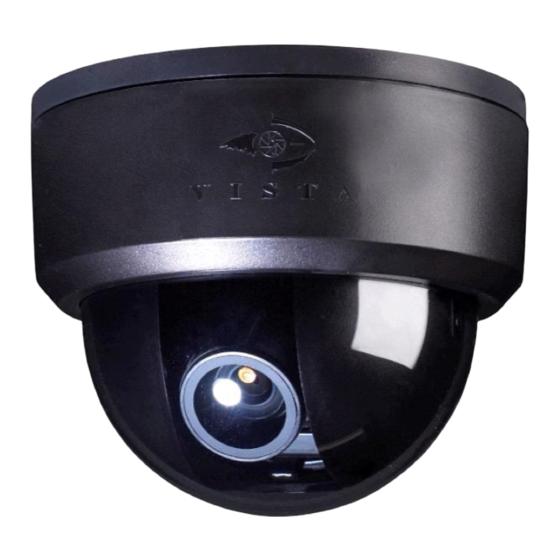
1. Description This manual applies to the VK2-1080VFD3V9 network camera. The VK2-1080VFD3V9F camera is designed for internal applications. It’s Full HD video images offer excellent quality. The Motorised remote set up lens guarantees sharp images throughout the day and night. Please read the following manual before installing the camera. - Page 4 • Front View Name Description Allows wide area to be monitored Lens Power and IP connectors Extension Cable • Side View • Bottom View Name Description Micro SD slot for local recording Micro SD Slot Amber : On System Booting Status LED Green : Normal Operation AI: Alarm Input, G: Ground, AO: Alarm Output...
-
Page 5: Installation
2. Installation 2.1 Connection • Connecting to the RJ-45 Connect a standard RJ-45 cable to the network port of the network camera. Generally a cross-over cable is used for directly connection to PC, while a direct cable is used for connection to a hub. - Page 6 ▶ ID & IP assignment To make changes in the OSD menu, please the OSD controller provided optionally with your camera purchase. You can set Camera Title and IP Address. 1. Connect the OSD Controller to the Service Monitor port of the network camera. 2.
-
Page 7: Network Connection And Ip Assignment
2.2 Network Connection and IP assignment The VK2-1080VFD3V9 supports the operation through the network. When a camera is first connected to the network it has no IP address. So, it is necessary to allocate an IP address to the device with the “Smart Manager”... -
Page 8: Operation
3. Operation The VK2-1080VFD3V9can be used with Windows operating system and browsers. The recommended browsers are Internet Explorer, Safari, Firefox, Opera and Google Chrome with Windows. 3.1 Access from a browser Start a browser (Internet Explorer). Enter the IP address or host name of the VK2-1080VFD3V9in the Location/Address field of your browser. -
Page 9: Access From The Internet
3.2. Access from the internet Access from the internet Once connected, the VK2-1080VFD3V9 is accessible on your local network (LAN). To access the video encoder from the Internet you must configure your broadband router to allow incoming data traffic to the video encoder. To do this, enable the NAT-traversal feature, which will attempt to automatically configure the router to allow access to the video encoder. -
Page 10: Control Toolbar
The resolution drop-down list allows you to select the most suitable one out of video resolutions to be displayed on live view page. The protocol drop-down list allows you to select which combination of protocols and methods to use depends on your viewing requirements, and on the properties of your network. - Page 11 Focus and Zoom Control You can control Zoom and Focus in the live screen. Press the button on the left top in the live screen to activate the Zoom & Focus control panel. • Adjusting Zoom: Click “–“ button to zoom out and click “+” button to zoom in. The focus is moved slightly after adjusting zoom;...
-
Page 12: Resetting To The Factory Default Settings
When accessing the VK2-1080VFD3V9 for the first time, the “Admin Password” dialog appears. Enter your admin name and password, set by the administrator. Note: If the password is lost, the VK2-1080VFD3V9 must be reset to the factory default settings. See “3.6 Resetting to the Factory Default Settings”. 3.6 Resetting to the factory default settings To reset the VK2-1080VFD3V9 to the original factory settings, go to the Setup>System >Maintenance web page (described in “3.5.4 System>Maintenance”...
Need help?
Do you have a question about the ViP2 VK2-1080VFD3V9F and is the answer not in the manual?
Questions and answers