Table of Contents
Advertisement
Quick Links
Advertisement
Table of Contents

Related Manuals for Ayra ERO Laser


Summary of Contents for Ayra ERO Laser
- Page 1 ERO Laser Movinghead with fat beam laser diode User manual...
-
Page 2: Safety Precautions
- Keep the unit away from dusty environments, as this may have negative effect on the fan-cooling system and laser optics. Ayra recommends using a flightcase for storage of this device. Clean the optics and fan of the laser with a small, soft brush and vacuum cleaner when needed. Clean the housing of the unit with a damp cloth. - Page 3 Box contents Box contents 1x ERO Laser movinghead 1x user manual 1x IEC to Schuko power cable 1x mounting bracket with hardware 1x safety eye Unit and accessory inspection - Always use the supplied power cable to connect the unit to a power supply. If the cable appears broken or has visible damage, do not use it.
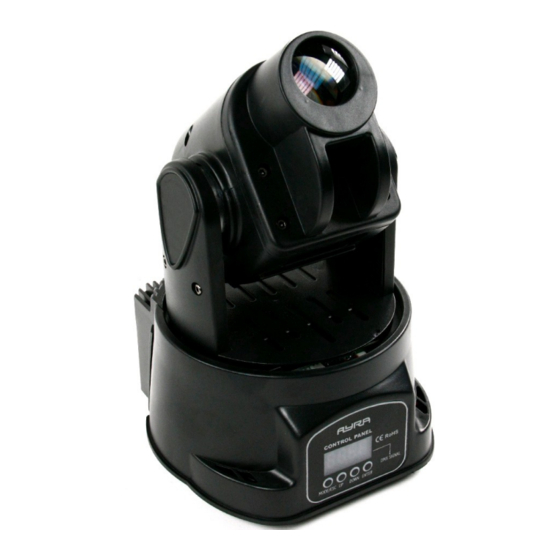
- Page 4 Device overview 1. Laser beam output 2. Menu display with navigation buttons 3. Cooling fan head 4. IEC input with fuse 5. DMX input 6. DMX output 7. Mounting bracket (illustrated mounted on the bottom) 8. Cooling fan base...
- Page 5 It is possible to select a slow mode or fast mode. Slave mode: It is possible to link several ERO laser fixtures for a synchronized lasershow, without the use of a DMX controller. Connect your devices with standard XLR-XLR cables. The first device in the chain needs to be set to a basic function, such as sound-active or one of the auto shows.
- Page 6 Placement and mounting of the fixture: For safety reasons, the ITA ERO Laser is equipped with a laser diode of the type ‘fat beam’. This means, the diameter of the laser beam is much thicker than a regular laser beam, to spread the intensity of the laser beam on a larger surface.
- Page 7 DMX operating mode While in the DMX mode, it is possible to select the working mode of the laser. That way, you can either choose to use your own programmed presets of your DMX controller, or to activate the music activated/automatic working mode of the laser to have a fully-automatic lasershow.
-
Page 8: Technical Specifications
Technical specifications TYPE: ERO Laser Laser diode: - 80 mW green fat beam laser diode, 10 mm (532 nm) Tech specs: - Laser movinghead with 80mW green fat beam laser diode light source - Projects static fat beam laser beams...
Need help?
Do you have a question about the ERO Laser and is the answer not in the manual?
Questions and answers