Allied Telesis AT-TQ4600 Quick Installation Manual
Hide thumbs
Also See for AT-TQ4600:
- Installation manual (58 pages) ,
- Installation manual (58 pages) ,
- Installation manual (72 pages)
Table of Contents
Advertisement
Quick Links
Download this manual
See also:
Installation Manual
Quick Installation Guide
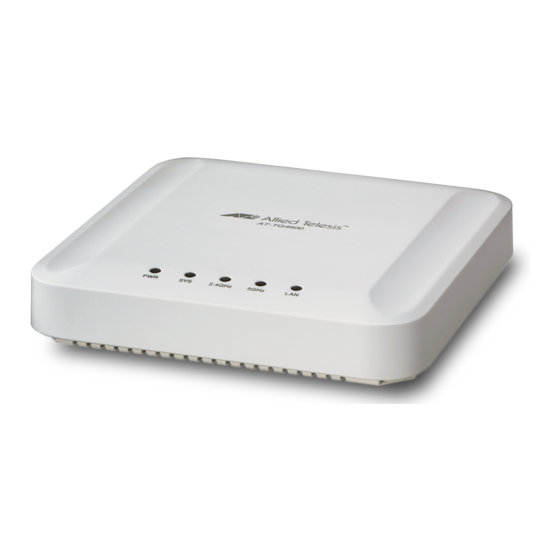
AT-TQ4600
Wireless Access Point
Installation and User's Guides
This document contains an abbreviated version of the installation instructions for the
AT-TQ4600 Wireless Access Point. For complete installation and management
instructions, refer to the AT-TQ4600 Installation Guide and AT-TQ Wireless Access Point
Series User's Guide on the Allied Telesis web site at www.alliedtelesis.com/support.
Safety and Electromagnetic Emissions Certificates
For Safety and Electromagnetic Emissions certificates, refer to the AT-TQ4600 Installation
Guide.
Installation Options
Wall or ceiling
Table or desktop
This quick installation guide explains how to install the device on a wall or ceiling. For
instructions on how to install the device on table or desktop, refer to the AT-TQ4600
Installation Guide.
Note:
The non-US model of this product has a country code setting that must be set during the
initial management session of the unit. The setting ensures that the unit operates in
compliance with the laws and regulations of your country or region.
The country code for the US model is preset and cannot be changed. Per FCC regulations,
the country code setting for all WiFi products marketed in the US must be fixed to US
operational channels only.
Physical Description
For a physical description of the AT-TQ4600 Wireless Access Point, refer to the AT-
TQ4600 Installation Guide.
Package Contents of the AT-TQ4600 Wireless Access Point
The following items should be in the shipping container:
One AT-TQ4600 Wireless Access Point
This AT-TQ4600 Quick Installation Guide
Four rubber feet with one mounting-bracket screw
One bracket for wall or ceiling mounting
If you are not planning to use the PoE+ feature of the access point to power the device, you
must separately order the AT-TQ0091 AC/DC Power Adapter. For installation information
on the adapter, refer to the AT-TQ4600 Installation Guide.
If any item is missing or damaged, contact your Allied Telesis sales representative for
assistance. You should retain the original shipping material in case you need to return the
unit to Allied Telesis.
*613-002128 Rev A*
613-002128 Rev. A
Installing the Wireless Access Point on a Wall or Ceiling
For instructions on how to install the device on a table or desktop, refer to the AT-TQ4600
Installation Guide.
To install the access point on a wall or ceiling, perform the following procedure:
1.
Insert the mounting bracket under the clips on the bottom of the access point to lock
the bracket in place.
Mounting
Bracket
Access Point
Mounting
Clips
2.
Attach the mounting-bracket screw through the cut-out in the mounting bracket to the
bottom of the access point.
Mounting-Bracket Screw
3.
To install wall anchors, hold the access point at the selected wall or ceiling location.
Mark the two bracket mounting holes that are located at both ends of the bracket
with a pen or pencil.
4.
If necessary, pre-drill the holes for the anchors.
5.
Install the wall anchors (not provided with the access point).
6.
Have someone hold the bottom of the access point against the selected wall or
ceiling location while you secure it to the wall or ceiling with two self-tapping screws
(not provided with the access point).
1
7.
Connect a network cable to the LAN port on the rear panel of the access point.
8.
Connect the other end of the network cable to a port on the PoE enabled networking
device (for example, Ethernet switch, midspan power-sourcing device).
Kensington Lock
A Kensington lock can be used to secure the device when it is installed on a wall, ceiling,
or table. For the location of the lock, refer to the AT-TQ4600 Installation Guide.
Starting the Initial Management Session
This section contains an abbreviated version of the procedure for starting the initial
management session. For complete instructions, refer to the AT-TQ4600 installation Guide
or AT-TQ Wireless Access Point Series User's Guide.
The wireless access point has a DHCP client. The default setting for the client is enabled.
When you power on the access point for the first time, it queries the subnet on the LAN port
for a DHCP server. If a DHCP server responds to its query, the unit uses the IP address the
server assigns to it. If there is no DHCP server, the access point uses the default IP
address 192.168.1.230.
To start the initial management session, perform the following procedure:
1.
Start the web browser on your management workstation.
2.
Enter the IP address of the wireless access point in the URL field of the web
browser. The address is one of the following:
If your network does not have a DHCP server, enter the default address
192.168.1.230.
If your network has a DHCP server, enter the IP address the DHCP server
assigned to the access point.
The wireless access point displays the logon prompt.
3.
Enter "manager" for the username and "friend" for the password. The username and
password are case-sensitive.
Setting the Country Setting
For instructions on setting the country setting, refer to the AT-TQ4600 installation Guide or
AT-TQ Wireless Access Point Series User's Guide.
Note:
The non-US model of this product has a country code setting that must be set during the
initial management session of the unit. The setting ensures that the unit operates in
compliance with the laws and regulations of your country or region.
The country code for the US model is preset and cannot be changed. Per FCC regulations,
the country code setting for all WiFi products marketed in the US must be fixed to US
operational channels only.
2
3
Advertisement
Table of Contents

Related Manuals for Allied Telesis AT-TQ4600


Summary of Contents for Allied Telesis AT-TQ4600
- Page 1 Installing the Wireless Access Point on a Wall or Ceiling Connect a network cable to the LAN port on the rear panel of the access point. Quick Installation Guide For instructions on how to install the device on a table or desktop, refer to the AT-TQ4600 AT-TQ4600 Installation Guide.
- Page 2 (i.e. priority users) of the bands 5250-5350 MHz and 5650-5850 MHz and that these radars provided herein is subject to change without notice. In no event shall Allied Telesis, Inc. be You may turn off the LEDs with the management software.
Need help?
Do you have a question about the AT-TQ4600 and is the answer not in the manual?
Questions and answers