Dean 1824G Installation & Operation Manual
24g series flatbottom gas fryers
Hide thumbs
Also See for 1824G:
- Installation & operation manual (46 pages) ,
- Specification sheet (2 pages)

Subscribe to Our Youtube Channel
Related Manuals for Dean 1824G


Summary of Contents for Dean 1824G
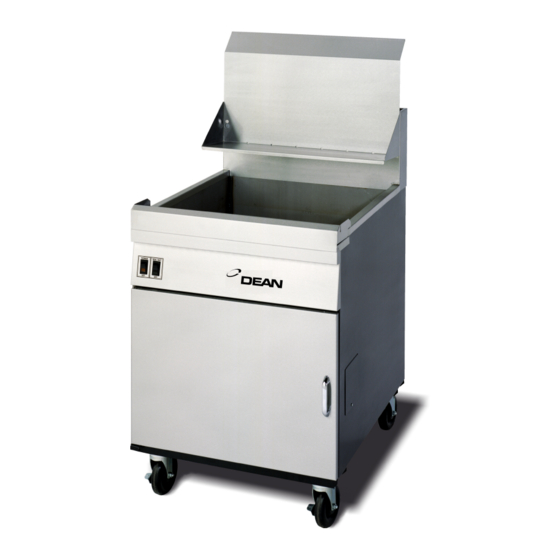
- Page 1 Models 1824G & 2424G (Parts List Included) Dean, a member of the Commercial Food Equipment Service Association, recommends using CFESA Certified Technicians. Price: $6.00 24-Hour Service Hotline 1-800-551-8633 819-5697 12-01...
- Page 2 California to cause cancer. Inhalation of carbon monoxide is known to the State of California to cause birth defects or other reproductive harm. DEAN FRYERS EQUIPPED WITH LEGS ARE FOR PERMANENT INSTALLATION. FOR MOVEABLE OR PORTABLE INSTALLATION, DEAN OPTIONAL EQUIPMENT CASTERS MUST BE USED.
-
Page 3: Table Of Contents
24G Series Flatbottom Gas Fryers Installation, Operation & Maintenance Manual TABLE OF CONTENTS 1. DESCRIPTION AND SPECIFICATIONS............1 2. PRE-INSTALLATION ..................2 3. RECEIVING AND INSTALLING THE FRYER ..........3 4. INITIAL START-UP ..................5 5. DAILY OPERATION ..................8 6. CLEANING & MAINTENANCE..............9 7. TROUBLESHOOTING...................10 8. -
Page 4: Description And Specifications
A. High oil temperature detection to shut off power to the main burners through the solenoid-actuated gas valve. MODEL 1824G 2424G FRYING VESSEL B. Combustion gas valve includes built-in Frying Area: 18 X 24”... -
Page 5: Pre-Installation
1.5 RATING PLATE 2.3 STANDARDS The rating plate is on the inside right hand Installation must be planned in accordance with corner of the fryer door. Information on this all applicable state and local codes, taking into plate includes the model and serial numbers. account the following standards: When communicating with the factory about a A. -
Page 6: Receiving And Installing The Fryer
2.4 AIR SUPPLY & VENTILATION 3. RECEIVING & INSTALLING THE FRYER The area around the appliance must be kept clear to avoid obstruction to the flow of 3.1 UNPACKING combustion and ventilation air as well as for Check that the container is upright. ease of maintenance and service. - Page 7 3.4 LEVELING C. "24G" Series fryers can be connected to either natural or propane gas, depending A. A carpenter's spirit level should be on the customer's ordering instructions. placed across the top of the fryer and the The correct combination gas valve and unit leveled both front-to-back and side- orifices are installed at the factory for the to-side.
-
Page 8: Initial Start-Up
Close the drain valve completely and remove the crumb screen. WARNING It is strongly recommended that a Ensure the screws holding the thermostat and single fryer NOT be installed on limit control sensing bulbs into the vessel are casters. properly connected and tight. 3.6 ELECTRICAL CONNECTIONS 4.2 INITIAL PILOT LIGHT The wiring diagram is attached to the inside of... - Page 9 4.3 PILOT LIGHT (Electric Spark Ignition) WARNING! IF THE MAIN BURNERS ARE OPERATED WITH THE VESSEL WARNING! EMPTY, IRREPAIRABLE DAMGE NEVER USE A MATCH OR TAPER WILL OCCUR. IF THE VESSEL IS TO LIGHT THIS IGNITION SYSTEM! DAMAGED IN THIS WAY, THE ENTIRE VESSEL ASSEMBLY MUST A.
- Page 10 4.4 HEATING THE VESSEL burners "ON" for about 5-10 seconds, "OFF" for 1 minute, etc., until the Fill the fryer vessel with hot or cold water to the shortening is melted. If the oil starts to bottom OIL LEVEL line scribed into the back of smoke during the melt cycle, shorten the the tank.
-
Page 11: Daily Operation
5.3 FILTERING 5. DAILY OPERATION The frying compound should be filtered at least 5.1 OPENING daily, as described in the instructions packed At opening, always check the following: with the filter, or even more frequently if cooking is heavy. This assures the longest life A. -
Page 12: Cleaning & Maintenance
6. CLEANING & MAINTENANCE G. Drain, rinse, and dry thoroughly. 6.1 GENERAL H. Refill with cooking oil or frying compound as directed in the above All appliances work better and last longer when section. maintained properly and kept clean. Cooking equipment is no exception. -
Page 13: Troubleshooting
The problems and possible solutions given below cover those most commonly encountered. FACTORY APPROVAL MUST BE OBTAINED PRIOR TO ANY WARRANTY WORK BEING DONE OR DEAN INDUSTRIES CANNOT BE HELD RESPONSIBLE. PROBLEM CORRECTIVE ACTION Pilot will not ignite;... - Page 14 PROBLEM CORRECTIVE ACTION Check that the combination gas valve is open. Main burner will not come on even though air blower is in Check that the pilot is lit and is operating operation; no gas pressure at properly. main burner. The gas control may be defective;...
-
Page 15: Recommended Spare Parts/Parts List
Signs of excessive fry vessel Check operating thermostat; it may be out of calibration. Re-calibrate in accordance with temperature; oil/shortening instructions packaged with thermostat. quickly becomes discolored. Check gas pressure. Cooking compound of inferior quality or used too long. Replace with quality oil/shortening. May be a short circuit in system or problems with Thermatron. - Page 16 9.3 Parts List: 1824G & 2424G Some units have Thermatron board mounted in control panel. Some units have Thermatron board mounted behind rocker switch cover in cabinet.
- Page 17 9.3 Parts List: 1824G & 2424G (cont.) ITEM COMPONENT MODEL 1824G MODEL 2424G PART # PART # Top Assembly, Short Stack 823-3622 24248 Top Assembly, Std. (Old-Style High Stack) 823-3699 823-3264 Top Assembly, Short Stack (Old Style) 823-3577 106-1619SP Hose Support, LJS Systems...
- Page 18 9.3 Parts List: 1824G & 2424G (cont.) ITEM COMPONENT MODEL 1824G MODEL 2424G PART # PART # Switch, Oil-Tight Assembly 44382 44382 Switch, Reset (Carling) 807-3576 807-3576 Plug, Switch Hole 807-3575 807-3575 Cover, Thermatron Entry 24-0015 24-0015 Pilot, Burner Assembly- Natural...
- Page 19 9.3 Parts List: 1824G & 2424G (cont.) ITEM COMPONENT MODEL 1824G MODEL 2424G PART # PART # Deflector Assembly 823-3579 823-3474 Flue Extension 24360 24360 Fuse Holder 807-1321 807-1321 Fuse, 2 Amp 807-3592 807-3592 Additional Components Not Illustrated Bracket, Batter Pan...
-
Page 20: Specifications
45 – 70 Lbs. OIL CAPACITY 65 – 90 Lbs. 120,000 GAS RATING – BTU 120,000 120V/60/~1Ø – 2.0A ELECTRICAL RATING 120V/60/~1Ø – 2.0A OVERALL WIDTH OVERALL DEPTH OVERALL HEIGHT WORK HEIGHT OPTIONAL CASTERS MODELS 1824G & 2424G GAS FRYERS... -
Page 21: Wiring Diagrams
11. WIRING DIAGRAMS... - Page 22 11. WIRING DIAGRAMS (cont.)
- Page 23 11. WIRING DIAGRAMS (cont.)
- Page 24 11. WIRING DIAGRAMS (cont.)
- Page 25 Dean, 8700 Line Avenue, PO Box 51000, Shreveport, Louisiana 71135-1000 Shipping Address: 8700 Line Avenue, Shreveport, Louisiana 71106 TEL 1-318-865-1711 FAX (Parts) 1-310-327-3343 FAX (Tech Support) 1-318-219-7135 SERVICE HOTLINE Price: $6.00 PRINTED IN THE UNITED STATES 1-800-551-8633 819-5697 12-01...
Need help?
Do you have a question about the 1824G and is the answer not in the manual?
Questions and answers