
Related Manuals for Clarke CDS300B


Summary of Contents for Clarke CDS300B
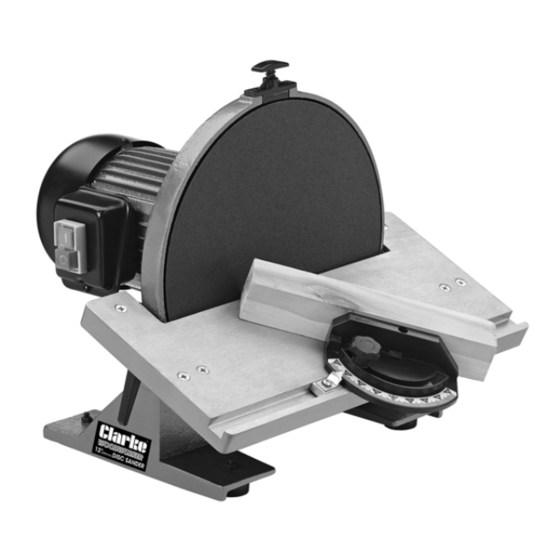
- Page 1 12” DISC SANDER MODEL NO: CDS300B PART NO: 6500411 OPERATION & MAINTENANCE INSTRUCTIONS LS1113...
- Page 2 INTRODUCTION Thank you for purchasing this CLARKE product. Before attempting to use this product, please read this manual thoroughly and follow the instructions carefully. In doing so you will ensure the safety of yourself and that of others around you, and you can look forward to your purchase giving you long and satisfactory service.
-
Page 3: General Safety Rules
GENERAL SAFETY RULES WARNING: WHEN USING ELECTRIC TOOLS BASIC SAFETY PRECAUTIONS SHOULD ALWAYS BE FOLLOWED TO REDUCE THE RISK OF FIRE, ELECTRIC SHOCK AND PERSONAL INJURY INCLUDING THE FOLLOWING. READ ALL THESE INSTRUCTIONS BEFORE ATTEMPTING TO OPERATE THIS PRODUCT AND SAVE THESE INSTRUCTIONS. 1. - Page 4 15. Maintain tools with care - Keep cutting tools sharp and clean for better and safer performance. Follow instruction for lubricating and changing accessories. Inspect tool cords periodically and if damaged have them repaired by an authorized service facility. Inspect extension cords periodically and replace if damaged.
-
Page 5: Additional Safety Instructions For Disc Sanders
ADDITIONAL SAFETY INSTRUCTIONS FOR DISC SANDERS • ALWAYS place the sander on a solid wood workbench which will not move under load. • ALWAYS wear safety goggles as protection against flying grit and/or sawdust. In many cases, a full face shield is even better protection. A dust mask is also recommended to keep saw dust out of your lungs. -
Page 6: Electrical Connections
ELECTRICAL CONNECTIONS WARNING: READ THESE ELECTRICAL SAFETY INSTRUCTIONS THOROUGHLY BEFORE CONNECTING THE PRODUCT TO THE MAINS SUPPLY. Connect the mains lead to a standard, 230 Volt (50Hz) electrical supply through an approved 13 amp BS 1363 plug, or a suitably fused isolator switch. If the plug has to be changed because it is not suitable for your socket, or because of damage, it must be removed and a replacement fitted, following the wiring instructions shown below. -
Page 7: Installation Instructions
Remove the sander from the packing and ensure it is complete and has not suffered any damage in transit. Should any damage be apparent, contact your Clarke dealer immediately. Your disc sander is fully assembled, except for the dust extraction and the mitre gauge. -
Page 8: Adjusting The Work Table
OPERATING INSTRUCTIONS ADJUSTING THE WORK TABLE 1. Adjust the work table to the desired angle by slackening the two table clamps, one either side, 2. Move the table to the required angle. 3. Retighten the clamps. • The clamps are spring loaded. Turn the lever clockwise to clamp, as far as possible. -
Page 9: To Stop The Disc Sander
TO STOP THE DISC SANDER 1. Press the RED STOP button marked ‘O’ and wait for the disc to stop completely before removing any dust. • Take care, the disc may take some time to come to a full stop. •... -
Page 10: Dust Extraction
REPLACING SANDING DISCS Replacement sanding discs (packets of 5) in three different grit sizes are available from your Clarke dealer. 60 grit - self adhesive (Packets of 5) Part No. 6502305 80 grit - self adhesive (Packets of 5) Part No. -
Page 11: Specification
SPECIFICATION Motor 230V 50Hz 1Ph Speed 1490 RPM Power Rating - On load 900 Watts Fuse Rating 13 Amps Disc Size. 305 mm Dimensions Overall 440 x 437 x 386 Table Size. 437 x 153mm Table Tilt 0-45 Down Mitre Gauge 0-60 Both directions Dust Extraction Outlet ID...
Need help?
Do you have a question about the CDS300B and is the answer not in the manual?
Questions and answers