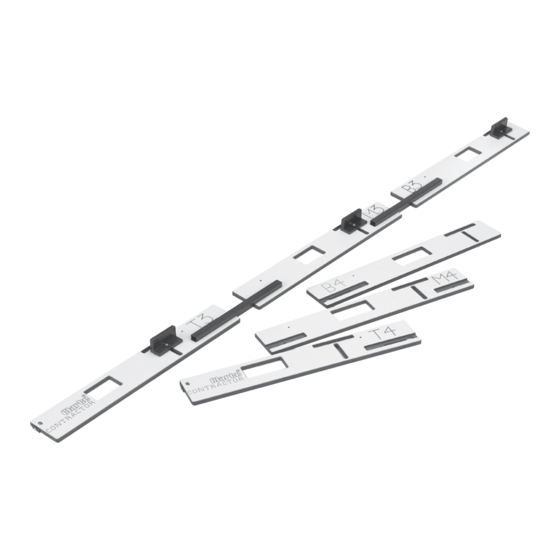
Summary of Contents for Clarke CONTRACTOR CHJ110
- Page 1 HINGE JIG HINGE JIG Model No: CHJ110 Part No: 6462121 OPERATION & MAINTENANCE INSTRUCTIONS 0405...
- Page 2 Please note that the details and specifications contained herein, are correct at the time of going to print. However, CLARKE International reserve the right to change specifications at any time without prior notice.
-
Page 3: Specifications
CLARKE GUARANTEE This CLARKE product is guaranteed against faulty manufacture for a period of 12 months from the date of purchase. Please keep your receipt as proof of purchase. This guarantee is invalid if the product is found to have been abused or tampered with in any way, or not used for the purpose for which it was intended. -
Page 4: Safety Precautions
Safety Precautions WARNING: As with all machinery, there are certain hazards involved with their operation and use. Exercising respect and caution will considerably reduce the risk of personal injury. However, if normal safety precautions are overlooked or ignored, personal injury to the operator or damage to property, may result. 1. -
Page 5: Operation
Operation Before commencing: ALWAYS ensure the work area is safe and secure. ALWAYS ensure the door is supported properly, ideally using a folding workbench or similar. ALWAYS ensure the router path is clear of any obstacles etc. ALWAYS ensure the router power cable is clear of the jig and is of sufficient length. ALWAYS read and understand the router instruction manual to ensure safe operation. - Page 6 Positioning And Adjusting The Jig. Hinge Recess 1. Separate the 3 sections by loosening the wing screws in the top and bottom plates, slide each plate so that the wing screw passes through the keyhole. 2. Place the top plate on the edge of the door so that the clamping block is set against the open face of the door.
- Page 7 5. Attach the middle plate to the top plate as described on page 4, DO NOT tighten wing screw at this stage. 6. Attach the bottom plate to the middle plate, adjust the bottom plate so that it is flush with the end of the door, tighten the wing screw and secure to the door with ‘G’...
- Page 8 Routing Hinge Recesses In The Frame. 1. Carefully remove the hinge jig from the door without releasing any wing screws and taking care not to disturb the jig settings. 2. Loosen the securing screw in the swivel and turn it back 90º so that it is in line with the top plate again, tighten securing screw.


Need help?
Do you have a question about the CONTRACTOR CHJ110 and is the answer not in the manual?
Questions and answers