Phoenix Model Tucano Electric Instruction Manual
Arf
Hide thumbs
Also See for Tucano Electric:
- Instruction manual (21 pages) ,
- Instruction manual (52 pages)
Advertisement
Quick Links
Download this manual
See also:
Instruction Manual
Instruction Manual
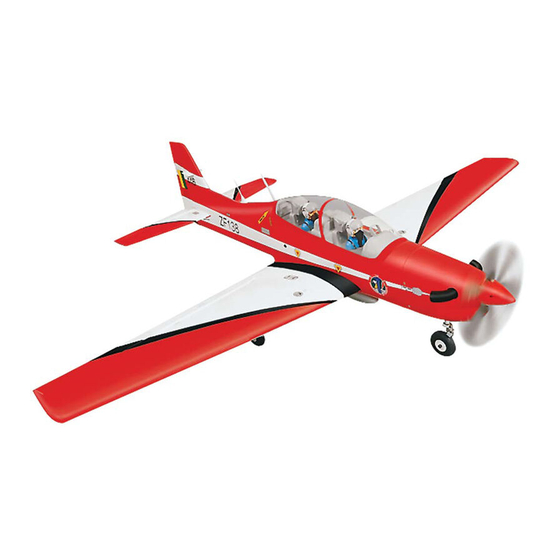
Wing span: 945mm (37.2 in)
Length: 770mm (30.31 in)
g
Weight: 550gr - 620gr
Motor: AXI 2208 /26 or 400-500 w/ gear box
Radio: 4 channel/ 3 servos mini
Made in Vietnam
We wish you many enjoyable flights with your plane and once again thank you for your choosing a Phoenix Model product
Advertisement

Related Manuals for Phoenix Model Tucano Electric


Summary of Contents for Phoenix Model Tucano Electric
-
Page 1: Instruction Manual
Weight: 550gr - 620gr Motor: AXI 2208 /26 or 400-500 w/ gear box Radio: 4 channel/ 3 servos mini Made in Vietnam We wish you many enjoyable flights with your plane and once again thank you for your choosing a Phoenix Model product... -
Page 3: Kit Contents
KIT CONTENTS: We have organized the parts as they come out of the box for better identification during assembly. We recommend that you regroup the parts in the same manner. This will ensure you have all of parts required before you begin assembly KIT CONTENTS AIR FRAME ASSEMBLIES RUDDER CONTROL SYSTEM... - Page 4 Remove the covering from the top of the wing. Remove the covering from the bottom of the wing. Prepare the thread as a guide. Pull the servo lead out. Using masking tape, tape the servo leads on the top of the Install the servo into the servo box.
- Page 5 Glue the wing with epoxy. Apply the trim tape to the center section of the wings where they join. Glue the aileron hinge by C.A. glue. Glue the control horn into the aileron by C.A. glue. Install the metal rod into the aileron servo. Cut the metal rod.
- Page 6 Install the wheel collar. Install the wheel and the wheel collar. Make the same way for the second wing. Glue the elevator hinge by C.A. glue. Make the center line into the elevator. Insert the elevator into the slot of the fuselage. Mark the shape of the fuselage on the top and on the bottom Cut away the covering from the top and the bottom of the of the elevator.
- Page 7 Glue the elevator by epoxy. Glue the rudder hinge by C.A. glue. Remove the covering from the fuselage. Glue the rudder into the fuselage by epoxy. Remove the covering from the exit slot for rudder. Insert the wire pushrod and also insert the control horn into the wire pushrod.
- Page 8 Cut away the wood from the rudder. Glue the control horn by C.A. glue. Remove the covering from the exit slot for elevator. Insert the wise pushrod and also insert the control horn into the wire pushrod. Cut away the wood from the elevator. Glue the control horn by C.A.
- Page 9 Install the elevator, rudder pushrod into the servo. Glue the pushrod holder into the fuselage. Prepare the engine mount. Glue the engine mount into the fuselage. Drill four holes into the engine mount. The engine has been drilled. Install the motor. Install the nose gear.
- Page 10 Install the wheel collar. Install the wheel and the wheel collar. Make the hole for the cowling. Make the hole for the cowling. Make the hole for the cowling. Cut away the cowling. Install the cowling. Secure the cowling.
- Page 11 Install the propeller.
-
Page 12: Control Throws
5. Check the receiver antenna . It should be fully extended and not coiled up inside the fuselage. 6. Properly balance the propeller. We wish you many enjoyable flights with your plane and once again thank you for your choosing a Phoenix Model product...
Need help?
Do you have a question about the Tucano Electric and is the answer not in the manual?
Questions and answers