Table of Contents
Advertisement
Quick Links
Advertisement
Table of Contents

Related Manuals for Cypress CLUX-H2SDI


Summary of Contents for Cypress CLUX-H2SDI
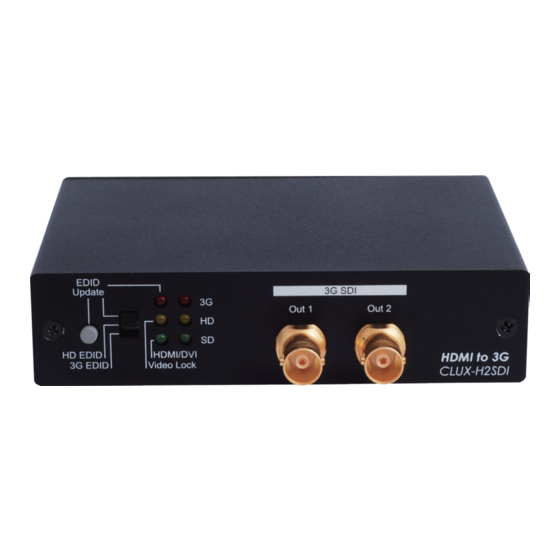
- Page 1 CLUX-H2SDI HDMI to 3G SDI Dual-Output Converter Operation Manual CLUX-H2SDI...
- Page 2 Cypress Technology assumes no responsibility for any inaccuracies that may be contained in this document. Cypress also makes no commitment to update or to keep current the information contained in this document.
-
Page 3: Safety Precautions
Safety Precautions Please read all instructions before attempting to unpack or install or operate this equipment, and before connecting the power supply. Please keep the following in mind as you unpack and install this equipment: Always follow basic safety precautions to reduce the risk of fire, electrical shock and injury to persons. -
Page 4: Table Of Contents
Table of Contents 1. Introduction .................. 1 2. Applications ................. 1 3. Package Contents ..............1 4. System Requirements ..............1 5. Features ..................1 6. Specifications ................2 7. Operation Controls and Functions ..........3 Front Panel ..............3 Rear Panel ..............5 8. LED Signal Chart . -
Page 5: Introduction
1. Introduction The HDMI™ to 3G SDI converter allows HDMI signals to be shown on SDI displays while ensuring high bit rates of 2.970 Gbit/s to give you high resolution signal without any loss. For professionals this means that it is now easier to convert your high def HDMI signal with audio to 3G SDI for long distance transmission and display your work on two 3G SDI display. -
Page 6: Specifications
• Connect with other units (SDI to HDMI) to extend your signal over long distances • Choose between a selectable EDID and recordable EDID • Supports signal transmission distances of up to 300M for SD signals, 200M for HD signals and 100M for 3G signals Note: Cable tested with Belden 1694A. -
Page 7: Operation Controls And Functions
TV/Monitor (HDMI Cable) B. Connect HDMI source directly (without connecting to CLUX-H2SDI ) to HDMI monitor or TV to see if the image display and make sure the source's output timing is supporting SDI or CLUXH2SDI's timing. If yes, go to step C. - Page 8 TV/Monitor (HDMI Cable) C. Connect the HDMI monitor or TV to the input port of CLUX-H2SDI and then set the dip switch to EDID update position. Press the EDID update button consistently until the Video Lock LED illuminate. In this step the device will updating the monitor/TV’s EDID to replace the default setting.
-
Page 9: Rear Panel
7.2 Rear Panel . HDMI In: This slot is to connect with the input source equipment such as DVD or Blue-Ray player with connection cable for input video and audio signal transmitting. Or it can also be connect with DVI source equipment for video signal transmitting. -
Page 10: Led Signal Chart
8. LED Signal Chart System Operation LED Signal Status EDID EDID Singal LED EDID Video HDMI Description Switch 3G HD SD Update /Lock /DVI Not Pressed ● ● ● Input timing is 3G, HDMI mode Not Pressed ●... - Page 11 3. EDID switch mode / Default EDID setting: 3G 1080p@60 HD 1080i@60 Update / SD 720p@60 4. Due to HDMI’s default timing are mainly set on 480p but SDI does not support such timing therefore, it is possible that the image will not dis play.
-
Page 12: Connection And Installation
9. Connection and Installation Blu Ray 100M~300M 100M/300M CLUX-SDI2HC Sony SDI Monitor HDMI Monitor / TV... -
Page 13: Acronyms
Acronyms Acronym Complete Term Bandwidth 2.97Gbit/s ≈ 3G Serial Digital Interface... - Page 16 CYPRESS TECHNOLOGY CO., LTD. Home page: http://www.cypress.com.tw MPM-CLUXH2SDI...
Need help?
Do you have a question about the CLUX-H2SDI and is the answer not in the manual?
Questions and answers