Table of Contents
Advertisement
Advertisement
Table of Contents

Related Manuals for York Fitness 50031


Summary of Contents for York Fitness 50031
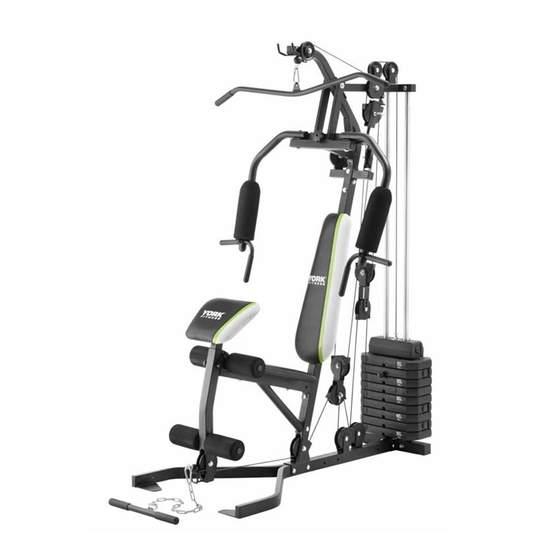
- Page 1 Owner’s Manual Warrior Vertical Multigym 50031 14OCT2011 www.yorkfitness.com...
-
Page 2: Table Of Contents
Table of contents Congratulations on CONTENTS purchasing your exercise equipment from Safety information Customer support Assembly instructions You have chosen a high quality, safe and innovative piece of equipment as your training Care & Maintenance partner and we are certain it will keep you motivated on the way to achieving your personal fitness goals. -
Page 3: Safety Information
• Due to our continuous policy of product • Use only the adjustment settings as described in the development, York Fitness reserves the right to instructions. Always use the correct adjustment pin/ change specifications without notice. -
Page 4: Customer Support
• Information about the place and conditions of use • Precise description of the issue / defect IMPORTANT!! - Please retain your sales receipt, York Fitness Customer Care may request proof of purchase to validate eligibility for warranty service. Warranty cover starts from the date shown on the proof of purchase. -
Page 5: Assembly Instructions
Assembly instructions • Prepare your work area - It is important you assemble the product in a clean and uncluttered space. • Work with a friend - We recommend you have someone assist you with the assembly as some of the components are quite heavy. • Open the carton - Check any warnings on the carton and make sure you have it the right way up. - Page 6 Assembly instructions 25 x 15 26 x 24 30 x 1 31 x 1 32 x 1 33 x 1 PULLEY WHEEL PULLEY WHEEL COVER MAIN STABILIZER HAND WHEEL BALL LOCK PIN CABLE ASSEMBLY (Ø90MM) ASSEMBLY (RIGHT) FEMALE (M10) (M10 X 25MM) VINYL WEIGHT 34 x 1 35 x 1...
- Page 7 STEP 1 55 x 2 Fit Part #4 last 56 x 6 57 x 4 67 x 2 www.yorkfitness.com...
- Page 8 Assembly instructions STEP 2 55 x 2 57 x 5 64 x 3 www.yorkfitness.com...
- Page 9 STEP 3 Fit Weights (27) one at a time and alternate the direction of the end caps with the bottom end cap facing the left as illustrated Apply weight labels starting with 50kg/100kg at the bottom as illustrated www.yorkfitness.com...
- Page 10 Assembly instructions STEP 4 x 12 www.yorkfitness.com...
-
Page 11: Step
STEP 5 www.yorkfitness.com... - Page 12 Assembly instructions STEP 6 25 x 4 26 x 4 Please note correct position of Pulley Wheel Covers ✗ ✓ Tighten bolt before tting caps (Do not over tighten) www.yorkfitness.com...
-
Page 13: Step
STEP 7 Please note correct position of Pulley Wheel Covers 62 x 1 13 x 1 26 x 2 ✗ ✓ 63 x 1 25 x 2 56 x 6 57 x 3 71 x 1 www.yorkfitness.com... -
Page 14: Assembly Instructions
Assembly instructions STEP 8 45 x 2 25 x 2 26 x 4 56 x 4 64 x 1 57 x 2 Please note correct position of Pulley Wheel Covers ✗ ✓ www.yorkfitness.com... -
Page 15: Step
STEP 9 Please note correct position of Pulley Wheel Covers 25 x 2 ✗ ✓ 26 x 4 www.yorkfitness.com... -
Page 16: Www.yorkfitness.com
Assembly instructions STEP 10 Install Part #83 & #84 rst. NOTE: Plate face front. www.yorkfitness.com... - Page 17 STEP 11 73 x 4 86 x 4 RIGHT PEC ARM 74 x 2 94 x 4 95 x 2 Lubricate Part #11 and #12 with furniture polish before tting of #21. 73 95 FULLY TIGHTEN BOLT REPEAT ON LEFT ARM Fit Part #21 rst.
- Page 18 Assembly instructions STEP 12 75 x 2 76 x 2 Fit arms onto main assembly and secure. www.yorkfitness.com...
-
Page 19: Please Note Correct Position
STEP 13 Please note correct position of Pulley Wheel Covers 25 x 1 33 x 1 57 x 1 ✗ ✓ 56 x 1 26 x 2 89 x 1 Secure ball end of cable rst using Part 92 x 1 32 x 1 91 x 1 #32, then route bolt... -
Page 20: Www.yorkfitness.com
Assembly instructions www.yorkfitness.com... -
Page 21: Of Pulley Wheel Covers
STEP 14 Please note correct position of Pulley Wheel Covers 25 x 2 56 x 2 ✗ ✓ 26 x 4 57 x 2 34 x 1 61 x 2 START HERE Screw Part #34 halfway into Part #36, please leave room for adjustments. -
Page 22: Please Note Correct Position
Assembly instructions STEP 15 61 x 1 25 x 2 26 x 4 35 x 1 57 x 1 60 x 1 56 x 1 HOOK CABLE HERE Please note correct position of Pulley Wheel Covers FULLY ✗ ✓ ASSEMBLED NYLOC &... -
Page 23: Please Note Correct Position
STEP 16 Please note correct position of Pulley Wheel Covers 56 x 2 ✗ ✓ 57 x 1 87 x 1 FIX CABLE END HERE Attach end of cable with washer & nyloc as illustrated. START HERE www.yorkfitness.com... - Page 24 Assembly instructions STEP 17 30 x 1 98 x 2 73 x 2 www.yorkfitness.com...
- Page 25 STEP 18 72 x 2 73 x 2 Wide end of #18 to be tted at front. www.yorkfitness.com...
- Page 26 Assembly instructions STEP 19 31 x 1 73 x 4 54 x 4 www.yorkfitness.com...
- Page 27 STEP 20 39 x 1 40 x 3 Go back and tighten all nuts & bolts before use. www.yorkfitness.com...
-
Page 28: Care & Maintenance
User instructions Care & Maintenance • Use a warm, damp cloth to keep the product clean. • The equipment should not be placed outdoors, or in a garage or outbuilding. Keep the equipment in a dry place with as little temperature variation as possible. • We recommend placing a mat beneath the equipment to protect both the equipment and your flooring. -
Page 29: Leg Extension
User instructions Leg Extension 1. Remove preacher pad by removing pin 2. Place pin behind seat in storage hole 3. Remove chain 4. Proceed with exercise WEIGHT LOCK When in use loosen Screw in Locking Collar so it moves up & down Freely. To prevent accidents when not in use ensure Place pin here... -
Page 30: Fitness Guide
Fitness guide Starting Your Workout Begin each workout with a Warm Up session - a few minutes of stretching to help prevent strains, pulls and cramps. 1. Perform some gentle stretching 2. Do light cardiovascular exercise (i.e. cycle) for approx 5-10 mins 3. -
Page 31: Exploded Drawing
Exploded drawing www.yorkfitness.com... - Page 32 Exploded drawing www.yorkfitness.com...
- Page 33 www.yorkfitness.com...
- Page 34 Exploded drawing www.yorkfitness.com...
-
Page 35: Part List
Part list REF. YORK REF. DESCRIPTION QTY. REF. YORK REF. DESCRIPTION QTY. 50031-1 MAIN STABILIZER ASSEMBLY - RIGHT 50031-51 SQUARE FLAT INTERNAL END CAP (SQ-45MM / 1.5MM TUBE) 50031-2 MAIN STABILIZER ASSEMBLY - LEFT 50031-52 RECTANGLE FLAT INTERNAL END CAP... - Page 36 www.yorkfitness.com...
Need help?
Do you have a question about the 50031 and is the answer not in the manual?
Questions and answers