CMA Dishmachines UC 60e Installation & Operation Manual
Hide thumbs
Also See for UC 60e:
- Parts manual (15 pages) ,
- Quick setup instructions (2 pages) ,
- Quick setup instructions (2 pages)
Table of Contents
Advertisement
Advertisement
Table of Contents

Related Manuals for CMA Dishmachines UC 60e


Summary of Contents for CMA Dishmachines UC 60e
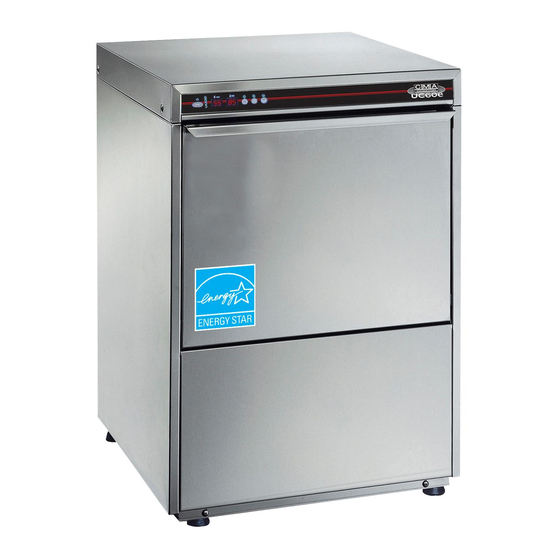
- Page 1 MODEL UC 60e & INSTALLATION OPERATION Rev 1.00A D I S T R I B U T E D E X C L U S I V E L Y B Y C M A D I S H M A C H I N E S...
-
Page 2: Table Of Contents
ABLE OF ONTENTS UC60e ODEL 1. SPECIFICATIONS ..................2 1.1. UC60E ........................2 ODEL 2. GETTING STARTED..................3 2.1....................3 ECEIVING AND NSTALLATION 2.1.1. Electrical ........................3 2.1.2. Plumbing........................3 2.1.3. Rinse aid dispenser......................3 2.1.4. Detergent dispenser....................... 4 2.1.5. -
Page 3: Model Uc60E
1. Specifications METRIC 1.1. Model UC60E EQUIVALENT WATER CONSUMPTION PER RACK .7 GAL. (2.6L) PER HOUR 35/21/14/8 GAL. (130/78/52/31 L) OPERATING CYCLE WASH TIME-SEC 40/100/160/280 40/100/160/280 RINSE TIME-SEC DWELL TOTAL CYCLE 1/2/3/5MIN. 1/2/3/5MIN. OPERATING CAPACITY RACKS PER HOUR 50/30/20/12 50/30/20/12 WASH TANK CAPACITY 6.87 GAL. -
Page 4: Getting Started
Getting Started 2. Getting Started 2.1. Receiving and Installation The dishwasher is shipped from the factory in a corrugated box on a wooden pallet. The installation guidelines give a systematic procedure for setting up the machine. Start by removing the packaging material. After removing the packing, ensure that the appliance has not been damaged in transport. -
Page 5: Detergent Dispenser
Getting Started 2.1.4. Detergent dispenser. The machine is equipped with a detergent dispenser, which automatically draws the product. Detergent has been pre-wired prior to the shipment. Refer to wiring diagram on the page 8 for detergent dispenser connection. Chemical output line is connected to the injector on the back of the machine. Insert chemical input line with the filter in detergent container. -
Page 6: Operation
Operatation 3. Operation 3.1. Control Panel And Relative Symbols. The purpose of these specifications is to describe card operation. To simplify the description of the various functions, the layout of the control panel and the various functions assumed by the keys according to the function mode is given below. Functions of keys during normal operation: A: Cycle Start - Cycle Stop - Cycle Selection 1-2-3 - Self-cleaning;... -
Page 7: Preventive Maintenance
Operatation and the message (END) appears on the display. • The appliance is now ready for a new wash. Note: the machine does not accept other cycles until the door is opened or the key (A) is pressed twice. • At the end of the day, clean the machine (see "Preventive Maintenance"). -
Page 8: Troubleshooting
Operatation 3.4. Troubleshooting. PROBLEM LIKELY CAUSE SOLUTION The machine does not start Main Switch turned off Turn switch on The machine does not load water Water valve is closed Open main water valve The spray arm nozzles or the solenoid filter is Clean the rinsing arm nozzles, the pipes and the filter. -
Page 9: Electrical Diagram
Electrical Diagram 4. Electrical Diagram Page MODEL UC60e INSTALLATION & OPERATION MANUAL Rev. 1.00A...
Need help?
Do you have a question about the UC 60e and is the answer not in the manual?
Questions and answers