CMA Dishmachines UC50E Quick Setup Instructions
Hide thumbs
Also See for UC50E:
- Parts manual (14 pages) ,
- Owner's manual (9 pages) ,
- Specifications (2 pages)
Advertisement
Quick Links
Download this manual
See also:
Owner's Manual
UC50e
Quick Setup
Instructions
WARNING: Electrical and
plumbing connections need
to be made by a qualified
service person who will
comply with all available
Federal, State and Local
Health, Electrical,
Plumbing and Safety
codes.
CLEAR
STEP
1
LINE 1
LINE 2
GROUND
208/230V
Connect lines 1 and 2 to electrical block located
inside front panel.
STEP
2
1"AIR GAP
WALL DRAIN
Connect the drain hose to wall or floor drain. The
floor drain must have a 1 inch air gap between
drain hose and floor drain.
TO GAIN ACCESS TO
THE UC50e
COMPONENTS, REMOVE
SCREW AND SLIDE REAR
PANEL UP.
GREEN
3
LEVELING
LEGS
STEP
3
FLOOR DRAIN
Level dishmachine by adjusting leveling legs.
Dishmachine must be level front and back to
ensure proper performance.
UC50e REAR VIEW
START
ELECTRICAL CONNECTIONS
LOCATED INSIDE FRONT
PANEL
3/4" DRAIN
OUTLET
1/2" WATER
INLET
ELECTRICAL
INLET
STEP
4
Connect dishmachine to hot water source, minimum
temperature 120F, better results at 140F.
DISHMACHINES
800-854-6417
1
2
4
4-2013
Advertisement

Subscribe to Our Youtube Channel
Related Manuals for CMA Dishmachines UC50E


Summary of Contents for CMA Dishmachines UC50E
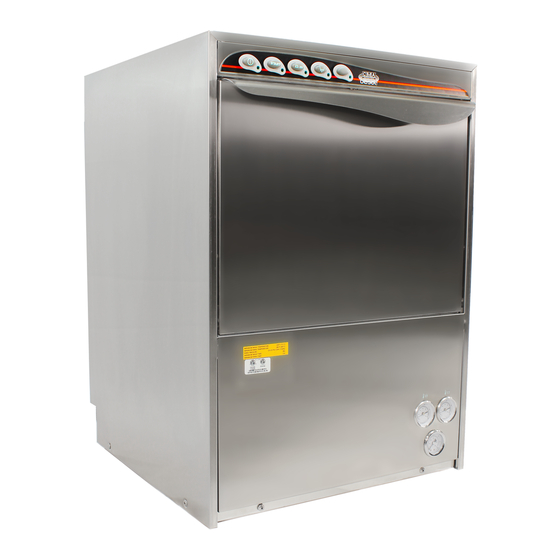
- Page 1 UC50e Quick Setup DISHMACHINES UC50e REAR VIEW 800-854-6417 Instructions WARNING: Electrical and TO GAIN ACCESS TO plumbing connections need THE UC50e to be made by a qualified COMPONENTS, REMOVE SCREW AND SLIDE REAR service person who will PANEL UP. comply with all available...
- Page 2 UC50e DISHMACHINES UC50e FRONT VIEW Quick Setup 800-854-6417 POWER Instructions START START WARNING: Electrical and DRAIN plumbing connections need to be made by a qualified service person who will PROGRAM comply with all available Federal, State and Local Health, Electrical, Plumbing and Safety codes.
Need help?
Do you have a question about the UC50E and is the answer not in the manual?
Questions and answers