Advertisement
INSTALLATION GUIDE
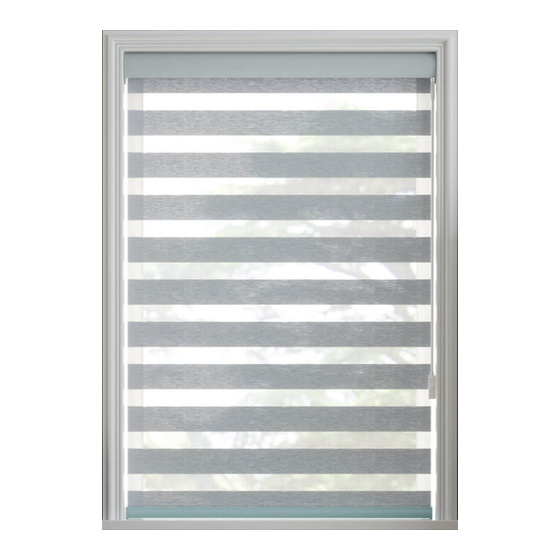
ZEBRA SHADES
LIFT SYSTEMS: CONTINUOUS CORD LOOP + MOTORIZATION
The difficulty level of this installation is ranked at Level 2 - You got this!
If you have questions or get stuck, call our Customer Care Team at 888-685-1735, or email info@selectblindscanada.ca
EXPOSED ROLL BRACKETS
1.
MOUNTING THE BRACKETS
MOUNTING EXPOSED ROLL HEADRAIL BRACKETS
NOTE:
The zebra shade tube is pre-installed in the exposed roll headrail, which simply snaps onto the provided hardware. You will receive two or more
headrail brackets, depending on the width of your shade.
TOP
FRONT EDGE
FRONT LIP
INSIDE MOUNT EXPOSED ROLL HEADRAIL BRACKET
EXPOSED ROLL HEADRAIL - INSIDE MOUNT
1. At the top corners of the window, measure inward and mark with your pencil 2" - 4" from each side. If you have additional brackets, make
an additional mark for each one, evenly spaced between the outer marks.
CASSETTE BRACKETS
*The quantity of brackets you receive will depend on the width of your headrail
BACK EDGE
SCREW HOLE
RELEASE LIP
SCREW HOLE
2" - 4"
INSTALLATION GUIDE
TENSION DEVICE
BATTERY CHARGER
(Continuous Loop)
FRONT
OUTSIDE MOUNT EXPOSED ROLL HEADRAIL BRACKET
| ZEBRA SHADES
REMOTE & HOLDER
(Motorized)
(Motorized)
TOP
2" - 4"
JULY 23 2024
UPDATED
BACK
SCREW HOLES
1
Advertisement
Table of Contents

Related Manuals for SelectBlinds ZEBRA SHADES


Summary of Contents for SelectBlinds ZEBRA SHADES
- Page 1 1. At the top corners of the window, measure inward and mark with your pencil 2” - 4” from each side. If you have additional brackets, make an additional mark for each one, evenly spaced between the outer marks. 2” - 4” 2” - 4” INSTALLATION GUIDE | ZEBRA SHADES JULY 23 2024 UPDATED...
- Page 2 5. Line up your first bracket with the screw holes, and insert two screws to secure the bracket to the mounting surface. Repeat this step for any remaining brackets. When all brackets are secure, you’re ready to mount the shade into the window. INSTALLATION GUIDE | ZEBRA SHADES JULY 23 2024 UPDATED...
- Page 3 1. At the top corners of the window, measure inward and mark with your pencil 2” - 4” from each side. If you have additional brackets, make an additional mark for each one, evenly spaced between the outer marks. 2” - 4” 2” - 4” INSTALLATION GUIDE | ZEBRA SHADES JULY 23 2024 UPDATED...
- Page 4 When the shade is installed, you may safely remove the bubbled wrapped around the shade. INSTALLATION GUIDE | ZEBRA SHADES JULY 23 2024 UPDATED...
-
Page 5: Additional Instructions
Pulling gently on the cord in one direction raises the shade; pulling it in the other direction lowers it. On shades where the fabric rolls against the window, the front cord lifts the shade. On shades 8” where the fabric rolls toward the room, the rear cord lifts the shade INSTALLATION GUIDE|ZEBRA SHADES FEBRUARY 2025 UPDATED... - Page 6 PROGRAMMING AND USING YOUR REMOTE IMPORTANT: THE MOTORIZED SHADES WERE PROGRAMMED AND IN SLEEP MODE, PLEASE WAKE UP THE MOTORS BEFORE USING. TO DO THIS, PRESS AND HOLD THE SETTING BUTTON FOR 6 SECONDS UNTIL YOU HEAR THE MOTORS SOUND AND THE LEDS FLASH RED FOUR TIMES.
- Page 7 DELETE A SHADE FROM REMOTE 1. Select the desired shade channel (channel backlight will turn off after 4 secs). 2. Remove the battery cover to access the 'C' button. 3. Press the ‘C’ button three times within 2 seconds. The shade will jog, and the green LED will flash to confirm deletion.
- Page 8 INSTALL/ REPLACE THE REMOTE BATTERY If the group channel number no longer lights up or the controlled product stops responding, it’s time to replace the battery 1. Use the included Philips screwdriver to turn the captive screw counter clockwise until it loosens but remains attached to the cover. 2.
-
Page 9: Frequently Asked Questions
TROUBLESHOOTING QUESTION ANSWER Check if the battery needs replacement or is inserted properly and not damaged. None of the backlit buttons illuminate on my remote when I press the buttons? When I try to add a blind to the app or 1. -
Page 10: Safety Instructions
SAFETY INSTRUCTIONS WARNING: IMPORTANT SAFETY INSTRUCTIONS Follow all instructions carefully, as incorrect installation or handling can lead to severe injury. • Do not ingest the battery. This device contains a lithium coin/button cell battery. Swallowing the battery can cause severe internal burns within 2 hours and may lead to death. Do not drill in to Do not immerse •... -
Page 11: Legal Information
LEGAL INFORMATION CE Statement Hunter Douglas hereby declares that the RW5-G2 and RW14-G2 Remote Controls are in compliance Hunter Douglas hereby declares that the RW5- G2 and RW14-G2 Remote Controls are in compliance with the basic requirements and other relevant provisions of the Electromagnetic Compatibility (EMC) Directive 2014/30/EU, Radio Equipment Directive (RED) 2014/53/EU and Low Voltage Directive (LVD) 2014/35/EU. - Page 12 Removing the product from the headrail by using a flat-head screwdriver to unlatch the lever. Make sure to hold the No-Drill Blinds Headrail in place while unlatching th lever. This will prevent damage to the window or headrail. WARNING INSTALLATION GUIDE | ZEBRA SHADES JULY 23 2024 UPDATED...
-
Page 13: Smart Controller
SMART CONTROLLER ENGLISH SETUP CODE System requirements CODE DE CONFIGURATION • A strong WiFi signal (3 bars or more) in the location where you will setup your Smart Controller. • The Smart Controller only supports 2.4GHz WiFi (IEEE 802 11b/g/n), not 5GHz. WiFi security needs to be set to WPA-PSK or SBCAN WPA2-PSK.
Need help?
Do you have a question about the ZEBRA SHADES and is the answer not in the manual?
Questions and answers