
Related Manuals for Avigilon NVR6-AINVR2-STD-FORM-D-2NDCPU


Summary of Contents for Avigilon NVR6-AINVR2-STD-FORM-D-2NDCPU
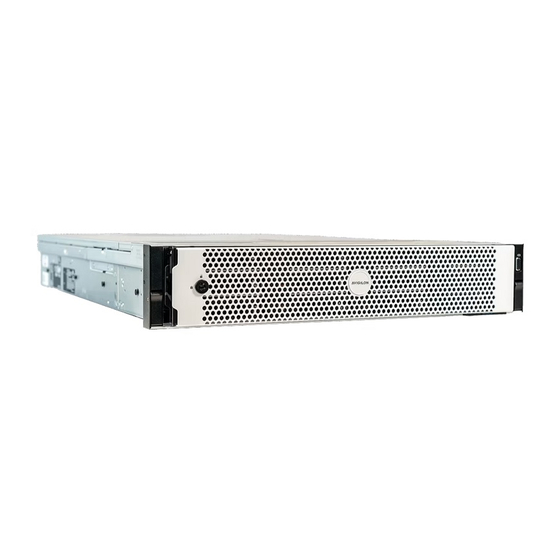
- Page 1 Avigilon 2 CPU Kit Installation Guide Installation Guide NVR6-AINVR2-STD-FORM-D-2NDCPU NVR6 Standard Form D AI NVR 2 Standard Form D...
- Page 2 The contents of this document and the specifications of the products discussed herein are subject to change without notice. Avigilon Corporation reserves the right to make any such changes without notice. Neither Avigilon Corporation nor any of its affiliated companies: (1) guarantees the completeness or accuracy of the information contained in this document;...
-
Page 3: Table Of Contents
Contents Introduction Confirm Package Contents Recommended Tools Installing the 2nd CPU kit Opening the Cover Installing the CPU Installing Additional RAM Reattaching the Cover Confirming the Installation For More Information Additional Documentation... -
Page 4: Introduction
Introduction Avigilon provides an optional 2 CPU kit for the NVR6 and AI NVR 2 Standard Form D. These kits provide all the components needed to add CPU redundancy to an NVR. Part Number Description NVR6-AINVR2-STD-FORM-D-2NDCPU NVR6/AI NVR 2 Standard Form D 2 CPU Kit... -
Page 5: Installing The 2Nd Cpu Kit
Installing the 2 CPU kit NOTE If the NVR is an operating part of your security system, be aware that it must be shut down to complete this procedure. Before installing the kit: 1. Turn off the NVR, including all attached peripherals. Press the power button on the front panel, and wait for the light to stop blinking to indicate shutdown is complete. -
Page 6: Opening The Cover
Opening the Cover 1. At the top of the NVR, unlock the latch release then lift and rotate the latch towards the back of the unit. The cover slides back and is released from the body. Use a Phillips #2 screwdriver to remove the shipping screws before unlatching the cover if you are removing the cover of an NVR for the first time. -
Page 7: Installing The Cpu
Installing the CPU You need the processor bracket, processor (CPU), and heatsink provided in the kit to complete this procedure. With the NVR open and the protective cover removed: 1. Unpack the CPU. 2. Place the processor in the processor tray. NOTE Ensure that the pin 1 indicator on the processor tray is aligned with the pin 1 indicator on the processor. - Page 8 5. Unpack the heat sink and remove the protective film from the base of the heat sink. Be careful not to touch the thermal paste that is pre-applied to the bottom of the heat sink. 6. Place the heat sink on the processor and press the heat sink until the carrier locks onto the heat sink at all the four corners.
- Page 9 7. Locate the 2 processor socket on the NVR's system board and pull off the CPU dust cover over the socket. 8. Align the pin 1 indicator of the processor heat sink module (PHM) to the system board and then place the processor heat sink module (PHM) on the processor socket.
- Page 10 9. Set the anti-tilt wires to the locked position (outward position), and then use the star-shaped screwdriver #T30 to tighten the screws on the heat sink in the following order: a. In a random order, tighten the first nut three turns. b.
-
Page 11: Installing Additional Ram
Installing Additional RAM IMPORTANT To prevent damage to the DIMM or memory module socket during installation: Do not bend or flex the DIMM. Handle each DIMM only by the edges to ensure that you don't touch the middle of the memory module or the metallic contacts. - Page 12 inserted into the sockets. 3. Align the edge connector of the DIMMs with the alignment key of the sockets and press the DIMMs into sockets until the socket levers click into place. Installing Additional RAM...
-
Page 13: Reattaching The Cover
Reattaching the Cover When all the components of the kit have been installed: 1. Ensure all expansion card latches are closed and there are filler covers for all empty slots. 2. Close and lock the NVR access panel. 3. If the NVR was rack mounted and removed to install the kit, remount it into the rack. 4. -
Page 14: Confirming The Installation
The number of connected cameras should be the same as before the NVR was upgraded, and the analytics load should be about half of what it was prior to the upgrade. Limited Warranty Avigilon warranty terms for this product are provided at avigilon.com/warranty. Confirming the Installation... -
Page 15: For More Information
For More Information For additional product documentation and software and firmware upgrades, visit support.avigilon.com. Technical Support Contact Avigilon Technical Support at support.avigilon.com/s/contactsupport. Additional Documentation AI NVR 2 User Guides Windows Upgrade and Recovery Guide for Avigilon Enabling iDRAC Enterprise Features Setup Guide...
Need help?
Do you have a question about the NVR6-AINVR2-STD-FORM-D-2NDCPU and is the answer not in the manual?
Questions and answers