
Related Manuals for Avigilon NVR5-STD-10GBE


Summary of Contents for Avigilon NVR5-STD-10GBE
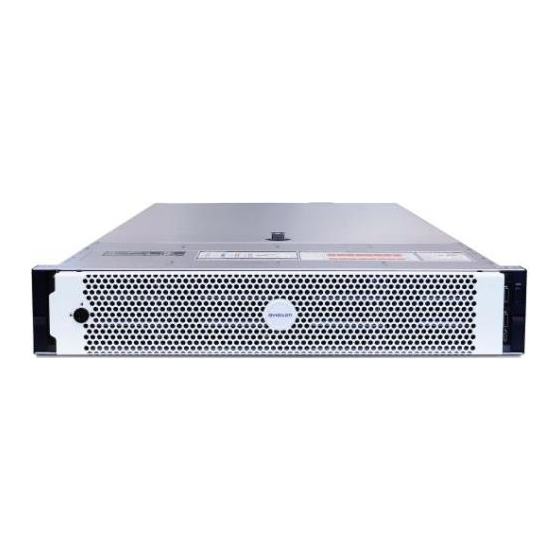
- Page 1 Avigilon NVR5 Standard 10GbE Kit Installation Guide Installation Guide NVR5-STD-10GBE NVR5 STD 16TB-64TB...
- Page 2 © 2022, Avigilon Corporation. All rights reserved. AVIGILON, the AVIGILON logo, AVIGILON are trademarks of Avigilon Corporation. Intel is a trademark of Intel Corporation or its subsidiaries in the U.S. and/or other countries. Other names or logos mentioned herein may be the trademarks of their respective owners. The absence of the symbols ™...
-
Page 3: Table Of Contents
Table of Contents Introduction Confirm Package Contents Recommended Tools Installing the NVR5 10GbE Kit Opening the Cover Removing the expansion card riser Installing the 10GbE Card Reattaching the Cover Confirming the Installation For More Information... -
Page 4: Introduction
Introduction Avigilon provides an optional 10GbE Upgrade Kit for the NVR5 Standard 16-64 TB. This kit provides you with high-speed Ethernet ports for faster connections to your security network of ACC Servers and Clients. Part Number Description NVR5-STD-10GBE NVR5 Standard 10GbE Upgrade Kit... -
Page 5: Installing The Nvr5 10Gbe Kit
Installing the NVR5 10GbE Kit Note: If the NVR5 is an operating part of your security system, be aware that it must be shut down to complete this procedure. Before starting to install the kit: 1. Turn off the NVR5, including all attached peripherals. Press the power button on the front panel, and wait for the light to stop blinking to indicate shutdown is complete. -
Page 6: Opening The Cover
Opening the Cover 1. At the top of the NVR5, unlock the latch release then lift and rotate the latch towards the back of the unit. The cover slides back and is released from the body. Tip: Use a Phillips #2 screwdriver to remove the shipping screws before unlatching the cover if you are removing the cover of an NVR5 for the first time. - Page 7 3. View the interior of the NVR5 and identify the locations where the components of the kit will be installed. The view below shows the details of an NVR5 with all of the covers and cards removed, and important components labeled with numbers. The components affected by the NVR5 10GbE Upgrade Kit are: 6—Expansion card riser The 10GbE card will be installed under this expansion riser.
-
Page 8: Removing The Expansion Card Riser
Removing the expansion card riser With the NVR5 open: 1. Disconnect all the riser cables from the expansion riser pointed out in the previous chapter. 2. Loosen the two thumb screws with Phillips #2 screwdriver and pull up the expansion card riser: Installing the 10GbE Card 1. -
Page 9: Reattaching The Cover
Reattaching the Cover When all the components of the kit have been installed: 1. Ensure all expansion card latches are closed and there are filler covers for all empty slots. 2. Reconnect all the expansion card riser cables to the system board. 3. - Page 10 7. Reconnect all the peripherals and cables. Important: Ensure that both of the power supplies are connected to main power. The upgraded NVR5 requires both power supplies to properly function. 8. Power on the NVR5. Reattaching the Cover...
-
Page 11: Confirming The Installation
Under the Network Adapters heading, there should be two new ports installed in the OCP port. These new ports should have a Link Speed of 10Gbps. Limited Warranty Avigilon warranty terms for this product are provided at avigilon.com/warranty. Confirming the Installation... -
Page 12: For More Information
For More Information For additional product documentation and software and firmware upgrades, visit support.avigilon.com. Technical Support Contact Avigilon Technical Support at support.avigilon.com/s/contactsupport. For More Information...
Need help?
Do you have a question about the NVR5-STD-10GBE and is the answer not in the manual?
Questions and answers