Avigilon NVR5 Premium 10G Installation Manual
Hide thumbs
Also See for NVR5 Premium 10G:
- Installation manual (32 pages) ,
- User manual (15 pages) ,
- Manual (12 pages)

Subscribe to Our Youtube Channel
Related Manuals for Avigilon NVR5 Premium 10G


Summary of Contents for Avigilon NVR5 Premium 10G
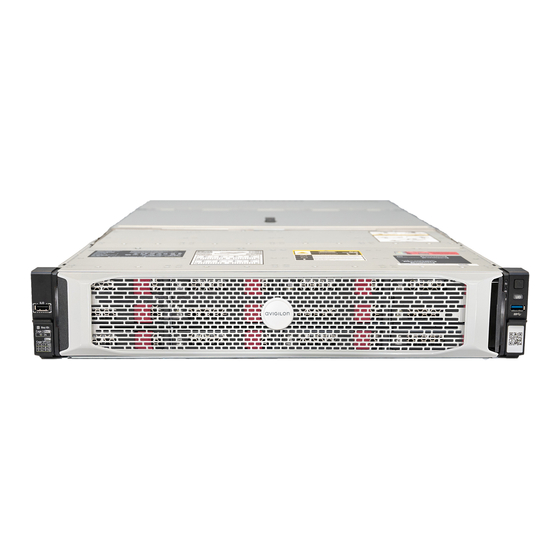
- Page 1 Avigilon NVR5 Premium 10G Base-T Kit Installation Guide Installation Guide NVR5-10GBASET-B NVR5 PRM 252TB-432TB...
- Page 2 © 2022, Avigilon Corporation. All rights reserved. AVIGILON, the AVIGILON logo, AVIGILON are trademarks of Avigilon Corporation. Intel is a trademark of Intel Corporation or its subsidiaries in the U.S. and/or other countries. Other names or logos mentioned herein may be the trademarks of their respective owners. The absence of the symbols ™...
-
Page 3: Table Of Contents
Table of Contents Introduction Confirm Package Contents Recommended Tools Installing the NVR5 Premium 10G Base-T Kit Opening the Cover Installing the 10G Base-T Card in Slot 4 of Expansion Riser Reattaching the Cover Confirming the Installation For More Information... -
Page 4: Introduction
Introduction Avigilon provides an optional 10G Base-T Kit for the NVR5 Premium 252-432 TB. This kit provides you with two high-speed Ethernet ports for faster connections to your security network of ACC Servers and Clients. Important: A CAT6 or higher rated cable is needed to utilize 10G speeds using the 10G Base-T card. -
Page 5: Installing The Nvr5 Premium 10G Base-T Kit
Installing the NVR5 Premium 10G Base-T Kit Note: If the NVR5 is an operating part of your security system, be aware that it must be shut down to complete this procedure. Before starting to install the kit: 1. Turn off the NVR5, including all attached peripherals. -
Page 6: Opening The Cover
Opening the Cover 1. Remove the complete access panel. a. If necessary, unlock the access panel latch. b. Press the release button. c. Pull up the latch to disengage the access panel from the chassis. d. Slide the access panel toward the rear of the server and lift it from the chassis. Opening the Cover... -
Page 7: Installing The 10G Base-T Card In Slot 4 Of Expansion Riser
Installing the 10G Base-T Card in Slot 4 of Expansion Riser With the NVR5 open: 1. Unpack the 10G Base-T card. 2. If expansion boards with internal cabling are installed on the PCI riser cage, disconnect all internal cables from the expansion boards to remove the cage from the server. 3. -
Page 8: Reattaching The Cover
Reattaching the Cover When all the components of the kit have been installed: 1. Ensure all expansion card latches are closed and there are filler covers for all empty slots. 2. Close and lock the NVR5 access panel. 3. If the NVR5 was rack mounted and removed to install the kit, remount it into the rack. 4. - Page 9 Limited Warranty Avigilon warranty terms for this product are provided at avigilon.com/warranty. Confirming the Installation...
-
Page 10: For More Information
For More Information For additional product documentation and software and firmware upgrades, visit support.avigilon.com. Technical Support Contact Avigilon Technical Support at support.avigilon.com/s/contactsupport. HPE Apollo 4200 Gen10 Plus Server Maintenance and Service Guide (link) For More Information...
Need help?
Do you have a question about the NVR5 Premium 10G and is the answer not in the manual?
Questions and answers