Advertisement
Quick Links
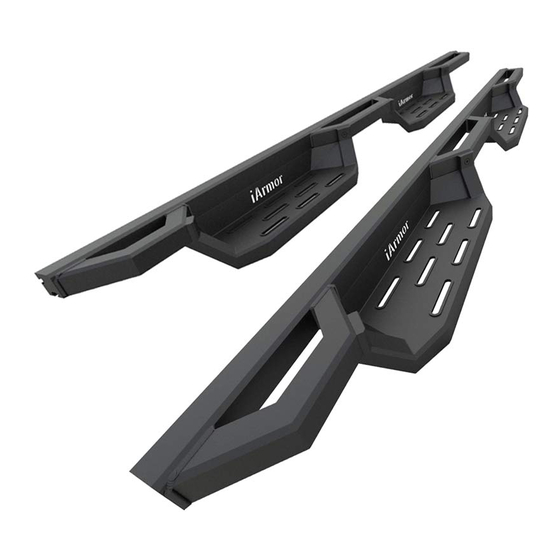
IARMOR EDGE™
BEFORE INSTALLATION, REMOVE CONTENTS FROM
BOX. VERIFY ALL PARTS ARE PRESENT. READ IN-
STRUCTIONS CAREFULLY BEFORE STARTING IN-
STALLATION. ASSISTANCE IS RECOMMENDED.
THANK YOU FOR CHOOSING OUR PRODUCT!
*ROCKER PANEL MOUNT
*DRILLING/TRIMMING NOT REQUIRED
Driver
iArmor
1#
2#
Customer Support: info@iarmorauto.com
Fastener Size
Tightening Torque (ft-lbs)
6mm
8mm
10mm
12mm
14mm
Front
1#
3#
1
®
PART#: IA-W188
Required
6-7
16-18
31-32
56-58
92-94
Passenger
Rev. 20220601
X
√
√
X
X
Advertisement

Related Manuals for iArmor EDGE IA-W188


Summary of Contents for iArmor EDGE IA-W188
- Page 1 ® IARMOR EDGE™ PART#: IA-W188 Fastener Size Tightening Torque (ft-lbs) Required BEFORE INSTALLATION, REMOVE CONTENTS FROM BOX. VERIFY ALL PARTS ARE PRESENT. READ IN- STRUCTIONS CAREFULLY BEFORE STARTING IN- 16-18 √ STALLATION. ASSISTANCE IS RECOMMENDED. THANK YOU FOR CHOOSING OUR PRODUCT!
- Page 2 ® Hardware Package (For Brackets & Step Bars Installation) Item Description Item Description Driver / Passenger Front Mounting Brackets M8X1.25 Nylon Lock Nuts Driver Rear Mounting Bracket M10X1.5-25 Hex Bolts Passenger Rear Mounting Bracket M10 Flat Washers M8 Plastic Washers M10X1.5 Nylon Lock Nuts...
- Page 3 ® The instruction here is for your reference only. We strongly recommend the professional installer for best result. We are not responsible for any damage caused by the installation. STEP 1 M8 Plastic Washers Start the installation from the Driver side of the vehicle. Locate the driver side front mounting location on the inner side of the body panel, (Fig 1).
- Page 4 ® STEP 6 Properly level and adjust the Step Bar and fully tighten all hard- Attention ware. Do periodic inspections to the installation to make sure that all hardware is secure and tight. STEP 7 In order to protect your bars/boards, please use mild soap/non-abrasive products for cleaning only.
Need help?
Do you have a question about the EDGE IA-W188 and is the answer not in the manual?
Questions and answers