Akuvox R20A Manual
- Admin manual (114 pages) ,
- User manual (11 pages) ,
- Quick manual (10 pages)
Advertisement
Unpacking
Before using the device, check the device model and ensure that the shipped box includes the following items:

Wall-mounting Accessories:

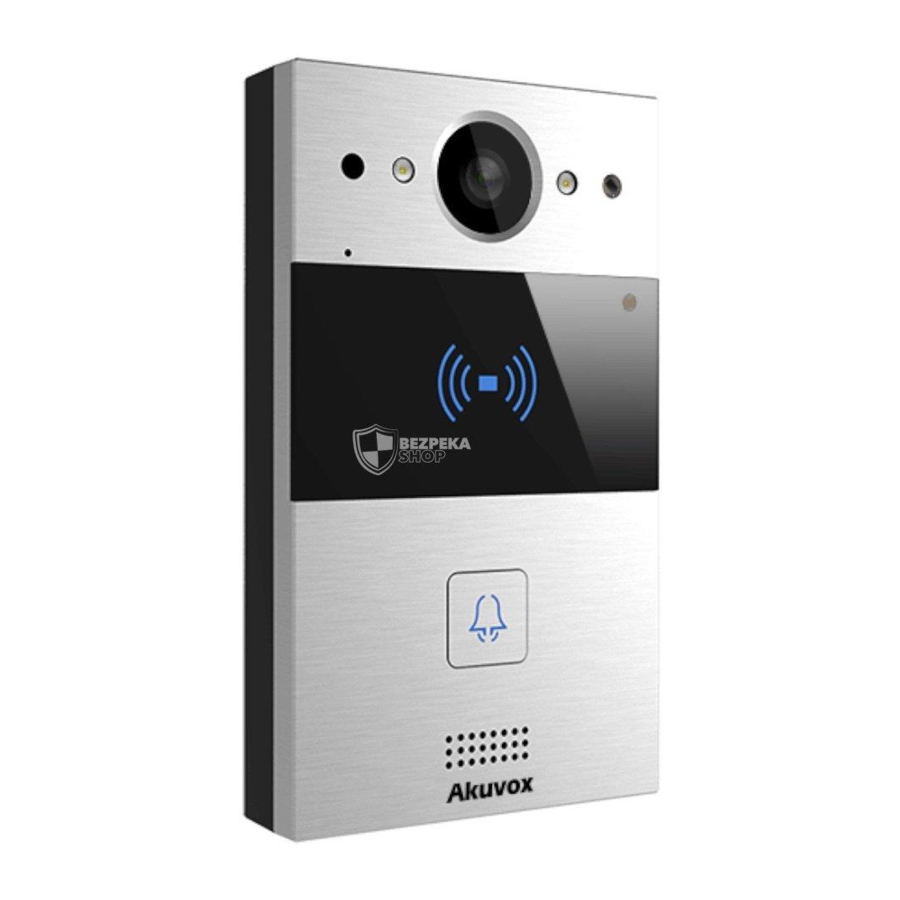
Product Overview

Before You Start
Tools needed
(not included in shipped box)
- Cat Ethernet Cable
- Crosshead Screwdriver
- Electric Drill
Voltage and Current Specifications
- It is suggested that use PoE or 12VDC 1A power adapter to power on device.
AWG Sizes and Properties Table
Please follow the properly wire data to install device:
| Power Supply | 12VDC 1A | ||
| AWG | 20 | 22 | 24 |
| Resistance (ohm/km) | 33.9 | 48.5 | 79.6 |
| Cross-sectional Area (mm²) | 0.5189 | 0.3247 | 0.2047 |
| Wire Length (m) | ≤50 | ≤40 | ≤20 |
Requirements

- Place the device away from sunlight and light sources to prevent potential damage.
- Do not place the device in the high-temperature, and humid environments or in surroundings impacted by magnetic field.
- Install the device on the flat surface securely to avoid personal injuries and property loss caused by device' s falling.
- Do not use or place the device near heating objects.
- If installing the device indoors, please keep device at least 2 meters away from light, and at least 3 meters away from window and door.

- To ensure safety, avoid touching power core, power adapter, and device with wet hands, bending or pulling the power core, damaging any components, and use only qualified power adapter and power cord.
- Be careful that standing up on the area under the device in case of personal injuries cause by hitting the device.

- Do not knock device with hard objects.
- Do not press down hard on the device screen.
- Do not expose device to chemical products, such as alcohol, acid liquid, disinfectants, and so on.
- To prevent the device installation from becoming loose, ensure accurate diameters and depths of screw holes. If the screw holes are too large, use glue to secure the screws.
- Use wet cloth clean device surface softly, and then wipe the surface with dry cloth for cleaning the device.
- If there is abnormal situation of the device, including uncommon sound and smell, please power off the device and contact Akuvox Technical Team immediately.
Device Wiring

When you connect a device containing a coil, such as a relay or an electromagnetic lock, itis necessary to protect the intercom against voltage peak while switching off the induction load. For this way of protection we recommend a diode 1A/200V (included in the accessories) connected antiparallet to the device.

Installation
Wall-mounting Bracket Installation
- With an electrical junction box in the wall
- With an 86x86 mm junction box
- Fix the wall-mounting bracket on the embedded box with two M4x30 crosshead screws.
![]()
- Mark two holes on the wall.
![]()
![]()
- Fix the wall-mounting bracket on the embedded box with two M4x30 crosshead screws.
- With an 86x86 mm junction box


- Take down the two M4x30 crosshead screws and remove the wall-mounting bracket.
- Use a 6 mm hand drill to make two holes with a depth of 25 mm.
- Insert two plastic wall anchors into the screw holes.
- Tighten the wall-mounting bracket and junction box on the wall with two ST4x20 crosshead screws and two M4x30 crosshead screws.
![]()
- Finish the wall-mounting bracket installation.
![]()


- With a 2x3 inches junction box.
- Fix the wall-mounting bracket on the 2x3 inches junction box with two M4x30 crosshead screws.
![]()
- Finish the wall-mounting bracket installation.
![]()
- Fix the wall-mounting bracket on the 2x3 inches junction box with two M4x30 crosshead screws.


- Without an electrical junction box in the wall
- Mark four screw holes through the wall-mounting bracket on the wall.
![]()
- Use a 6 mm hand drill to drill the four holes with a depth of 25 mm.
![]()
- Insert four plastic wall anchors into the holes.
![]()
- Fix the wall-mounting bracket with four ST4x20 crosshead screws.
![]()
- Mark four screw holes through the wall-mounting bracket on the wall.


Main Unit Installation
- Hang R20A on the wall-mounting bracket with rope for easier installation.

- Make wires go through the wiring cover and connect them to the corresponding (for details, refer to "Wiring Interface").


- Fasten the wiring cover with four M2.5x6 crosshead screws.
- Fix four wall-mounting screws on the back of R20A.

- Select a suitable rubber plug to secure the wires.
- Fix sealing pressing plate to the wiring cover with two M2.5x6 crosshead screws.

- Insert the four wall-mounting screws on the device into the corresponding holes on the wall-mounting bracket.
- Press down to slide the wall-mounting screws into the groove.
- Use the Allen wrench to tighten the device with two M3x6 hex socket screws.
- After successful installation, check the stability of device and remove the protective film.


Application Network Topology

Device Test
| LED Status | Description | |
| Blue | Always on | Normal status |
| Flashing | Calling | |
| Red | Flashing | Offline |
| Green | Always on | Talking on a call |
| Flashing | Receiving a call | |
Note: For more LED settings, please refer to R20A web: Intercom > LED Setting.
Please verify the device status after installation:
- Network: Press and hold Call button to obtain IP address, network is working properly if the device announce IP address. If no IP address is obtained, E12X will announce" IP 0.0.0.0".
- Intercom: Press Call button to make a call. The call configuration is correct if the call is successful.
- Access Control:Use pre-configured RF card to unlock door.
Get Help
For help or more assistance, contact us at:
https://ticket.akuvox.com/;
support@akuvox.com
Scan the QR code to get more videos, guides, and additional product information.

Documents / Resources
References
Download manual
Here you can download full pdf version of manual, it may contain additional safety instructions, warranty information, FCC rules, etc.
Advertisement


Need help?
Do you have a question about the R20A and is the answer not in the manual?
Questions and answers