Table of Contents
Advertisement
Quick Links
Advertisement
Table of Contents

Related Manuals for Creality HALOT R6


Summary of Contents for Creality HALOT R6
- Page 1 HALOT R6 USER MANUAL HALOT R6 3D Printer V 1.0_EN...
- Page 2 For a better experience in using our product, you can also access how to use the printer in the following ways: View the accompanied instructions and videos in the U disk. Visit our ofÏcial website www.creality.com to find relevant software/hardware information,contact details and operation and maintenance instructions.
- Page 3 12. Users should comply with the laws and regulations of the corresponding countries and regions where the equipment is located (used), abide by professional ethics, pay attention to safety obligations, and strictly prohibit the use of our products or equipment for any illegal purposes. Creality will not be responsible for any violators' legal liability under any.
-
Page 4: Table Of Contents
·························································································· Release Film (FEP) Replacement 07-07 ············································································· 08-08 ······························································································· Resin in USB Disk Printing 09-11 ························································································ Creality Cloud Online 12-12 ····················································································· Creality Cloud App Print 13-13 ··················································································· WIFI Print 14-14 ····························································································· Post-processing Guide 15-15 ···················································································· ····················································································· Equipment Parameters 16-16 ··························································································... -
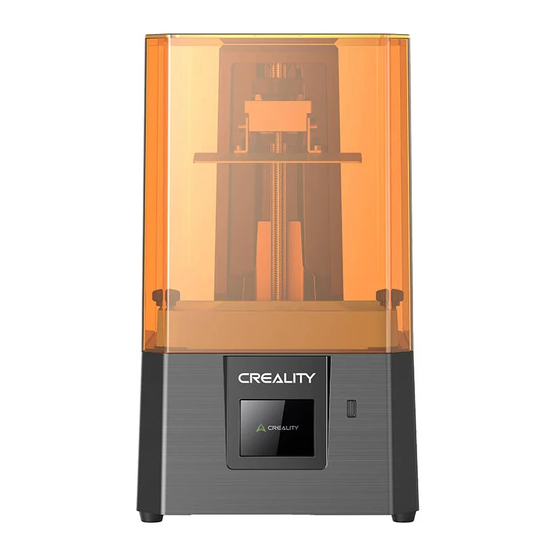
Page 5: Product Appearance
1. Product appearance Platform screw Leveling screw Forming platform Resin vat screw Resin vat USB port Touch screen Power switch Power port... -
Page 6: Packing List
2. Packing list Print platform Resin vat 3D printer Tool list U disk Screwdrivers ×1set Paper funnel Adapter Tips: the above accessories are for reference only lease refer to the physical accessories ! Metal blade Plastic blade Calibration card... -
Page 7: Operating Guidance
3. Information about the interface Home Print interface System interface The current interface is for reference only. Due to the continuous upgrading of functions, it shall be subject to the latest software/firmware UI published on the ofÏcial website. -
Page 8: Device Check
4. Device Check Note: Check that the light source is working properly. The current interface is for reference only. Due to the continuous upgrading of functions, it shall be subject to the latest software/firmware UI published on the ofÏcial website. -
Page 9: Leveling Guide
5. Leveling Guide Note: The platform has been leveled at the factory. If it needs leveling due to transportation or other reasons, please follow the steps below to adjust the printing platform. 2. Loose the four screws on the 3.After confirming that the calibration 1. - Page 10 5. Leveling Guide The current interface is for reference only. Due to the continuous upgrading of functions, it shall be subject to the latest software/firmware UI published on the ofÏcial website.
-
Page 11: Release Film (Fep) Replacement
6. Release Film (FEP) Replacement Parameters Recycle the resin in the resin vat back into the Remove all the screws at the bottom of the resin vat, take original bottle , then clean up. (Note: Please make out the fixing plate and the release film. (Note: The fixing sure there are no residue matter left inside the Vat) plate andthe vat bottom need to be cleaned) Size:200*140mm... -
Page 12: Resin In
7. Resin in Pour the UV photosensitive resin into the resin vat. The slot capacity is 200ml/410ml。 Caution: ① Resin may cause skin irritation or an allergic skin reaction. Please wear gloves before use to avoid direct contact with the skin. ②... -
Page 13: Usb Disk Printing
8. USB Disk Printing 1. Slicer ① ① Open Cancels Open the HALOT BOX software, click the icon ① in the upper Click the icon ① in the upper left corner to open the model file; right corner to add the printer; ①... - Page 14 8. USB Disk Printing 2. Print Preservation ① USB port Click Save ① to save the generated cxdlpv4 type file to the Insert the USB disk U disk; Warning The current interface is for reference only. Due to the continuous upgrading of During the printing process the machine can’t be functions, it shall be subject to the latest shaken, so as not to avoid influencingaffect the...
- Page 15 8. USB Disk Printing Select USB disk files; Choose to use parameters; The current interface is for reference only. Due to the continuous upgrading of functions, it shall be subject to the latest software/firmware UI published on the ofÏcial website. Waiting to print;...
-
Page 16: Creality Cloud Online
9. Creality Cloud Online Make sure WiFi is correctly connected before using online printing Steps: Settings → WiFi → Select the corresponding WiFi. ① Only 2.4GHz WiFi is applicable to the 3D printer, and it cannot be connect to 5GHz WiFi routers;... -
Page 17: Creality Cloud App Print
10. Creality Cloud App Print Download Register Add equipment Scan QR CodeSettings Device naming → Detail → Connect to Creality Cloud → QR code Notes: 1. The steps for adding devices vary for different mobile phone operating systems; 2. Set the correct area in "Settings - Other Settings - Language and Area". -
Page 18: Wifi Print
11. WIFI Print 1、Before wireless printing, make sure the HALOT BOX is connected to the same local area network as the printer. 2、Enter password before transfering the file, Be consistent with the password set on the printer. (Click “Print Settings → HALOT BOX → Password”) 1. -
Page 19: Post-Processing Guide
12. Post-processing Guide Remove the printed model with a blade; Remove the support from the surface of the model; Fast Clean the model; Cure the model; Please dismantle the model with reference to this process and consult the ofÏcial customer service if you have any questions. -
Page 20: Equipment Parameters
6.08" print screen Light Source Type Integral light source Rated Voltage Rated Power USB Disk,Creality Cloud App, Creality Cloud Online, WiFi Print Print Method Machine Language 中文(简/繁)/ English/ Español/ Deutsche/ Français/ Pусский/ Português/ Italiano/ Türk/Nederlands/Polskie/日本語/한국어 Slicing Software Operation System Windows 7 and above 64-bit operating systems, Mac OS 10.14 and above operating systems... -
Page 21: Troubleshooting
14. Troubleshooting 1. Wipe USB disk 2. Format USB disk 3. Replace USB disk Is file identified or not Auto homing Move or not Attach to the printing screen tightly Coupling Fasten coupling For any questions, please contact the ofÏcial customer service. -
Page 22: Circuit Board Wiring Diagram
15. Circuit board wiring diagram Touch screen port DC24V IN Limit switch port Motor port Light panel port USB port Print screen port... -
Page 23: Fcc Warning
16. FCC WARNING This device complies with part 15 of the FCC Rules. Operation is subject to the following two conditions: (1) This device may not cause harmful interference, and (2) this device must accept any interference received, including interference that may cause undesired operation. - Page 24 Due to the differences between different machine models, the actual objects and the images can differ. Please refer to the actual machine. The final explanation rights shall be reserved by Shenzhen Creality 3D Technology Co., Ltd. 18th Floor, JinXiuHongDu Building, Meilong Road, Xinniu Community, Minzhi Street, Longhua District, Shenzhen City, China.
Need help?
Do you have a question about the HALOT R6 and is the answer not in the manual?
Questions and answers