Table of Contents

Subscribe to Our Youtube Channel
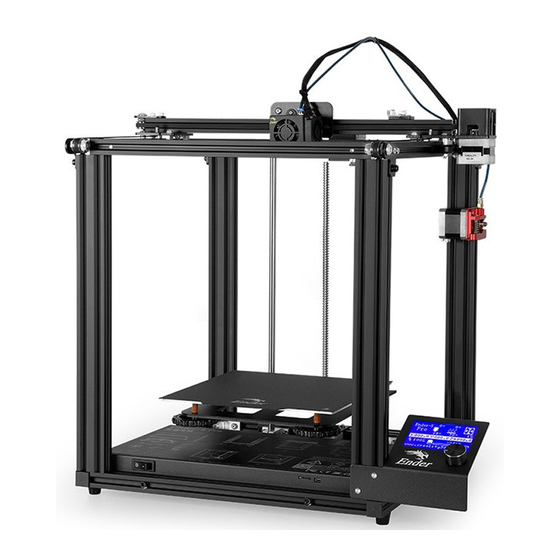
Related Manuals for Creality Ender-5


Summary of Contents for Creality Ender-5
- Page 1 Ender-5 Printer Guide Book To make Top-quality 3D printer ◆ This guide book is for standard Ender-5. ◆ Please plug the power cord into a three-hole power jack. ◆ Detailed instructions for use are available on the TF card. V.1.0...
-
Page 2: Table Of Contents
Contents Introduction........1 Loading Filament......11 General List........2 Bed Leveling........12 Assembly........3 Software Installation.......13 Cable Connection......8 After-Sales Services......14 Screen Information......10 Preface Dear consumers, Thank you for choosing our products. For the best experience, please read the instructions before operating the Printer. Our 3D team will always be ready to give you the best service. Please contact us via the phone number or e-mail address provided at the end when you encounter any problem with the Printer. - Page 3 Notes Do not use the printer any way other than described herein in order to avoid personal injury or property damage. Do not place the printer near any heat source or flammable or explosive objects. We suggest placing it in a well-ventilated, low-dust environment. Do not expose the printer to violent vibration or any unstable environment, as this may cause poor print quality.
-
Page 4: Introduction
1. Introduction Hot Bed SD Slot and USB Port Spool Holder 13. Y Stepper Leveling screw Display 10. Extrusion mechanism 14. Z Limit Switch Power supply Z Stepper 11. X Stepper 15. Y Limit Switch Switch Foot pad 12. Nozzle Assembly 16. -
Page 5: General List
Bottom frame 2.General List Tool List A:Top Frame Image Name Wrench & Screw 1set B:Z-axis Frame driver TF Card & Reader 1set 2040 Profile 4Pcs Spatula Pliers D:Extruder kit 0.4mm Nozzle Cleaner E:Filament Holder Power Cable USB Cable F:Hot Bed PTEE Tube G:Bottom Frame Filament(200)g... -
Page 6: Assembly
3. Assembly Step ⑴ 8pcs M5X25 4pcs 2040 Profile Place the profile hole of the side upon, install the profile, but Bottom Frame not mess with the direction. - Page 7 3. Assembly Step ⑵ 8pcs Top Frame M5X25 Note: Tighten the four screws on the top, then tight the side screws.
- Page 8 3. Assembly Step ⑶ 4pcs M5X25 Note: Align the Z-axis Frame bottom profile ,then tighten the screws.
- Page 9 3. Assembly Step ⑷ Hot Bed M4X10 4pcs...
- Page 10 3. Assembly Step ⑸ M4X8 M4X8 M4X8 M4 T-nut M4X8 M4 T-nut M5X6 M5 T-nut 2pcs 2pcs 2pcs 2pcs 2pcs...
-
Page 11: Cable Connection
4. Cable Connection ① Exp3... - Page 12 4. Cable 4. Cable Connection ② Connection Nozzle Cable Connection Bed Cable Connection *Plug the power cord into a three-hole power jack.
-
Page 13: Screen Information
5. Screen Information Information Displayed Set Temperature of the Nozzle Current Temperature Print Speed of the Nozzle Model Set Temperature of the Hot Bed CurrentTemperature of the Hot Bed Part Cooling Fan Speed Current Location of the nozzle Print Time Print Progress Prompt Message Push:OK/Enter Sub Menu... -
Page 14: Loading Filament
6. Loading Filament 1. Preheat 2. Feeding Method 1 Method 2 Press and hold the extruder lever then insert 1.75mm filament through the small hole of the extruder. Continue feeding until you see filament come out the nozzle. Tip:How to Replace the Filament? 1、Cutting filament near the Extruder and slowly feed new filament until they are fed into the new filament. -
Page 15: Bed Leveling
7. Bed Leveling 1. Prepare →Auto Home. Wait for the nozzle to move to the left/front of the platform. 2. Prepare→Disable Steppers(Close stepper drive,release motor) 3. Move the nozzle the front/left leveling screw and adjust the platform height by turning the knob underneath. Use a piece of A4 paper (standard printer paper) to assist with the adjustment, making sure that the nozzle lightly scratches the paper. -
Page 16: Software Installation
8.Software Installation 1.Install the Cura 2.Install the Creality Slicing Software. Set For Cura with the same path. 4. Select Creality Ender-5→Add Printer. 3. Start Cura from the Start Menu. -
Page 17: After-Sales Services
9. Preparing to Print 2.Printing 1.Slicing Insert SD card into computer with Reader. Insert the SD card 1. Open file 2. Select file Select “Print from SD” 3. Open Select the file to be printed 4. Save to SD Card... - Page 18 10.Trouble shooting...
- Page 19 11. Circuit Wiring Diagram...
- Page 20 SHENZHEN CREALITY 3D TECHNOLOGY CO., LTD. 12/F, Block 3, JinChengYuan, Huafan Road, Tongsheng Community, Dalang, Longhua District, Shenzhen, China, 518109 Official Website: www.creality3d.cn Tel: +86 755-2103 4006 E-mail: info@creality3d.cn cs@creality3d.cn...
Need help?
Do you have a question about the Ender-5 and is the answer not in the manual?
Questions and answers