Advertisement
Quick Links
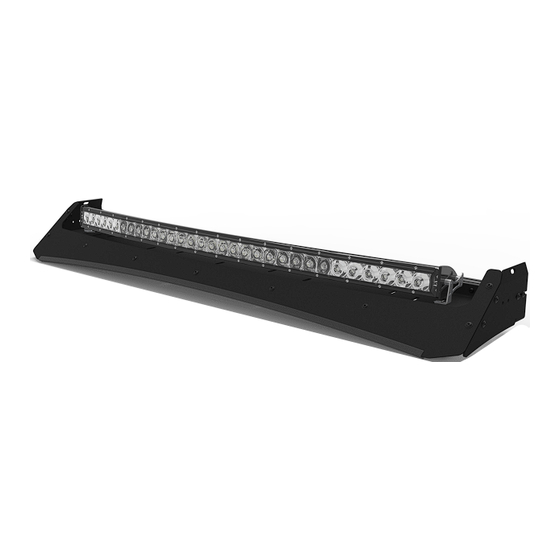
PROMASTER VAN LOW PR O ROOF R ACK LI GH T BAR FAIRIN G (ALL TYPE S)
PM0 11 2B
INSTALLATION
GUIDE
F L AT L I N E VA N C O • S U P P O R T @ F L AT L I N EVA N C O . C O M • 8 8 8 - 6 6 7- 5 5 7 6
TOOLS REQUIRED
(NOT INCLUDED)
+
7/16" WRENCH OR SOCKET
+
5/32" ALLEN WRENCH
+
3/16" ALLEN WRENCH
INSTALL INFO
TIME TO INSTALL THIS PRODUCT: 1-2 HOURS
Additional help is suggested for a few of the install
steps.
BEFORE YOU START
Please inspect the product and packaging upon
delivery to ensure there are no issues and that all
parts and hardware are accounted for.
Contact us ASAP if anything is missing at:
support@flatlinevanco.com
0 1
Advertisement

Related Manuals for FVC PROMASTER PM0112B


Summary of Contents for FVC PROMASTER PM0112B
- Page 1 INSTALLATION GUIDE PROMASTER VAN LOW PR O ROOF R ACK LI GH T BAR FAIRIN G (ALL TYPE S) PM0 11 2B TOOLS REQUIRED (NOT INCLUDED) 7/16” WRENCH OR SOCKET 5/32” ALLEN WRENCH 3/16” ALLEN WRENCH INSTALL INFO TIME TO INSTALL THIS PRODUCT: 1-2 HOURS Additional help is suggested for a few of the install steps.
-
Page 2: Before You Start
BEFORE YOU START All Flatline Van Co products must be properly assembled and secured before attaching to your vehicle. Improper attachment could result in an automobile accident, and could cause serious bodily injury or death to you or to others involved. You are responsible for assembling and securing Flatline Van Co products to your vehicle, checking the mounting points and attachments prior to use, and regularly inspecting the products for wear and or damage. -
Page 3: Package Contents
PACKAGE CONTENTS FAIRING SIDE BRACKET FRONT FAIRING LIGHT BAR TRAY QTY: 2 QTY: 1 QTY: 1 FAIRING GASKET QTY: 1 F L AT L I N E VA N C O • S U P P O R T @ F L AT L I N EVA N C O . C O M • 8 8 8 - 6 6 7- 5 5 7 6... - Page 4 5/32” ALLEN WRENCH TOOLS REQUIRED FOR THIS STEP: STEP | 01 FAIRING ASSEMBLY 1.1 Crossbar Fairing Bracket: Stack a 1/4-20” x 0.5 Button Head Screw and 1/4” Belleville Lock Washer as shown in FIG 1 and insert into the six available front holes of the Fairing Light Bar Tray.
- Page 5 5/32” ALLEN WRENCH TOOLS REQUIRED FOR THIS STEP: 7/16” WRENCH OR SOCKET STEP | 01 FAIRING ASSEMBLY 1.3 Attach Front Fairing: Attach the Front Fairing to the Assembly using 1/4-20 x 0.75 Flanged Button Head Screws, Flat Washers and Nylon Locknuts (FIG 4 + 5). F I G 4 F I G 5 F L AT L I N E VA N C O •...
- Page 6 5/32” ALLEN WRENCH TOOLS REQUIRED FOR THIS STEP: 7/16” WRENCH OR SOCKET STEP | 01 FAIRING ASSEMBLY 1.4 Attach Fairing Side Brackets: Loosely attach Fairing Side Brackets to the Fairing Assembly using 1/4”-20 Flanged Head Screws, Flat Washers and Nylock Locknuts. Note that the flanged face of these Fairing Brackets will face outward as shown in FIG 19.
- Page 7 5/32” ALLEN WRENCH TOOLS REQUIRED FOR THIS STEP: 7/16” WRENCH OR SOCKET STEP | 02 FAIRING INSTALL 2.1 Install Fairing: With help, lift the Fairing Assembly up to the front of your Roof Rack and gently lay it down on a soft surface (FIG 8).
- Page 8 FVC (and see) from you! Head to the products and following along and we will make it right. FVC is product page and click “Leave a company of van and outdoor with your adventures. Tag us Review.”...
Need help?
Do you have a question about the PROMASTER PM0112B and is the answer not in the manual?
Questions and answers