Advertisement
Quick Links
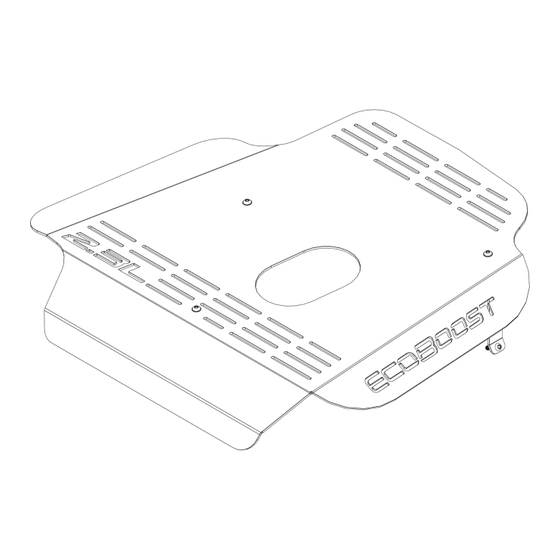
6T H G E N BR ON CO
2. 3 L E NG IN E COV ER
IN S TA L L I NS TRU C T I O N S
Please read the mounting instructions below carefully before attempting to install.
Check out the install video on the product page for more detailed information.
Thank you for purchasing from JcrOffroad! Checkout our website, www.jcroffroad.com for other great off-road
products. Be sure to rate and review our product online. If you have any questions or are missing parts, please
don't hesitate to call us at 269-353-1184!
Advertisement

Subscribe to Our Youtube Channel
Related Manuals for JCROffroad BR6GNC


Summary of Contents for JCROffroad BR6GNC
- Page 1 Check out the install video on the product page for more detailed information. Thank you for purchasing from JcrOffroad! Checkout our website, www.jcroffroad.com for other great off-road products. Be sure to rate and review our product online. If you have any questions or are missing parts, please...
-
Page 2: Included Parts
I NCLU D E D PARTS Bracket #1 Bracket #2 Bracket #3... -
Page 3: In C Lu D E D Hardwar E
IN C LU D E D HARDWAR E Black Stainless 1/4” Passivated 1/4”-20 x 3/4” Washer Button Head Stainless M6 x 1mm Button Head 25mm... - Page 4 A SS E M BLY To begin, you are going to install the three mounting brackets into the engine. You’re going to start with bracket #1, the short skinny of the three. Place the bracket in the location and orientation shown below, using a stainless M6 button head bolt thread into the factory threaded stand off.
- Page 5 A S SE MB LY Next, you’re going to install bracket #2, the triangle shape of the three. Again, place the bracket in the location and orientation shown below, and install two of the provided stainless M6 button head bolts into the factory threaded stand offs.
- Page 6 A SS E M B LY Now bracket #3 is ready to be installed, the longest of the three. Again, place the bracket in the location and orientation shown below. Before installing there is a factory 6mm hex head bolt that must be removed with a 8mm socket.
- Page 7 A SS E M B LY Finally, after all three mounting brackets are installed and tightened, place the engine cover on top of the brackets, lining up the three mounting holes, and loosely fasten them into place using the provided black 1/4”- 20 button heads and stainless washers.
-
Page 8: Install Instructions
Check out the install video on the product page for more detailed information. Thank you for purchasing from JcrOffroad! Checkout our website, www.jcroffroad.com for other great off-road products. Be sure to rate and review our product online. If you have any questions or are missing parts, please... - Page 9 I NCLU D E D PARTS Bracket #1 Bracket #2 Bracket #3...
- Page 10 IN C LU D E D HARDWAR E Black Stainless 1/4” Passivated 1/4”-20 x 3/4” Washer Button Head Stainless M6 x 1mm Button Head 25mm...
- Page 11 A SS E M BLY To begin, you are going to install the three mounting brackets into the engine. You’re going to start with bracket #1, the shortest of the three. Place the bracket in the location and orientation shown below, and install a provided stainless M6 button head bolt into the factory threaded stand off.
- Page 12 A S SE MB LY Next, you’re going to install bracket #2, the mid length of the three. Again, place the bracket in the location and orientation shown below, and install a provided stainless M6 button head bolt into the factory threaded stand off. Tighten with a 4mm hex, making sure the top PEM flange is facing towards the driver side of the vehicle.
- Page 13 A SS E M B LY Now bracket #3 is ready to be installed, the longest of the three. Again, place the bracket in the location and orientation shown below, and install a provided stainless M6 button head bolt into the factory threaded stand off. Tighten with a 4mm hex, making sure the top PEM flange should be facing the passenger side of the vehicle while keeping the bracket straight.
- Page 14 A SS E M B LY Finally, after all three mounting brackets are installed and tightened, place the engine cover on top of the brackets, lining up the three mounting holes, and loosely fasten them into place using the provided black 1/4”- 20 button heads and stainless washers.
Need help?
Do you have a question about the BR6GNC and is the answer not in the manual?
Questions and answers