Advertisement
Quick Links
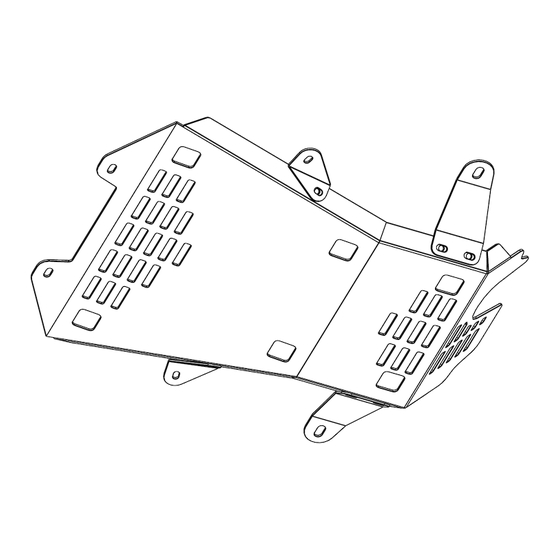
1S T GE N BRON CO S P ORT
C ATA LY T IC CO NVE RT ER
SKID
IN STALL INSTRU C TI ONS
Please read the mounting instructions below carefully before attempting to install.
Be sure to check out the install video on the product page, if available.
Thank you for purchasing from JcrOffroad! Checkout our website, www.jcroffroad.com for other great off-road
products. Be sure to rate and review our product online. If you have any questions or are missing parts, please
don't hesitate to call us at 269-353-1184!
Advertisement

Subscribe to Our Youtube Channel
Related Manuals for JCROffroad BSSD-CAT-1G


Summary of Contents for JCROffroad BSSD-CAT-1G
- Page 1 Be sure to check out the install video on the product page, if available. Thank you for purchasing from JcrOffroad! Checkout our website, www.jcroffroad.com for other great off-road products. Be sure to rate and review our product online. If you have any questions or are missing parts, please...
-
Page 2: I Nclu D E D Hardware
I NCLU D E D HARDWARE INC LU DED BO LT PACK(S ) 04 6-0054 Note: Some Victory 4x4/JCR Offroad/SquatchProof products share hardware kits. Any extra hardware you may recieve that is not listed below can be repurposed or discarded. 5/16"-18 5/16”-18 x 3/4”... -
Page 3: Included Parts
I N CLU DE D PA RTS 1L/1R Front Mounting Brackets 1L/1R Rear Mounting Brackets Catalytic Converter Skid #3 Nut Tab Brackets #2 Nut Tab Brackets... - Page 4 ASSEMBLY To start, you will need to remove the factory splash guards. To do so, remove the (3) factory bolts on the front of the splash guard as shown below, using a T30 torx. Repeat this on both sides of the vehicle. Once those are removed, there will be a factory clip that will need to be removed with pliers.
- Page 5 ASSE M BLY Next, remove the small, stamped nut fasteners using a 10mm socket. There will be 8 bolts per splash guard to be removed along the outside and a the middle of the part, per side. Be sure to keep this hardware for optional reinstallation of the splash guards starting at step 11.
- Page 6 AS SE M BLY Once the splash guards are removed and out of the way, you will have easy access to the (4) factory bolts in each corner of the factory skid that will need to be removed. You will use a T30 torx to remove the bolts, as shown below.
- Page 7 AS SE M BLY With that factory skid out of the way, there will now be (1) white clip that is exposed in each of the factory mounts, as shown below. Both of these will need to be removed. You should be able to reach over the top and pinch the two tabs together before pulling down to remove.
- Page 8 A SSE MBLY Next, you will take the (2) provided nut tabs labeled with the number “2” on them. You will be inserting them into the two larger holes in the middle crossmember, as pointed out below. Once inserted, make sure the nuts are lined up straight back toward the rear of the vehicle, the driver side will line up with a small square hole and the passenger side will line up with a small round hole at the back of the crossmember.
- Page 9 ASSE M BLY With the nut tabs up in the crossmember and lined up with the correct holes you can now take the provided skid plate, with the help of a friend or a jack, and line up the front holes of the skid to the nuts on the nut tab. Start to loosely install them using the provided 5/16”...
- Page 10 A S SE M B LY Once the front of the skid is bolted up loosely, take the (2) provided front mounting brackets and the the 5/16” button heads and flange nuts. Loosely install the bracket using the middle hole on the skid, as shown below, you will need to reach over the top of the skid to install the nut onto the back side.
- Page 11 AS SE M BLY You now need to take the other provided nut tabs labeled with a “3” and place them up through the large hole just above the corner of the factory heat shield. Once the tab is in the hole, make sure the nut is in line with the next hole right behind it toward the rear of the vehicle.
- Page 12 ASSE M BLY With the front of the skid and the front mounts now loosely secured, there will be enough support to hold the weight of the skid without the help of a friend or a jack. Now take the longer supplied rear brackets, and using the 5/16”...
- Page 13 AS SE M BLY You can now use a provided 5/16” button head and line the top hole on the bracket up with the nut in the frame from the nut tab that was previously inserted. Once aligned, thread your button head into place, as shown below for visual reference.
- Page 14 ASSE M BLY With all of your hardware is loosely started and your brackets and skid are held in place, you can go around with a 3/16” hex and make sure to tighten down all of your hardware to secure your skid to the vehicle. Make sure to visually verify that your skid is centered in the slots and also the cut out around the exhaust before tightening down.
- Page 15 ASSE M BLY Once you have your cut lines marked, take the splash guard back down off the vehicle to make the cuts. Take a sharp pair of scissors or snips and make your cuts along the lines that were marked with a sharpie. Depending on how accurate your markings were, you may need to pull the slash guard down a 2nd time after making your cuts to touch up any spots that are still touching.
- Page 16 Make sure all of your hardware is tight and secure on the skid and the splash guards to complete your installation, enjoy your new Catalytic Converter Skid! Be sure to check out jcroffroad.com for even more Bronco Sport products.
Need help?
Do you have a question about the BSSD-CAT-1G and is the answer not in the manual?
Questions and answers