Advertisement
Quick Links
Advertisement

Related Manuals for HUDSON STEEL H-LATM


Summary of Contents for HUDSON STEEL H-LATM
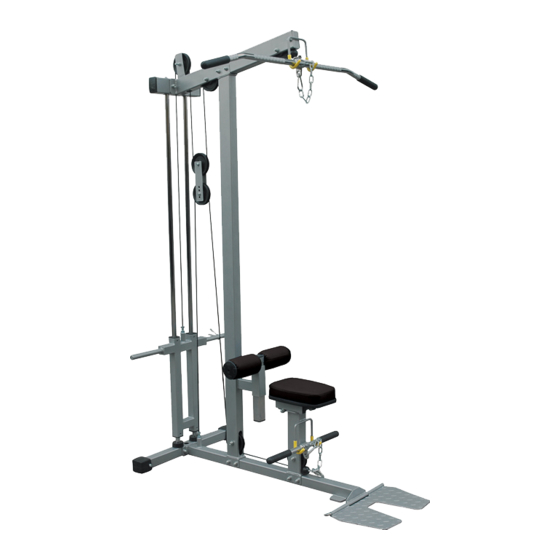
- Page 1 H--LATM LAT MACHINE Owner's Manual 215-00124 10/06 Rev A...
- Page 2 • Table of Contents Before You Sta rt Important Safety Information Assembly Parts List Exploded View...
- Page 3 Important Safety Information This manual will guide you through the assembly process.
- Page 4 • Before You Start NOTE: Hand tighten bolts and nylon nuts until machine is fully assembled. Prior to assembly, remove components from the box and verify that all the listed parts were supplied. SAFETY INFORMATION WARNING! Before using this unit or starting any exercise program, consult your physician. This is especially important for persons over the age of 35 and/or persons with pre...
- Page 5 • Assembly NOTE: Hand tighten bolts and nylon nuts until machine is fully assembled. STEP 1 Connect Left and Right Foot Caps ( 45 and 46) to the Rear Base (12) using: 2 x ( 47) Screw 2 x ( 48) Washer Connect Main Base ( 1) to Rear Base (2) using: 4 x (31) Washer 2 x (34) Bolt...
- Page 6 • Assembly NOTE: Hand tighten bolts and nylon nuts until machine is fully assembled ..STEP 2 Slide Weight Stack Bumpers (24) and Weight Holder Slide (12) onto guide rods as shown. Connect Upright (3) to Main Base (1) using: 2 x (33) Bolt 4 x (31) Washer 2 x (37) Nylon Lock Nut...
- Page 7 • Assembly NOTE: Hand tighten bolts and nylon nuts until machine is fully assembled. -r-------13 STEP 3 Slide Top Cross Frame (5) on top of Guide Rods and secure using: 2 x (36) Bolt 2 x (31) Washer Attach Top Frame ( 4) to Upright (3) and Top Cross Frame (5) using: 2 x (33) Bolt 2 x (34) Bolt...
- Page 8 • Assembly NOTE: Hand tighten bolts and nylon nuts until machine is fully assembled. STEP 4 Complete Cable (15,17) assembly using: 7 x (21) Pulley 4 x (33) Bolt 14 x (31) Washer 8 x (29) Pulley Spacer 7 x (37) Nylon Lock Nut 3 x (38) Bolt 2 x (28) Pulley Plate Attach Long Bar (19) and Short Bar (13) as shown.
- Page 9 • Assembly NOTE: Hand tighten bolts and nylon nuts until machine is fully assembled. STEP 5 Complete leg hold down assembly using: 2 x (30) Foam 1 x (10) Roller Pad Frame 2 x (43) Big Plug 1 x (14) Pop Pin Note: If needed, it is recommended that a rubber mallet be used to secure Big Plug (43).
- Page 10 PLUG, ROLLER PAD TUBE CAP, H SERIES 202-00048 JAM NUT 1/2" 202-00048 JAM NUT 1/2" 206-00469 SLEEVE, EZ GLIDE 1 50.8 H-LATM 206-00470 SLEEVE, EZ GLIDE 2 50.8 H -LATM 202-00659 SCREW, BUTTON HEAD SOCKET CAP M8X25 202-00094 WASHER 8, 9*28*2...
- Page 11 • Exploded View �...
- Page 12 HUDSONSTEELCO.COM...
Need help?
Do you have a question about the H-LATM and is the answer not in the manual?
Questions and answers