Advertisement
Quick Links
Advertisement

Related Manuals for Mount-It! MI-4224


Summary of Contents for Mount-It! MI-4224
- Page 1 MI-4224 MI-4224W Please scan this QR code to visit the product page. MOTORIZED TV CEILING MOUNT...
- Page 2 Thank you for choosing Mount-It Mount-It! Mount-It! A. Button Functions 1.Raising/Lowering Press the up “ ” button and the mount will raise to the highest position. remote control Press the down “ ” button and the mount will move down to the lowest position. Press the OK “...
-
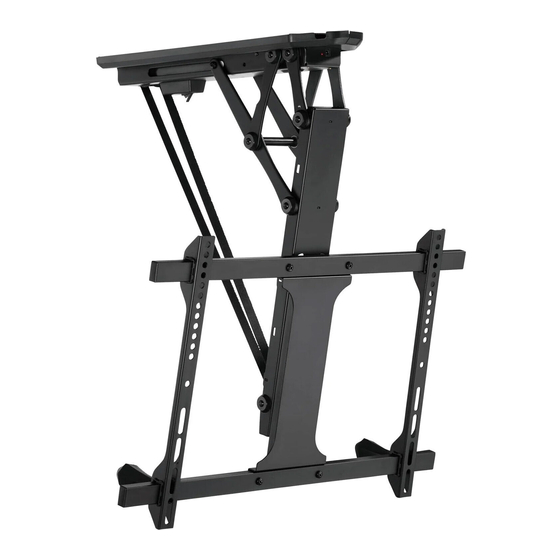
Page 3: Mounting Hardware
Mount and Accessories 1. The mount beeps constantly or is making an abnormal noise. a). Reset the system: Press and hold the " " button for 5 seconds. The mount will retract to the highest position, and the reset is complete. c). - Page 4 Step 1a Step 1b Concrete or Stone Surface Installation Option Wood Surface Installation Option • Hold the Wall Template (#C) in the desired location for installation and use a pencil to mark the • Hold the Wall Template (#C) in the desired location for installation and use a pencil to mark the locations of the 6 holes through the template.
- Page 5 Step 2 Step 3 Attach the VESA Plate to the TV Assemble the VESA Plate • Connect the Center Plate (#B) to the two Horizontal Arms (#F) using Bolts (#L) though the TV facing • Select the appropriate size mounting bolt (Select one size #M-A, M-B, M-C, or M-D) for your display’s side as shown here, and secured on the opposite side using Washers (#M) and Nuts (#N).
-
Page 6: Step 5 Cable Management
Step 5 • Hang the TV onto the front of the Mount and ensure that the bolt is fully lowered into the smaller end of Cable Management the keyhole shaped channel. Re-install the four bolts (removed in step 2) as shown to secure the VESA plate to the mount.
Need help?
Do you have a question about the MI-4224 and is the answer not in the manual?
Questions and answers