
Related Manuals for Mount-It! MI-4884B


Summary of Contents for Mount-It! MI-4884B
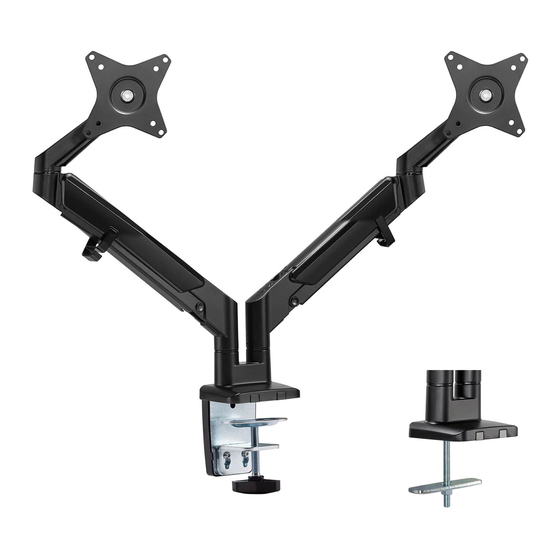
- Page 1 MI-4884B Please scan this QR code to visit the product page. DUAL MONITOR MOUNT WITH LOW PROFILE GAS SPRING ARMS...
- Page 2 Mount and Accessories Thank you for choosing Mount-It Mount-It! Clamp Clamp Cable Clip VESA Adhesive L-Bracket Handle - Clamp Plate Bolts Pads Grommet Bolt Mount-It! Mount Body Grommet Grommet Grommet Cable Clips Grommet Hex Wrench Hex Wrench Wrench Base Plate Washer –...
- Page 3 Step 1 Desk Clamp Assembly • Place the mount over the edge of the desk in the position desired and tighten the hand knob until the clamp is tight against the underside of the table. Then attach the large Cable Clip (#D) to the back of the L-Bracket as shown.
- Page 4 Step 3 • Place the mount and grommet bolt through the grommet hole and from the underside of the desk, slide Attach the Monitors to the Arms the Grommet Plate (#J) over the bolt, followed by the Grommet Washer, and finally secure it in place using the Grommet Nut (#K) and tighten it with the Wrench (#P) until secure.
-
Page 5: Step 5 Cable Management
Step 5 Step 7 Arm Range Adjustment Cable Management • Snap the Cable Clips (#M) into the notches on the arms, one per each arm. 1. Tighten the limiting screw until it stops (do not overtighten) to lock the range of the arm base at 90°. 2. -
Page 6: Step 8 Final Adjustments
Step 8 Final Adjustments 1. The display can be rotated +/- 180° from landscape to portrait orientation. To reduce the range of motion or adjust the ease of motion, tighten the two screws indicated here. 2. The screen may be tilted +/- 45°, if the screen tilts forward over time or does not hold its position tighten the bolt on the side of the joint indicated here.
Need help?
Do you have a question about the MI-4884B and is the answer not in the manual?
Questions and answers