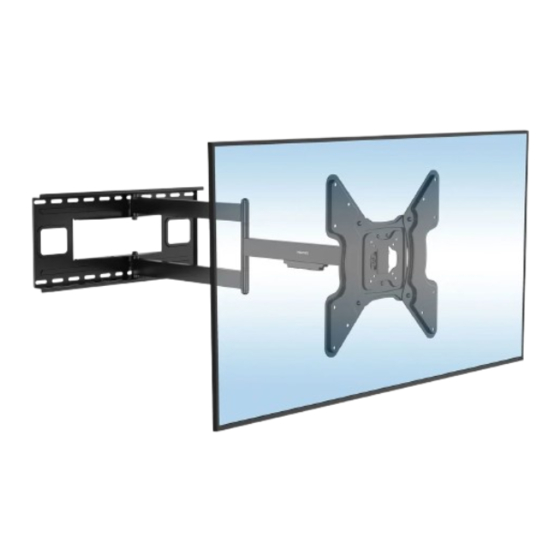
Summary of Contents for Mount-It! MI-393
- Page 1 MI-393 Scan this QR code for product information, videos, and assembly assistance. FULL MOTION TV WALL MOUNT WITH 40-INCH EXTENSION...
-
Page 2: Package Contents
PACKAGE CONTENTS Thank you for choosing Mount-It Mount-It! Mount-It! Mount Arm Wall Template VESA Extension Wings Wrench Hex Wrench Bubble Level Hex Nut TV MOUNTING HARDWARE WALL MOUNTING HARDWARE Lag Screws Concrete Anchors Check carefully to make sure there are no missing or defective parts. Some hardware provided may not be used. - Page 3 Step 1 A. Wood Stud Mounting Option B. Concrete/Brick Mounting Option • With a stud finder locate the stud and center the mount on the stud at the desired height. Using a • Using a bubble level to ensure straightness, hold the Template (#B) to the desired location on the wall bubble level to ensure straightness, hold the Template (#B) to the wall and mark the center of the 4 and mark the center of the 6 mounting holes with a pencil as shown here.
- Page 4 Step 2 Step 4 Remove the VESA Plate Attach the VESA Plate to the TV • Remove the VESA Plate from the end of the Mount Arm (#A) by partially loosening the top 2 nuts shown • Select the appropriate size mounting bolt (Select one size #M-A, M-B, M-C, or M-D) and washer (#M-E) here on the rear of the plate, removing the lower nut, then lifting the plate off the end of the arm.
- Page 5 Step 5 Step 6 Attach the TV to the Mount Arm Cable Management and Tilt Adjustment 1. Hang the VESA plate back onto the end of the Mount Arm. • Route cables through the Cable Clips on the bottom of the mount arm. Ensure enough slack is left in 2.
-
Page 6: Step 7 Final Adjustments
Step 7 Troubleshooting Final Adjustments • The mount can be turned ±90° at each of the 3 arm joints, tilted +5°~-15°, swiveled ±90°, and levelled horizontally ±3°. Top View Top View Dual Arm Single Arm Single Arm Extend both arm segments equally Extending the single arm segment to keep the screen centered, leveled, alone can result in the weight of the...


Need help?
Do you have a question about the MI-393 and is the answer not in the manual?
Questions and answers