Advertisement
Quick Links
D102076#1
1 0 2 . 0 7 6
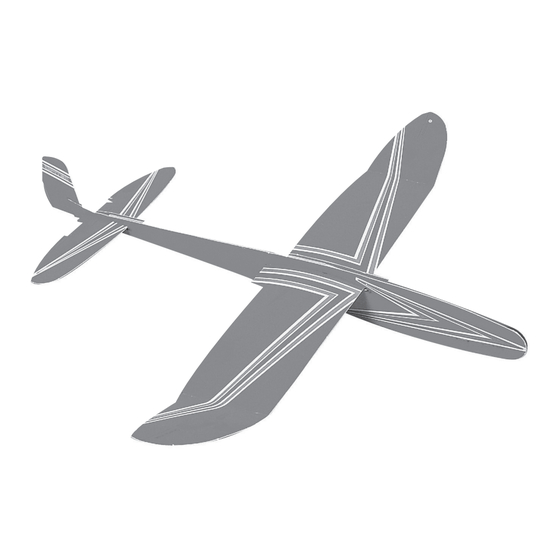
M i n i
The OPITEC range of projects is not intended as play toys for
young children.They are teaching aids for young people lear-
ning the skills of Craft, Design and Technolo- gy.These pro-
jects should only be undertaken and tested with the
guidance of a fully qualified adult. The finished projects are
not suitable to give to children under 3 years old. Some parts
can be swallowed. Dan- ger of suffocation!
-
H o l l i
Please Note
1
Advertisement

Related Manuals for Opitec Hobbyfix Mini-Holli


Summary of Contents for Opitec Hobbyfix Mini-Holli
- Page 1 M i n i H o l l i Please Note The OPITEC range of projects is not intended as play toys for young children.They are teaching aids for young people lear- ning the skills of Craft, Design and Technolo- gy.These pro- jects should only be undertaken and tested with the guidance of a fully qualified adult.
- Page 2 Aufbauanleitung für Helling (= bedruckter Karton, einzeln bei den Rechnungsunterlagen beigelegt!) Cut only to here! Making the jigs for constructing the Mini Holli. ( First make the jigs then the model ) You will need the following tools:- a steel rule, scissors and craft a knife. ( diagram 1 ) 1.
- Page 3 1) Press out the pre-cut parts 2) Fold the fuselage along the 3) Glue the washer in the nose middle line 4) Cut the dowel with a craft knife 5) Glue the dowels in the marked 6) Glue the tail fin in position into 1 x 88mm and 2x 145mm places 7) Apply the glue as shown and...
-
Page 4: Normal Flight
To understand the theory of flight you can carry out the following tests Insert a pin in the middle of each wing tip end. Hold the model by these pins and you can see how the planes re- acts up and down. Then insert a pin ( Photo a) where the two dowels meet then tie on a piece of thread 10cm (Photo b) - Page 5 Varying flight patterns Move flaps 1/2mm at time 1. tailplane bend flaps equally ! Bend up – model will be slower Bend down – model flies quicker 2. Tail fin Bend to the right = Flight to right Bend to the left = Flight to the left 3.
Need help?
Do you have a question about the Hobbyfix Mini-Holli and is the answer not in the manual?
Questions and answers