
Subscribe to Our Youtube Channel
Related Manuals for Holman 40239


Summary of Contents for Holman 40239
- Page 1 Instruction Guide 40239 Holman Rancho Cordova, CA 95742 800-343-7486 InstallationSupport@holman.com 20221007R2 DATE: ________________...
-
Page 2: Table Of Contents
Step 2A – Install to Van Rack ......................4 Step 2B – Install to Crossbar Rack ..................... 5 Before You Begin Read ALL instructions prior to installing any Holman product. Always CLOSE AND LOCK conduit carrier door before moving vehicle or transporting loads. -
Page 3: Parts List
Instructions – 40239 Parts List Hardware Installation Notes When installing conduit carrier extension, it is recommended to locate the extension between the bows on the rack. For Technical Support Call: 800-343-7486, Monday-Friday, 7AM - 4 PM (PST) Page 2... -
Page 4: Step 1 - Install Extension
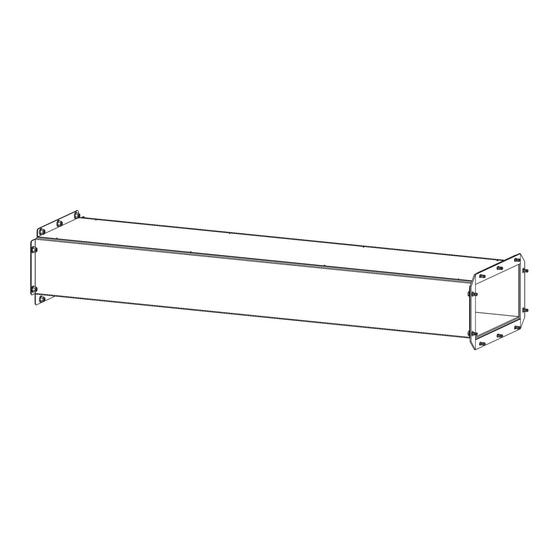
Instructions – 40239 DO NOT EXCEED MANUFACTURERS WEIGHT CAPACITY FOR ROOF! Step 1 – Install Extension If conduit carrier is already installed on vehicle, remove conduit carrier from vehicle. Disassemble existing conduit carrier. Insert conduit carrier extension between front and rear halves of conduit carrier. -
Page 5: Step 2A - Install To Van Rack
Instructions – 40239 Step 2A – Install to Van Rack The following instructions are for mounting to the bows of a van rack. If mounting to a crossbar rack or other manufacturers rack, skip to Step 2B. NOTE: Front mounting bracket is a different size than rear mounting bracket. Be sure you have the correct mounting bracket before bolting to rack. -
Page 6: Step 2B - Install To Crossbar Rack
The following instructions are for mounting to a crossbar rack or other manufacturers rack. If mounting to a Holman Clamp and Lock or Drop Down van rack, use Step 2A. NOTE: Front mounting bracket is a different size than rear mounting bracket. Be sure you have the correct mounting bracket before bolting to rack.
Need help?
Do you have a question about the 40239 and is the answer not in the manual?
Questions and answers