
Subscribe to Our Youtube Channel
Related Manuals for Holman 4081S


Summary of Contents for Holman 4081S
- Page 1 Installation Guide 4081S Holman Rancho Cordova, CA 95742 800-343-7486 InstallationSupport@Holman.com 202308304R3 DATE: ______________...
-
Page 2: Table Of Contents
Step 6 – Mount Rack to Feet ......................... 9 Before You Begin • Read all instructions prior to installing any Holman product. • Be sure to put sealant around all threads entering cargo area and between the rubber spacer and roof of vehicle to prevent water from leaking into cargo area. -
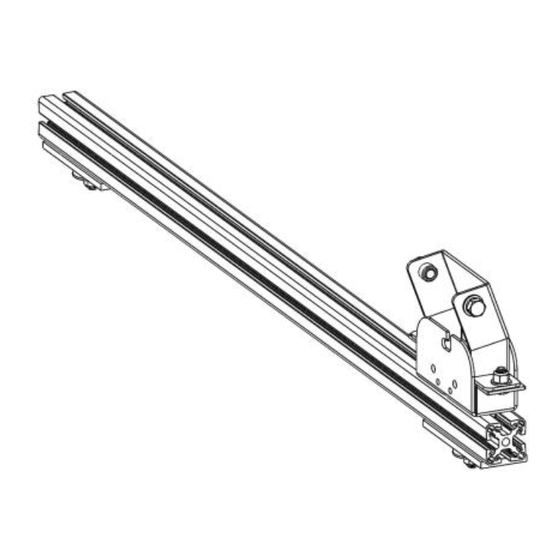
Page 3: Parts List
Instructions – 4081S Parts List For Technical Support Call: 800-343-7486, Monday-Friday, 7AM - 4 PM (PST) Page 2... -
Page 4: Hardware (18-4081S)
Instructions – 4081S Hardware (18-4081S) For Technical Support Call: 800-343-7486, Monday-Friday, 7AM - 4 PM (PST) Page 3... -
Page 5: Step 1 - Prepare Extrusion
Instructions – 4081S Step 1 – Prepare Extrusion • Slide two 5/16” x 1-1/4” carriage bolts into each rail piece. Step 2 – Locate Mount Holes • Using a 5/16” drill bit, locate and drill out the two rear most factory bosses, about 16-15/16” apart. -
Page 6: Step 3 - Attach Mount Rails
Instructions – 4081S Step 3 – Attach Mount Rails • Put rubber pad onto carriage bolts and align them with the holes drilled in previous step. PICTURE SHOWN ABOVE DOES NOT ACCURATELY SHOW SPACING BETWEEN RAILS • Place sealant in between rubber pad and the roof. - Page 7 Instructions – 4081S • Using the previously installed carriage bolts, 5/16” fender washers and 5/16” lock nuts, bolt through the roof. • Be sure to put sealant around the hole in the roof to ensure no water leaks into van.
-
Page 8: Step 4 - Attach Mount Block
Instructions – 4081S Step 4 – Attach Mount Block • Slide two 5/16” x 3/4" carriage bolts into the top slot on each rail piece. • Place mount block on top of each carriage bolt. • Using two 5/16” flat washers and two 5/16” lock nuts, bolt the mount blocks to the rails. -
Page 9: Step 5 - Attach Mount Feet
Instructions – 4081S Step 5 – Attach Mount Feet NOTE:Feet may be mounted inward or outward. Feet will face inwards on standard low roof installations and will face outwards on all high roof installations. • Using two 5/16” x 3/4" carriage bolts, two 5/16” flat washers and two 5/16” lock nuts, mount feet to previously installed mount blocks. -
Page 10: Step 6 - Mount Rack To Feet
Instructions – 4081S Step 6 – Mount Rack to Feet • If the rack is being assembled on the vehicle, set rack on top of installed feet, and center rack to vehicle, side to side. • If the rack will be assembled off the vehicle, measure the distance between the center of the left and right rails •...
Need help?
Do you have a question about the 4081S and is the answer not in the manual?
Questions and answers