Subscribe to Our Youtube Channel
Summary of Contents for Holman 40220
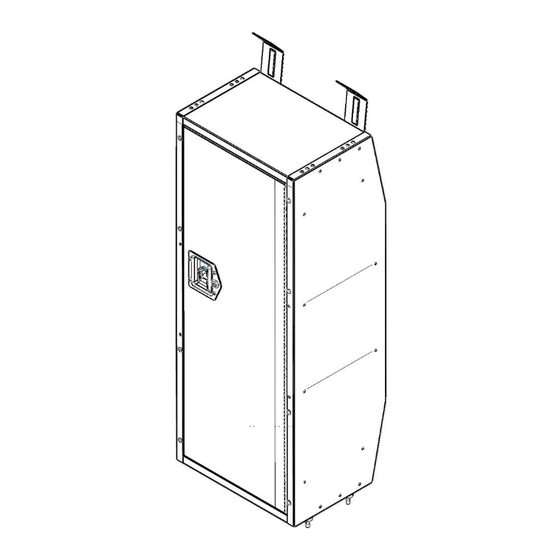
- Page 1 Instruction Guide 40220 Holman Rancho Cordova, CA 95742 800-343-7486 InstallationSupport@Holman.com 20220811R1 DATE: ________________...
-
Page 2: Table Of Contents
Plus Nut Installation Tool (P9902)* * Sold Separately. Before You Begin Read all instructions prior to assembling or installing any Holman product. Always locate your installation locations prior to performing any work. ENSURE SAFETY WHILE INSTALLING OR DRILLING INTO VEHICLE. -
Page 3: Parts List
Instructions – 40220 Parts List For Technical Support Call: 800-343-7486, Monday-Friday, 7AM - 4 PM (PST) Page 2... -
Page 4: Hardware
Instructions – 40220 Hardware Step 1 – Determine Installation Location Determine installation location. Keep in mind clearance for opening the door. NOTE: The cabinet is shipped with the door installed opening right. If opening left is desired proceed to step 2, if opening right is desired skip to step 3. -
Page 5: Step 3 - Mark Mounting Locations
Instructions – 40220 Remove four 1/4” x 5/8” Phillips machine screws and four 1/4” lock nuts on left side of door and remove cabinet door strip. Reinstall cabinet door strip on right side using four 1/4” x 5/8” Phillips machine screws and four 1/4” lock nuts. -
Page 6: Step 4 - Install Plus Nuts
Instructions – 40220 Step 4 – Install Plus Nuts DO NOT drill beyond depth of floor or upper installation surface. Always check for wires, fuel tanks and lines, brake lines and other important vehicle functionality items prior to drilling and installing all products. -
Page 7: Step 6 - Install Upper Support Brackets
Instructions – 40220 Step 6 – Install Upper Support Brackets If needed two upper support brackets are provided to increase rigidity of the cabinet. Using two 1/4” x 3/4” hex head bolts, two 1/4” washers, and two 1/4” lock nuts, bolt an upper support bracket to rear of cabinet.


Need help?
Do you have a question about the 40220 and is the answer not in the manual?
Questions and answers