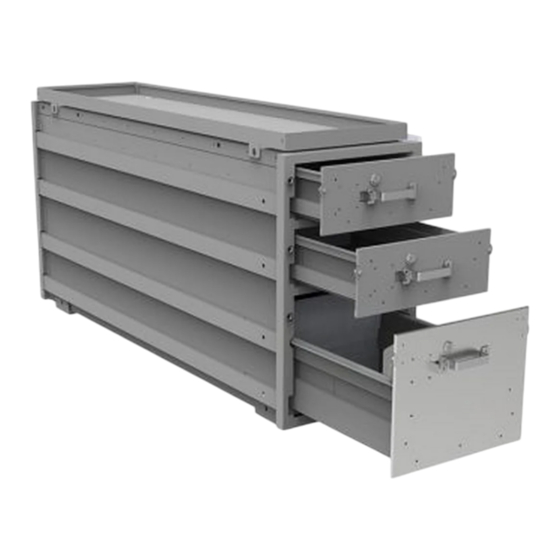
Summary of Contents for Holman 40250
- Page 1 Installation Guide 40250 Holman Rancho Cordova, CA 95742 800-343-7486 InstallationSupport@Holman.com 20221201R1 DATE: ________________...
-
Page 2: Table Of Contents
Tape Measure Drill Bit Stop Collar Before You Begin Read all instructions prior to assembling or installing any Holman product. Always locate your installation locations prior to performing any work. ENSURE SAFETY WHILE INSTALLING OR DRILLING INTO VEHICLE. -
Page 3: Parts List
Instructions – 40250 Parts List Hardware For Technical Support Call: 800-343-7486, Monday-Friday, 7AM - 4 PM (PST) Page 2... -
Page 4: Hardware Continued
Instructions – 40250 Hardware Continued Step 1 – Install Brackets onto Main Unit Attach the floor mounts and base angle mounts to the unit using four 3/8-16 x 3/4” button head screws, four 3/8” split lock washers, and four 3/8” washers. -
Page 5: Step 2 - Remove Drawers
Instructions – 40250 Step 2 – Remove Drawers The bottom drawer must be removed to access the mounting holes on the front foot of the unit. Removing the top two drawers is optional but make the unit lighter and easier to move in and out of the van. -
Page 6: Step 4 - Mount Feet To Floor
Instructions – 40250 Step 4 – Mount Feet to floor Place the passenger side foot above the marks made in the previous step. The passenger side foot can be used as a reference for the driver side foot location. The center to center distance of the mounting holes should be 45-3/4”. -
Page 7: Step 5 - Install Main Unit
Instructions – 40250 Step 5 – Install Main Unit Be sure to reinstall all drawers before installing the unit in the van as the drawer pins on the side of the unit against the partition will be inaccessable once the unit is in place.


Need help?
Do you have a question about the 40250 and is the answer not in the manual?
Questions and answers