
Subscribe to Our Youtube Channel
Related Manuals for Ironman4x4 IAWN270


Summary of Contents for Ironman4x4 IAWN270
- Page 1 Deltawing 180º & 270º Awnings Owner’s Manual IMPORTANT: Please read all procedures and precautions before using this Ironman 4x4 Product. If you have any questions please contact our customer service department. 1 of 10...
-
Page 2: Safety Warning
• KEEP ALL FLAME AND HEAT SOURCES AWAY FROM AWNINGS AND WALL MATERIALS. UNDER NO CIRCUMSTANCE SHOULD ANY NAKED FLAME SOURCES OR HEATING DEVICES BE USED INSIDE OR NEAR AN AWNING. • DO NOT USE ANY FUEL BURNING DEVICE INSIDE OR UNDER AN AWNING. ALWAYS KEEP THE EXIT CLEAR. 2 of 10 www.ironman4x4.com... -
Page 3: Cleaning And Storage
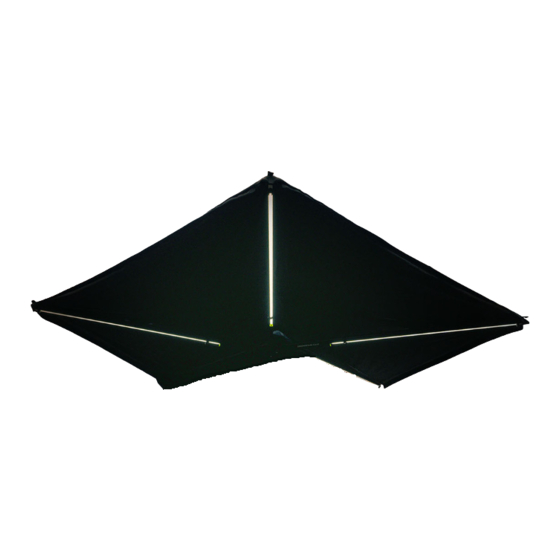
Notes and Parts DELTAWING 180º / 270º AWNING Congratulations on your purchase of the Ironman 4x4 Deltawing 180ºor 270º Awning. Your awning is designed to be mounted directly to your roof rack or aftermarket roof bars and can be set up in just a few minutes. - Page 4 Attach washers and loosely secure in place using Nyloc nuts. Step 4: Slide brackets along the backing plate track to the desired position and mount to the vehicle using washers and Nyloc nuts. Tighten all nuts. 4 of 10 www.ironman4x4.com...
- Page 5 Setting up Your Awning Step 1: Unzip the protective cover and fold back from the awning. Step 2: Undo the three supporting straps and release the arms and the fabric. Take note of how the fabric is layered. This will assist with pack up. Step 3: Swing the arms away from the awning body until the fabric is fully extended...
- Page 6 Attaching additional guy ropes between each arm will form a central valley and prevent pooling of water on the awning. 1. Rain Valley 2. Guy Ropes 3. Tensioning Straps Note: Refer to STRUCTURAL INTEGRITY on page 2. 6 of 10 www.ironman4x4.com...
- Page 7 Packing Up Your Awning 180˚ AWNING If time permits, allow the awning material to fully dry out before packing away. If this is not possible, we strongly suggest setting the awning up again to thoroughly dry out before any long-term storage to prevent damage to the material and mechanisms. STEP 1 STEP 2 Detach all tensioning straps...
- Page 8 Attaching additional guy ropes between each arm will form a central valley and prevent pooling of water on the awning. 1. Rain Valley 2. Guy Ropes 3. Tensioning Straps Note: Refer to STRUCTURAL INTEGRITY on page 2. 8 of 10 www.ironman4x4.com...
- Page 9 Packing Up Your Awning 270˚ AWNING If time permits, allow the awning material to fully dry out before packing away. If this is not possible, we strongly suggest setting the awning up again to thoroughly dry out before any long-term storage to prevent damage to the material and mechanisms. STEP 1 STEP 2 Detach tension strap and fold arm...
-
Page 10: Warranty
The warnings, cautions and instructions for use contained in this document cannot cover every possible situation, so it is understood by the operator that common sense and caution must be applied. It is your responsibility to pass these instructions on to any third party who uses this product, including second-hand sales. www.ironman4x4america.com www.ironman4x4.com...
Need help?
Do you have a question about the IAWN270 and is the answer not in the manual?
Questions and answers